How to Install Sandisk Extreme Portable Ssd on Mac? 6 Steps!
SanDisk Extreme Portable SSD is a high-speed external storage device that allows you to store and transfer files quickly and securely.
Connecting your SanDisk Extreme Portable SSD to your Mac allows for easy access to additional storage and convenient file management. This guide outlines the straightforward steps required to set up your SSD quickly and efficiently.
Key Takeaway
Installing SanDisk Extreme Portable SSD on Mac: Step-by-Step
Step 1: Connect Your SSD
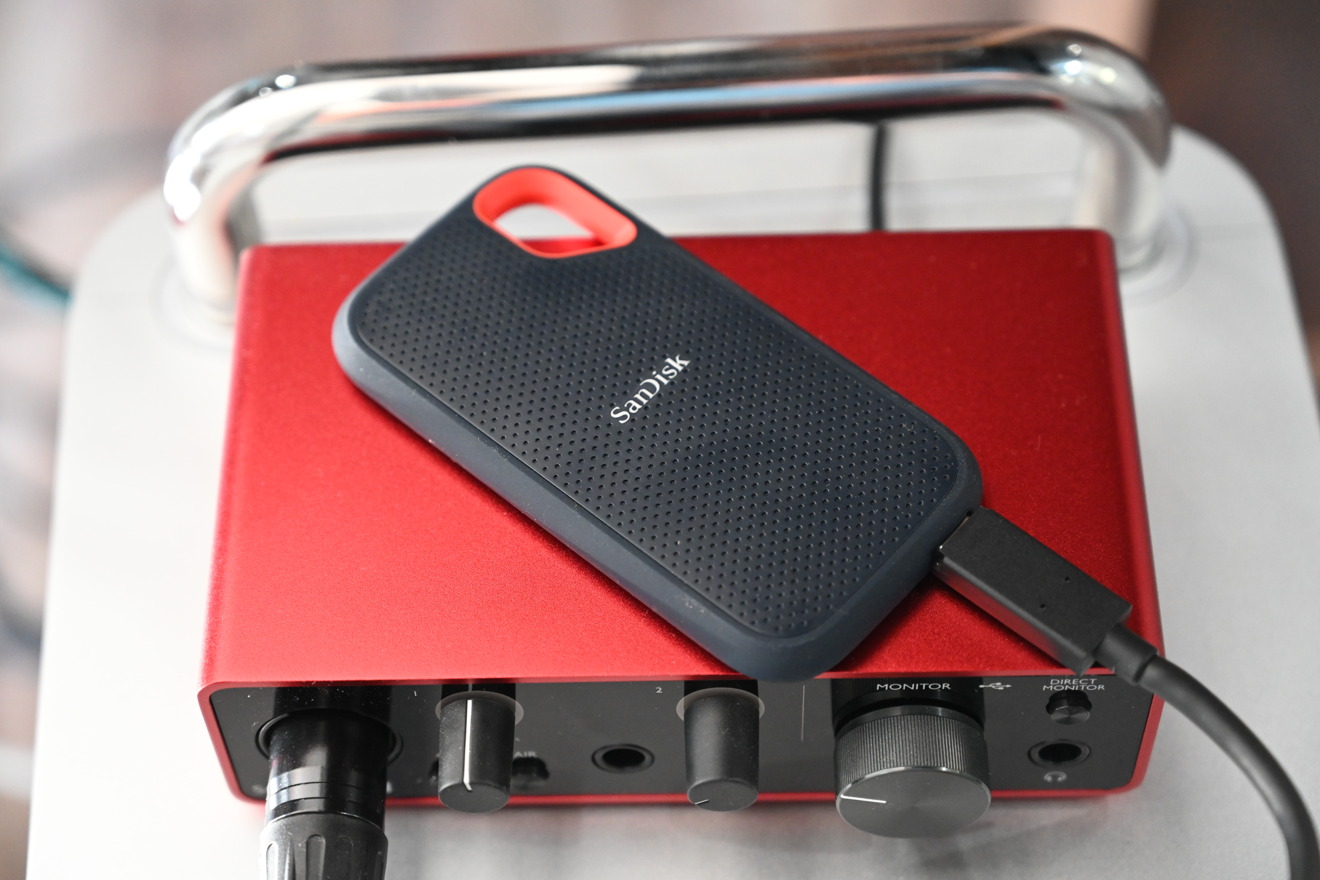
Plug one end of the USB-C cable into your SanDisk Extreme Portable SSD and the other end into an available USB-C port on your Mac.
Step 2: Check for Recognition
Your Mac should recognize the SSD automatically. If not, give it a few moments or try a different USB port.
Step 3: Locate the Drive
Open Finder on your Mac. Your SanDisk Extreme Portable SSD should appear under “Devices” in the sidebar.
Step 4: Access Your Files
Double-click on the SSD icon to open it. You can now drag and drop files to and from the SSD, just like with any other folder on your Mac.
Step 5: Safely Eject the SSD
When you’re done using the SSD, drag its icon to the Trash or right-click on it and select “Eject” to safely disconnect it from your Mac.
Step 6: Unplug the SSD
Once ejected, unplug the USB-C cable from your SanDisk Extreme Portable SSD and your Mac.
By following these simple steps, you can seamlessly connect your SSD and access your files with ease. Enjoy the convenience and reliability of portable storage for your Mac needs.
Five Facts About Installing Sandisk Extreme Portable SSD on Mac
Introduction To The Sandisk Extreme Portable Ssd
The Sandisk Extreme Portable SSD is easily installed on a Mac, ensuring quick and reliable data storage. Experience exceptional performance and durability without the hassle.
With its sleek design and lightning-fast performance, the Sandisk Extreme Portable SSD is a top choice for Mac users looking to expand their storage capabilities.
Whether you need to store large files, transfer data quickly, or backup your important files, this portable SSD has got you covered.
Why The Sandisk Extreme Portable Ssd Is A Top Choice For Mac Users
- Incredible speed: With read speeds of up to 1050MB/s and write speeds of up to 1000MB/s, the Sandisk Extreme Portable SSD ensures fast and smooth data transfer. Say goodbye to lengthy waiting times when transferring large files or editing videos and photos.
- High storage capacity: Available in 500GB, 1TB, and 2TB options, this SSD lets you store a vast amount of data without worrying about running out of space.
- Robust durability: Built to withstand the rigors of travel, the Sandisk Extreme Portable SSD is both shock and vibration-resistant, making it ideal for on-the-go Mac users. The ruggedized design ensures that your data remains safe even in extreme environments.
- Compact and lightweight: Weighing just a few ounces and featuring a pocket-sized design, this portable SSD is perfect for Mac users who are always on the move. Slip it into your pocket or bag, and you’ll have your files readily accessible wherever you go.
- Universal compatibility: The Sandisk Extreme Portable SSD is compatible with both Mac and Windows operating systems, ensuring seamless connectivity and data transfer across different devices.
- Advanced encryption: Protect your sensitive data with the 128-bit AES encryption software that comes with the Sandisk Extreme Portable SSD. Rest easy knowing your files are secure and safeguarded against unauthorized access.
- Easy setup: Setting up the Sandisk Extreme Portable SSD on your Mac is a breeze. Simply connect it via the USB-C interface, and you’re ready to transfer, edit, and back up your files. No additional power cables or software installations are required.
- Trusted brand: Sandisk, a leader in the storage industry, has a solid reputation for producing high-quality and reliable products. When choosing the Sandisk Extreme Portable SSD, you can trust that you’re investing in a product that will deliver on its promises.
- Warranty and customer support: Sandisk backs the Extreme Portable SSD with a limited 3-year warranty, providing peace of mind that your investment is protected. In addition, their dedicated customer support team is readily available to assist you with any queries or concerns.
The Sandisk Extreme Portable SSD offers Mac users a powerful and convenient storage solution.
With its impressive speed, ample storage capacity, rugged durability, and user-friendly features, it’s no wonder why this SSD is a top choice for those seeking reliable and high-performance storage for their Mac.
Troubleshooting And Tips For A Successful Installation
Ensure a seamless installation of the Sandisk Extreme Portable SSD on your Mac with these troubleshooting tips.
From verifying system compatibility to updating firmware, this step-by-step guide will help you set up your drive effortlessly and maximize its performance.
Troubleshooting Connection And Formatting Problems:
Connection issues:
- Ensure that the Sandisk Extreme Portable SSD is properly connected to your Mac using the USB cable provided.
- Try connecting the SSD to a different USB port on your computer to rule out any port-related problems.
- If the SSD is still not being recognized, check if it works on another Mac or Windows PC. If it does, the issue may be specific to your Mac.
Formatting problems:
- If your Mac prompts you to format the SSD when you connect it, proceed with caution as formatting will erase all data on the drive. Make sure to back up any important files before formatting.
- If you need to format the SSD, open the Disk Utility on your Mac. Select the SSD from the list of drives and click on the Erase tab. Choose the appropriate file system format (usually exFAT is recommended for cross-platform compatibility) and click on Erase.
- If the formatting process fails or encounters errors, try using a different USB cable or connecting the SSD to a different computer to determine if the issue is with the equipment or the drive itself.
Maximizing Performance: Tips To Optimize The Sandisk Extreme Portable Ssd On Your Mac:
- Keep the SSD firmware up to date by visiting the Sandisk website and downloading any available updates. Firmware updates often include performance enhancements and bug fixes.
- Avoid filling the SSD to its maximum capacity. Leaving some free space, ideally around 10-20%, can help maintain optimal performance.
- To improve read and write speeds, connect the SSD to a USB 3.1 Gen 2 (or higher) port on your Mac. These ports offer faster data transfer rates compared to older USB ports.
Consider enabling TRIM support on your Mac, as it helps to optimize SSD performance and longevity. To do this, open the Terminal app and enter the command: `sudo triforce enable`.
Follow the on-screen instructions to complete the process.
- Regularly clean up unnecessary files and applications from your SSD to free up space and maintain its performance.
- Use macOS’s built-in storage management tools or third-party apps to identify and remove large or redundant files.
FAQ On How To Install Sandisk Extreme Portable Ssd On Mac
How do I install Sandisk Extreme Portable SSD on my Mac?
Visit Sandisk’s website and download the Extreme Portable SSD software for Mac. Follow the instructions provided to install the software on your Mac and connect the Extreme Portable SSD to your computer.
What type of cable do I need to connect the Sandisk Extreme Portable SSD to a Mac?
You will need a USB-C cable or USB-A to USB-C cable, depending on the type of ports your Mac has.
Will the Sandisk Extreme Portable SSD work with my Mac?
The Sandisk Extreme Portable SSD is compatible with both Mac and Windows computers.
Is the Sandisk Extreme Portable SSD safe to use?
Yes, the Sandisk Extreme Portable SSD is a secure device that features password protection, 256-bit AES encryption, and secure erase technology to protect your data.
How fast is the Sandisk Extreme Portable SSD?
The Sandisk Extreme Portable SSD features transfer speeds up to 550MB/s, allowing you to quickly and efficiently transfer large files.
Conclusion
Installing the Sandisk Extreme Portable SSD on your Mac is a quick and straightforward process that can greatly enhance your storage options and improve your device’s performance.
By following the step-by-step instructions outlined You can seamlessly connect and set up the SSD, ensuring that you have ample space to store and access your files.
Remember to take note of the compatibility requirements to ensure a smooth installation process. With its fast read and write speeds, the Sandisk Extreme Portable SSD is a reliable and efficient solution for storing and transferring large files.

Harold Williams is a senior writer and technical editor at Drives Hero with 20+ years of experience in IT administration. He specializes in storage systems, SSD reviews, and performance testing, bringing real-world insight to every guide.