How to Upgrade Ps4 Ssd
To upgrade your PS4’s SSD, back up your data, then replace the existing drive with a new SSD. Reinstall the system software on the new drive afterward.
Upgrading the SSD in your PlayStation 4 can vastly enhance your gaming experience by decreasing load times and improving overall system responsiveness. As the consoles age and game files become larger, the stock hard drive that comes with your PS4 might not provide the speed and capacity you need.
Gamers looking to expand their storage and boost performance will find replacing the old hard drive with a solid-state drive to be a practical upgrade. Before proceeding, ensure you have the right tools: a Phillips-head screwdriver, a USB drive with the PlayStation’s latest firmware, and your chosen SSD. The process is straightforward, but it’s crucial to follow Sony’s specifications and guidelines to avoid damaging your system or voiding the warranty. Remind users to backup their games and saves, as this swap will initially clear everything on the original HDD.
Key Takeaway
Introduction To Ssd Upgrades For Ps4
Are you aiming to boost your PS4’s performance with a storage upgrade? Look no further! Introducing the concept of swapping out the default mechanical hard drive (HDD) for a sleek, modern solid-state drive (SSD) could be the game-changer you need. In the realm of gaming, speed, and efficiency are king, and with an SSD, your PS4 experience could soar to new heights. Let’s dive into the mechanics of an SSD upgrade for your PS4, unraveling the benefits, compatibility, and safety measures to take your console’s potential to the next level.
Understanding The Benefits Of Ssd Over Hdd
- HDDs are the traditional storage options, with spinning disks to read and write data.
- SSDs, on the other hand, have no moving parts and provide faster access to data.
- An SSD can significantly reduce load times for games, operating system functionalities, and other applications.
- Expect improved system responsiveness and a quieter operation with an SSD’s reduced noise and heat production.
- Durability is a notch higher; SSDs are less prone to damage from drops or shakes, prolonging your PS4’s lifespan.
Comparing Ps4 Models And Their Compatible Ssd Specifications
Each PS4 model has its specific SSD requirements. Here is a comparison to help you identify the right SSD for your console:
| PS4 Model | Compatible SSD Size | Max SSD Thickness |
|---|---|---|
| PS4 Original | Up to 8TB | 9.5mm |
| PS4 Slim | Up to 8TB | 9.5mm |
| PS4 Pro | Up to 8TB | 9.5mm |
Ensure compatibility by checking the SSD’s interface; most PS4 models require a 2.5-inch SATA SSD.
Safety And Preparation Guidelines Before Beginning The Upgrade Process
Before you start the upgrade, taking some initial precautions can ensure a smooth transition:
- Back up your data to an external HDD or via cloud storage to protect your game saves and profiles.
- Make sure your system software is up to date to prevent any compatibility issues.
- Work in a static-free environment to avoid electrostatic discharge that could harm your PS4’s internal components.
- Collect the necessary tools—typically a Phillips head screwdriver and a small tray to keep screws organized.
- Have a USB drive ready with the latest PS4 system software for reinstallation after the drive swap.
Selecting The Right Ssd For Your Ps4
Upgrading your PS4 with a new SSD (Solid State Drive) can breathe new life into your console, providing faster load times and a smoother overall gaming experience. But with so many SSDs on the market, selecting the right one for your PS4 can be daunting. Understanding what makes a good SSD and which models offer the best balance between capacity and speed will help you make an informed decision. Here’s a comprehensive guide to choosing the perfect SSD upgrade for your PS4.
Factors To Consider When Choosing An Ssd
Not all SSDs are created equal, and several key factors should influence your choice:
- Compatibility: Ensure the SSD you select adheres to PS4 requirements, including size (2.5-inch drives, up to 9.5mm in height) and interface (SATA).
- Performance: Speed is crucial. Look for an SSD with fast read and write speeds to decrease loading times and improve gameplay.
- Reliability: A reputable brand with good endurance ratings and warranties can provide peace of mind.
- Storage Capacity: Consider how much space you need for games, DLCs, and updates. Larger drives offer more space but at a higher cost.
Recommended Ssd Models For Ps4
| Model | Read Speed | Write Speed | Capacity Options | Warranty |
|---|---|---|---|---|
| Samsung 860 EVO | 550 MB/s | 520 MB/s | 250GB – 4TB | 5 Years |
| Crucial MX500 | 560 MB/s | 510 MB/s | 250GB – 2TB | 5 Years |
| SanDisk Ultra 3D NAND | 560 MB/s | 530 MB/s | 250GB – 4TB | 5 Years |
Capacity Vs. Speed: What Matters More?
When deciding between a larger-capacity SSD and one with higher speeds, it’s essential to balance your needs. Larger capacities ensure you won’t run out of space quickly but come with a higher upfront cost. On the other hand, faster speeds mean less time staring at loading screens and more time playing.
For the PS4, speed improvements may have diminishing returns past a certain point due to the console’s hardware limitations. As such, a mid-range SSD in terms of speed is often sufficient. Prioritizing a balance between capacity and speed within your budget will likely offer the best value for most gamers. An SSD with at least a 500GB capacity and 500 MB/s read/write speed strikes a good balance for a PS4 upgrade.
Step-by-step Guide To Upgrading Your Ps4 Ssd
Are you eager to enhance your PlayStation 4 gaming experience by upgrading to a solid-state drive (SSD)? You’ve made a bold choice! Solid-state drives can greatly decrease loading times, making your console more responsive and faster than ever. This step-by-step guide will walk you through upgrading your PS4 SSD, ensuring a smooth transition. Let’s delve into the easy-to-follow process that will transform your gaming sessions.
Backing Up Your Ps4 Data
Before you get started with the hardware swap, it is crucial to back up your data to avoid any loss of your valuable game saves, screenshots, and downloaded content. To do this:
- Connect a USB drive or external hard drive with sufficient space to your PS4.
- Go to Settings > Application Saved Data Management > Saved Data in System Storage > Copy to USB Storage Device.
- Select the files you wish to back up or choose ‘Select All’ and then Copy.
Remember, if you are a PlayStation Plus member, you can also back up your saved games to the cloud.
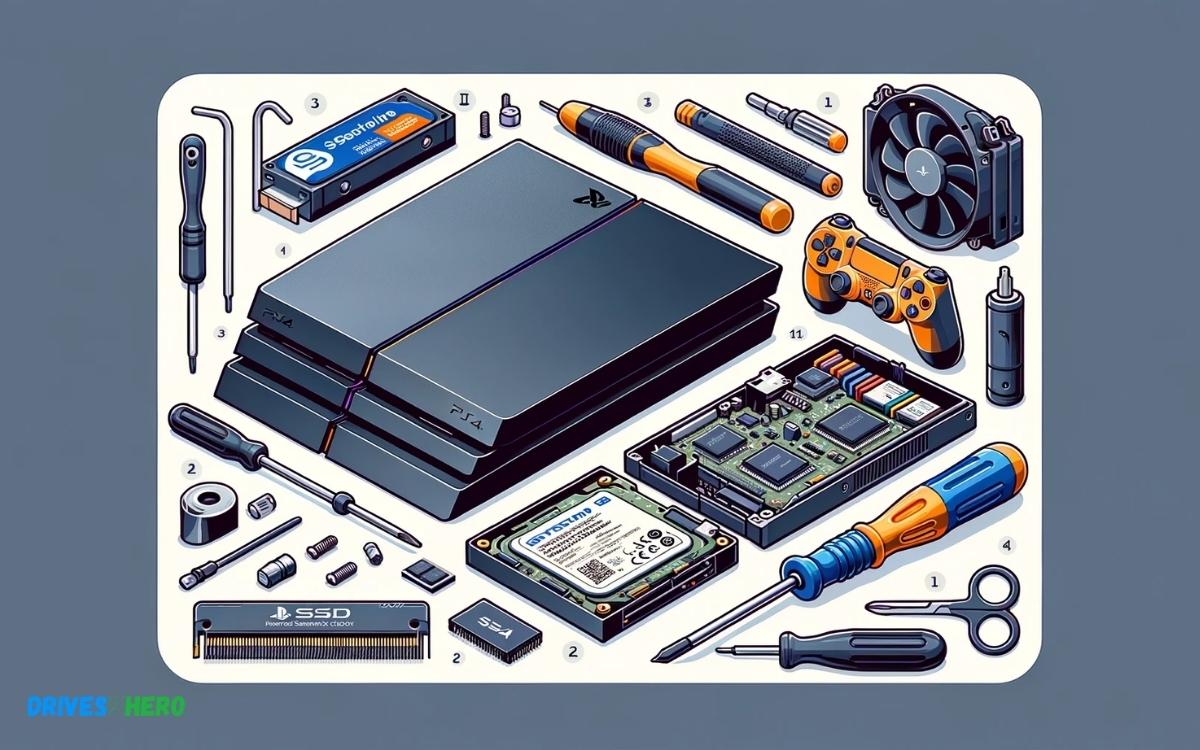
Tools Required For The Ssd Upgrade
Equipping yourself with the right tools is the first step in the hardware upgrade process. For the SSD upgrade, you will need:
- A small Phillips-head screwdriver to open the housing and remove the hard drive.
- 2.5-inch SATA SSD: Ensure it’s no thicker than 9.5mm and has a storage capacity of up to 8TB.
- A USB flash drive with at least 1GB free space for the reinstallation of the PS4 system software.
Removing The Existing Hdd And Installing The New Ssd
To switch out the hard drives, power off your PS4 completely and disconnect all cables. Then follow these steps:
- Remove the HDD bay cover or the back panel of your PlayStation 4 model.
- Unscrew the mounting bracket that holds the hard drive in place and slide out the HDD.
- Replace the existing HDD with your new SSD, ensuring it is securely fastened within the bracket.
- Reattach the bracket and replace the bay cover or back panel.
Upon securing the new SSD, you’re halfway through the upgrade process!
Reinstalling The Ps4 System Software
With the new SSD installed, you’ll need to install the PS4 system software. Here’s what to do:
- On your computer, download the latest PS4 system software update from the PlayStation official website.
- Format your USB flash drive to FAT32 and create a folder named ‘PS4’ on it.
- Inside the ‘PS4’ folder, create another folder named ‘UPDATE’.
- Copy the downloaded update file to the ‘UPDATE’ folder and rename it to ‘PS4UPDATE.PUP’.
- Connect the flash drive to your PS4.
- Boot your console in Safe Mode by holding the power button for about 7 seconds until you hear a second beep.
- Select ‘Initialize PS4 (Reinstall System Software)’ and follow the on-screen instructions to complete the installation.
Once the installation finishes, your PS4 will restart, and your newly installed SSD is ready to show off its speed and added capacity!
Post-upgrade Considerations
Once you successfully upgrade your PS4 with a new solid-state drive, you embark on a journey of enhanced gaming with faster load times and smoother performance. Nonetheless, the upgrade process doesn’t end with the hardware swap. To truly harness the power of your new SSD, post-upgrade considerations are crucial. They ensure data integrity, optimize performance, and prepare you to deal with any potential glitches.
Restoring Data And Verifying The Upgrade
Restoring your data to the new SSD is a vital step. After the physical replacement, you need to reinstall the PlayStation operating system, which you can download from the official Sony website. It’s crucial to have a USB drive with the firmware file ready for this process.
Once the system software is in place, the next step is to restore your backed-up data. Connect the external drive with your game data and saves, then navigate through Settings > System > Back Up and Restore. This process will return all your games, saves, and settings to their rightful place on your new SSD.
To verify the upgrade, navigate to Settings > System Storage Management and ensure the displayed storage capacity matches your new SSD’s specifications.
Optimizing Ps4 Settings For Ssd Performance
Optimization of your PS4 settings can maximize the performance gains from your SSD. Focus on these key adjustments:
- Rebuild the PS4 database: Helpful post-upgrade, this can be initiated by turning off the PS4, then holding the power button for seven seconds until you hear a second beep. Enter Safe Mode and select ‘Rebuild Database’. This aligns your data optimally for the SSD.
- Disable features you don’t use: Streamline your PS4’s operations by turning off features like auto-uploads and system music under System Settings to reduce unnecessary SSD wear.
Troubleshooting Common Issues After The Upgrade
Despite the best efforts, issues can arise post-SSD upgrade. Common problems and their fixes include:
| Issue | Solution |
|---|---|
| PS4 not recognizing the new SSD | Ensure the SSD is properly connected. If necessary, power down the console, re-open the casing, and check the drive’s seating and cable connections. |
| Slow performance or freezing | Re-enter Safe Mode and select ‘Rebuild Database’ as this can resolve many performance issues linked to data misalignment. |
| Error messages during system software installation | Verify the firmware file on your USB drive is correct and not corrupted. Redownload the file from Sony’s official website if needed. |
If issues persist, the Sony support community and FAQ sections are excellent resources for troubleshooting more complex problems.
Conclusion
Upgrading your PS4 SSD breathes new life into your gaming console. The speed and efficiency gains are substantial. Remember to back up data and follow the steps carefully. Say hello to faster load times and a smoother gaming experience with your enhanced PS4.
Happy gaming!

Harold Williams is a senior writer and technical editor at Drives Hero with 20+ years of experience in IT administration. He specializes in storage systems, SSD reviews, and performance testing, bringing real-world insight to every guide.