How to Upgrade Ps5 Ssd
To upgrade your PS5 SSD, purchase a compatible NVMe M.2 SSD and install it into the expansion slot. Ensure it meets the speed and size requirements set by Sony.
Upgrading the SSD in your PlayStation 5 can significantly enhance your gaming experience by providing faster load times and additional storage space. The PS5 is designed with a dedicated internal slot that allows users to expand the console’s storage with a high-speed NVMe M.
2 SSD. Before undertaking this upgrade, you need to select an SSD that fits Sony’s specified criteria, including a sequential read speed of at least 5,500MB/s and a suitable heatsink to manage heat dispersion. Equipped with the right tools and following Sony’s user guide, you can complete this upgrade simply and efficiently, keeping your gaming setup future-proof and ready for new releases. Remember to backup any game data before starting the upgrade process to preserve your progress and settings.
Key Takeaway
Introduction To Ps5 Ssd Upgrades
Introduction to PS5 SSD Upgrades: The PlayStation 5 heralds a new era of lightning-fast load times and expansive game worlds, thanks to its custom SSD — a game-changer for the gaming experience. However, even with the impressive built-in storage, avid gamers may find themselves needing more space as their library grows. Upgrading your PS5’s SSD is not just about adding more storage, it’s about maintaining the performance edge that defines the console. This guide will illuminate the path to enhancing your PS5 with an SSD upgrade tailored to your gaming needs.
Understanding The Ps5’s Storage Needs
The PS5’s built-in SSD is a marvel of modern technology, designed to serve up data at breakneck speeds. But with games getting larger, some titles demand hefty chunks of space. Here’s a breakdown of what you need to know about your PS5’s storage demands:
- Game File Sizes: Triple-A titles can take up to 100GB or more, quickly filling up the default storage.
- System File Reserved Space: The PS5 reserves a portion of the SSD for system files and updates, so not all of the advertised storage is available for games.
- Speed Requirements: Any SSD upgrade must meet specific speed requirements to match the PS5’s built-in drive and ensure smooth gameplay.
Benefits Of Upgrading Your Ps5 Ssd
Bolstering your PS5 with a new SSD carries several advantages:
- Extended Storage: More room for games means fewer tough decisions about what to delete.
- Seamless Gameplay: An adequate SSD upgrade maintains the PS5’s lightning-fast load times and performance.
- Future-Proofing: With a larger SSD, your PS5 is ready for the larger game files of tomorrow.
Assessing Compatibility And Choosing The Right Ssd
Not every SSD will work with your PS5. Compatibility is key, and here are the steps to find the perfect match:
- Check the Minimum Requirements: Ensure the SSD matches or exceeds Sony’s recommended specs for read speeds and form factor.
- Inspect the Physical Size: The SSD must fit into the PS5’s expansion slot — take note of the maximum dimensions allowed.
- Consider Heat Dissipation: High-speed SSDs can get hot; choose one with a heat sink or be prepared to add your own.
Upgrading the SSD in your PS5 can transform your gaming experience, providing ample space for your expanding game collection while maintaining the console’s hallmark high-speed performance.
Preparing For The Upgrade Process
Welcome to the step-by-step guide on upgrading your PlayStation 5’s SSD. Before diving into the core installation process, it’s crucial to prepare thoroughly. This preparatory phase is not just about gathering tools; it’s about ensuring data safety and understanding the procedure, to make the transition to your new SSD as smooth as possible. Proper preparation reduces the risk of data loss and ensures an efficient upgrade.
Backing Up Your Existing Ps5 Data
Protect your game progress, screenshots, and downloads by backing up your PS5 data. This essential step ensures that no important information is lost during the SSD upgrade. The PlayStation 5 facilitates this process through USB or cloud storage (available for PlayStation Plus subscribers).
- Connect a USB drive to your PS5 or ensure a stable internet connection for cloud backup.
- Go to ‘Settings’ > ‘System’ > ‘System Software’ > ‘Data Transfer/Back Up and Restore’
- Follow the on-screen instructions to secure all your data.
After successfully backing up your data, it’s time to collect the necessary tools for the hardware installation.
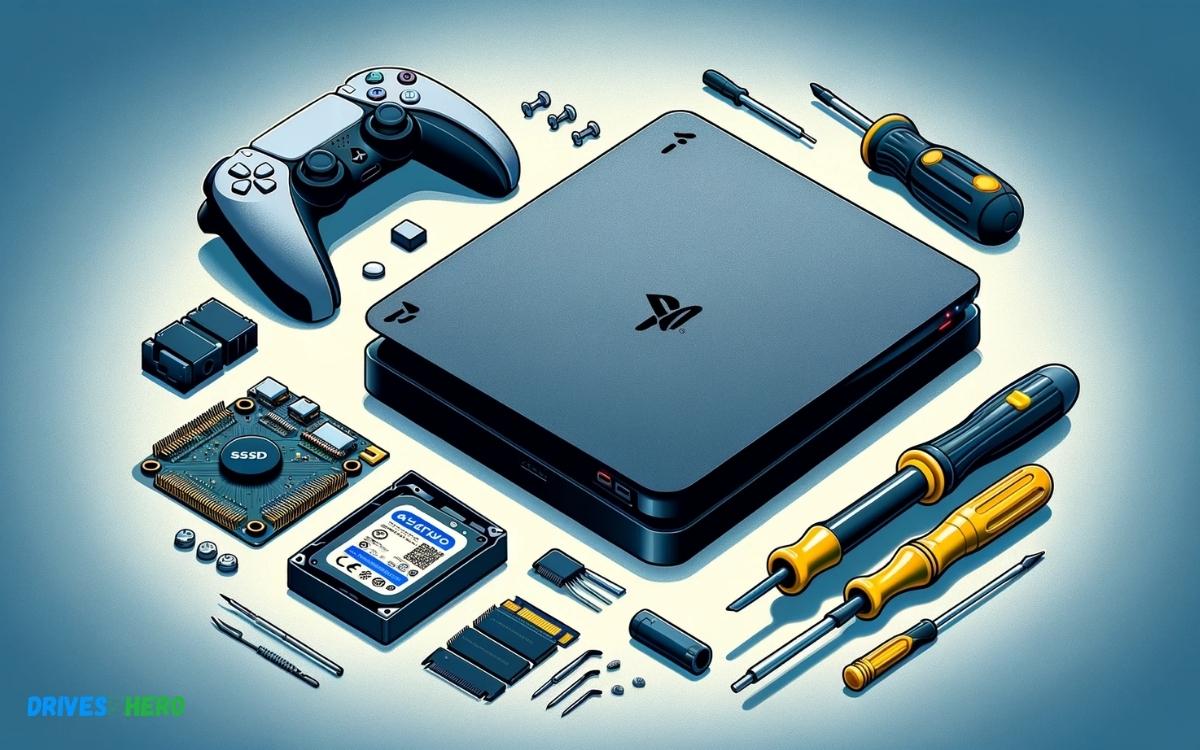
Gathering The Necessary Tools And Equipment
| Tool/Equipment | Description |
|---|---|
| Compatible NVMe SSD | Ensure the new SSD meets PS5 specifications for size and speed. |
| Small Philips Head Screwdriver | Needed to remove the PS5 cover and SSD screws. |
| Anti-Static Wrist Strap (Optional) | Protects the PS5 components from electrostatic discharge. |
Once all items are ready, familiarize yourself with the upcoming installation steps.
Understanding The Steps Involved In The Upgrade
A successful upgrade demands a clear understanding of the process. Here’s a brief synopsis:
- Ensure the PS5 console is turned off and unplugged.
- Remove the PS5 stand and the outer cover to access the SSD compartment.
- Unscrew and remove the existing SSD. Take caution handling sensitive components.
- Insert the new SSD into the slot and secure it with the screw.
- Reassemble the console cover and stand.
- Turn on the PS5 and follow instructions for formatting the new SSD.
With these steps in mind, you’re equipped to confidently commence the SSD upgrade, ensuring a revitalized gaming experience with faster load times and more storage capacity.
Step-by-step Guide To Upgrading Your Ps5 Ssd
Are you ready to supercharge your gaming experience with a PS5 SSD upgrade? Upgrading your PlayStation 5’s solid-state drive (SSD) can be a game-changer, unlocking faster loading times and smoother performance. With this step-by-step guide, you’ll confidently boost your console’s storage capacity and speed.
Opening The Ps5 Console Safely
Before you begin, ensure your PS5 is turned off, unplugged, and placed on a clean, static-free surface. Grab a soft cloth to lay your PS5 on to avoid scratches. Here’s how to open your console:
- Position the PS5 with the PS logo facing down.
- Gently lift the corner of the white outer cover, near the top corner of the console, and slide it off.
- With the cover removed, you’ll see the metal cover guarding the SSD bay.
Removing The Existing Ssd
To remove the current SSD, follow these steps:
- Unscrew the single bolt that holds the metal cover in place using a #1 Phillips or cross-head screwdriver.
- Lift the metal cover to reveal the SSD.
- Carefully unscrew the SSD retaining screw and set it aside.
- Gently pull the SSD out of its slot at a slight angle.
Installing The New Ssd
Installing the new SSD is just as crucial. Ensure compatibility by checking PlayStation’s recommended specifications. Once you have the right SSD, proceed with these steps:
- Align the new SSD with the slot, at the same slight angle, and insert it firmly.
- Push the SSD down, and secure it with the retaining screw.
It’s vital to handle the new SSD gently and avoid touching the connectors to maintain its integrity.
Closing The Ps5 Console
To finish the upgrade, you need to reassemble the console:
- Replace the metal cover, and ensure it’s snugly fitted.
- Secure the metal cover back with its bolt.
- Align the white outer cover with the grooves on the console and slide it back into place.
Double-check each step to ensure all parts are securely fitted. Your PS5 is now ready for a new level of gaming, thanks to increased storage and enhanced speed!
Post-upgrade Steps
Once you’ve successfully upgraded the SSD on your PS5, the process isn’t quite finished yet. You’ll need to execute several Post-Upgrade Steps to ensure your new drive is fully operational and primed for gaming. The following critical actions will walk you through initializing your new hardware, restoring your precious data, updating your system’s software, and, of course, testing the SSD’s performance to make sure you’re truly ready to dive back into your gaming adventures.
Initializing And Formatting The New Ssd
Upon booting up your PS5 after installing a new SSD, the first task is to get the drive ready for use. This involves both initializing and formatting. Navigate to the ‘Settings’ menu, then ‘Storage’, and select the option to format your SSD. This will erase all data on the drive and set up the required file system for your PS5.
Restoring Your Data
With your SSD formatted, the next step is to restore your games, applications, and saved data. If you backed up your data to a USB drive or cloud storage, you could now retrieve it. Go to ‘Settings’, then ‘System Software’, and choose ‘Back Up and Restore’. Follow the prompts to bring all your data back into your PS5’s new SSD. Ensure all important files restore correctly by checking game saves and app data.
Ensuring System Software Is Up To Date
To enjoy the best experience on your PS5, keep the system’s software up to date. Head to ‘Settings’, select ‘System’, and under the ‘System Software’ section, tap ‘System Software Update and Settings’. Proceed to update to the latest version if one is available. This ensures not only optimal performance but also the latest security patches for safeguarding your gaming experience.
Testing The New Ssd’s Performance
It’s paramount to test your new SSD’s performance once setup is complete. Confirm the upgraded drive is working at its best by loading games and observing the speeds of boot times and loading screens. Improved performance compared to your old drive indicates a successful upgrade. Utility software, like speed test apps, is available to measure your SSD’s read and write capabilities, giving you quantitative evidence of the upgrade’s performance boost.
Troubleshooting Common Issues
Even the most adept gamers can face challenges when upgrading their PS5’s SSD. Let’s navigate through some common hurdles you might encounter and provide solutions to get your system running smoothly.
Addressing Installation Errors
A successful SSD upgrade begins with proper installation. Should you encounter errors during this phase, consider these steps:
- Recheck the SSD Specifications: Ensure that the SSD is compatible with PS5 requirements. It should be a PCIe Gen4 x4 M.2 NVMe SSD.
- Examine the Seating: An incorrectly seated SSD can cause errors. Power down your console, reopen the SSD slot, and carefully reinsert the SSD, ensuring it’s fully seated and secured.
- Update your PS5: Running on the latest software can prevent installation issues. Check for system updates in the ‘System Software Update and Settings’ menu.
Resolving Recognition And Formatting Troubles
If your PS5 doesn’t recognize the upgraded SSD, take a breath and try the following:
- Turn off your PS5 completely, and then turn it on to see if it detects the SSD.
- Check Connection: Revisit the SSD’s connection, ensuring it’s not loose or improperly aligned.
- Format the SSD: Occasionally, SSDs need formatting to be recognized. You can format the drive directly from your PS5’s ‘Storage’ settings.
Dealing With Performance And Stability Concerns
When the hardware upgrade seems perfect but performance lags, consider:
| Issue | Possible Causes | Solution |
|---|---|---|
| Slow Load Times | Fragmented data or background tasks. | Rebuild database via Safe Mode options, and limit background tasks. |
| Game Crashes | Software incompatibility or overheating. | Ensure proper ventilation and consider reinstalling affected games. |
| Freezing | Outdated software or corrupted data. | Install the latest firmware and if necessary, clear the cache. |
With careful attention and methodical troubleshooting, most SSD upgrade issues can be resolved, leading to a smoother and more enjoyable gaming experience on your PS5.
Maintaining Your Upgraded Ps5
Once you’ve successfully upgraded your PS5 SSD, it’s crucial to ensure your console continues to operate at peak performance. Keeping your system’s software updated and regularly checking the health of your newly installed SSD are both essential practices for prolonging the lifespan of your PlayStation 5.
Regularly Updating The System Software
First and foremost, keep your PS5 system software current. Sony frequently releases updates that improve system performance, enhance security, and add new features. To manually check for updates, navigate to the system settings and select “System Software Update.” Enable automatic updates to stay ahead, ensuring that your PS5 is always running the latest software without manual intervention.
Monitoring Ssd Health And Performance
Monitoring the health and performance of your SSD is another critical aspect of maintenance. Use the console’s built-in tools to check storage space and manage data. Be mindful of signs of SSD wear, such as slow load times or data corruption, which could indicate that your SSD may need attention. Backing up your game saves to the cloud or a USB device is a valuable habit to adopt, protecting your data against potential SSD failures.
Staying Informed About Ssd Technology Advances
Lastly, staying updated with the latest SSD technology will offer insights into improvements and innovations that could enhance your gaming experience. Manufacturers continually release faster, more durable SSD models. By keeping a pulse on these advancements, you can make informed decisions about potential future upgrades, ensuring your PS5 remains a state-of-the-art gaming platform.
Conclusion
Upgrading your PS5 SSD can be a game-changer for speed and storage. With the right tools and guide, you’ll have your console running at peak performance in no time. Remember to back up data before you start, and enjoy the swift, expanded functionality of your enhanced PS5 system.
Dive into new adventures without a hitch!

Harold Williams is a senior writer and technical editor at Drives Hero with 20+ years of experience in IT administration. He specializes in storage systems, SSD reviews, and performance testing, bringing real-world insight to every guide.