How to Upgrade Ipod Classic to Ssd
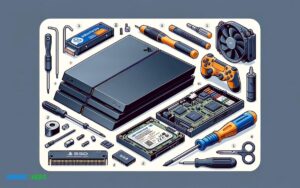
To upgrade an iPod Classic to SSD, start by acquiring a compatible SSD and a toolkit for opening the device. Next, carefully disassemble the iPod, replacing the old hard drive with your new SSD.
Upgrading your iPod Classic with an SSD breathes new life into the vintage device, enhancing performance and increasing storage reliability. The Solid State Drive (SSD) offers faster access speeds and improved durability over traditional mechanical hard drives, making it a popular choice for iPod Classic enthusiasts seeking to boost their gadget’s longevity.
Undertaking this upgrade requires precision; thus, ensuring you have the right tools and instructions is vital. Not only does an SSD upgrade reduce the chance of moving part failures, but it also gives your trusty music player a modern touch. Be ready for a careful process that can reward you with a revitalized music experience on your beloved iPod Classic.
Key Takeaway
Introduction To Ipod Classic Ssd Upgrade
The Introduction to iPod Classic SSD Upgrade is a journey into reviving and enhancing one of the most iconic music players of all time. The Apple iPod Classic holds a special place in the hearts of music lovers, yet its original hardware, including the HDD (Hard Disk Drive), leaves modern users craving more speed, reliability, and storage. An SSD, or Solid State Drive, upgrade breathes new life into the venerable device, offering a fresh wave of performance boosts and endurance. This guide unfolds the curtain on what this upgrade involves and how you stand to benefit from it.
Understanding The Ipod Classic And Its Original Design
The iPod Classic boasts a simplistic design that has withstood the test of time. Its original architecture with a spinning hard drive provided ample space for extensive music libraries but suffered from moving parts that could fail. Moreover, its mechanical drive limited data transfer speeds and the overall responsiveness of the device.
Benefits Of Upgrading To Ssd
- Enhanced durability: Without moving parts, SSDs are less prone to physical failure.
- Improved battery life: SSDs draw less power, leading to longer playtimes between charges.
- Faster performance: Rapid access to tracks and quick boot-up times revolutionize the user experience.
- Increased storage capacity: Modern SSDs offer substantially more room for your music collection.
- Quieter operation: SSDs operate silently, ensuring your listening experience remains uninterrupted.
Overview Of The Process And What To Expect
Upgrading to an SSD involves replacing the iPod Classic’s old hard drive with a new, flash-based storage unit. Expect to:
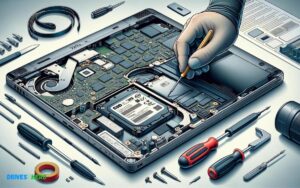
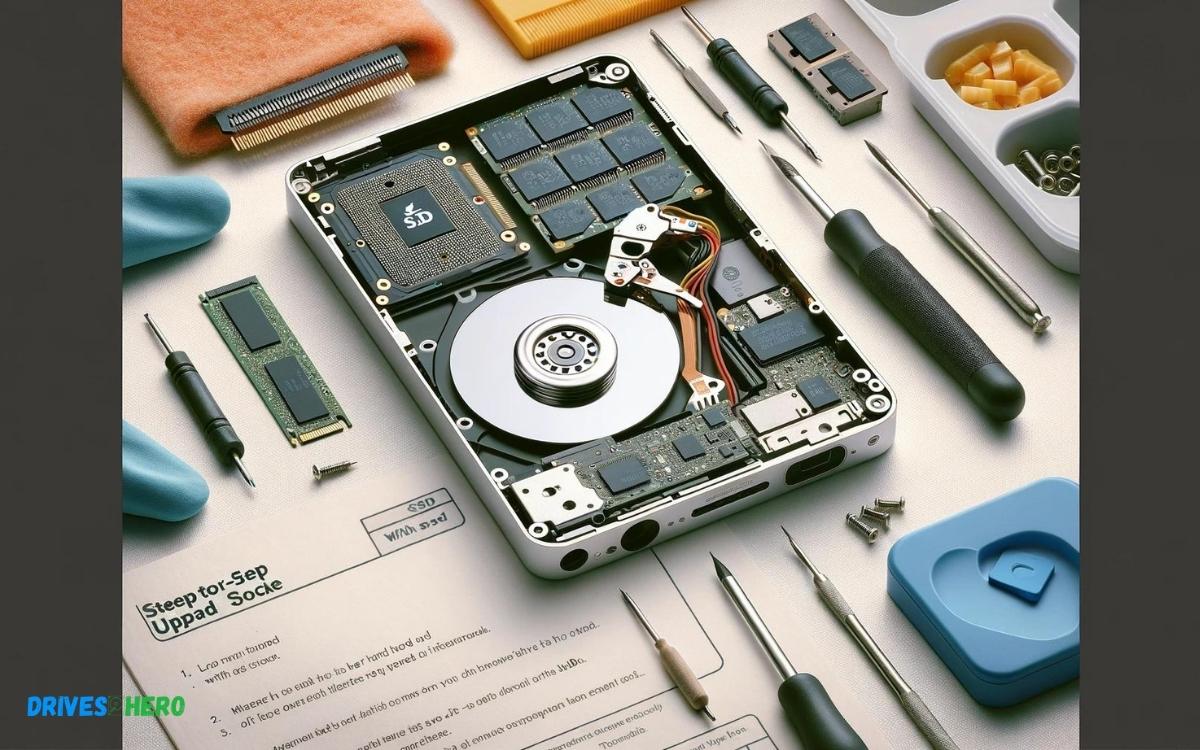
- Disassemble the iPod, which requires careful handling and specific tools.
- Select and purchase a compatible SSD tailored to fit the iPod Classic’s body.
- Clone your current hard drive’s contents onto the new SSD or opt for a fresh music library.
- Reassemble the iPod and troubleshoot any potential issues during the first boot-up with the new drive.
The upgrade process can be a refreshing DIY project or handled by a professional, but the outcome remains the same: your iPod Classic will emerge rejuvenated, ready to meet today’s standards of digital music consumption.
Preparing For The Ssd Upgrade
Embarking on an SSD upgrade for your iPod Classic will breathe new life into your beloved device. Solid State Drives offer faster performance and more reliable storage compared to the traditional spinning hard drives. Preparing for the SSD upgrade ensures a seamless transition and safeguards your data. Get ready for a revitalization that will make your classic iPod snappier and ready for more years of music playback.
Choosing The Right Ssd For Your Ipod Classic
Selecting the perfect SSD for your iPod Classic is crucial for compatibility and performance. Not every SSD will fit or function properly with the unique architecture of an iPod Classic. Prioritize an SSD that:
- Matches the iPod’s interface – Ensure it supports the same interface as your iPod Classic, typically a ZIF (Zero Insertion Force) connector.
- Has adequate storage – Decide how much space you need for your media library. SSDs come in various capacities, typically ranging from 128GB to 1TB.
- Is a trusted brand – Opt for reputable manufacturers known for durability and longevity.
Tools And Materials Needed For The Upgrade
Assemble the right tools before starting the upgrade to avoid any roadblocks. You will need:
| Tool/Material | Description |
|---|---|
| Phillips #00 Screwdriver | For unscrewing iPod’s external screws |
| Plastic Opening Tools | To pry open the iPod without damaging the case |
| Replacement ZIF SSD | The SSD selected for upgrade |
| Anti-static Wrist Strap (optional) | To prevent static electricity from damaging the iPod’s internals |
Backing Up Your Existing Ipod Data
Securing your existing iPod data is paramount before proceeding. Transfer your music, photos, and other files to your computer as follows:
- Connect your iPod Classic to the computer.
- Open iTunes or Finder if you’re using a Mac with macOS Catalina or later.
- Select the iPod icon, then choose to sync and backup your data.
- Verify the backup to ensure all files are copied.
Ensuring The Firmware Is Up-to-date
Update your iPod Classic’s firmware to ensure the device interfaces with the new SSD correctly:
- Connect the iPod to your computer.
- Open iTunes and select your device.
- Click on ‘Summary,’ then ‘Check for Update.’
- Download and install any available updates.
Proper preparation sets a strong foundation for a successful SSD upgrade, leading to enhanced performance and extended life for your iPod Classic. With the right SSD, tools in hand, data secured, and the latest firmware, your iPod is ready for a new chapter.
Step-by-step Guide To Upgrading
Are you ready to breathe new life into your iPod Classic? Upgrading to an SSD isn’t just a performance booster—it’s a rejuvenation for your beloved device. This step-by-step guide is designed to walk you through each phase of the upgrade process, ensuring you can enjoy your music collection with faster access times and a more durable solution compared to traditional hard drives. Let’s get hands-on with technical finesse and give your iPod Classic a modern twist!
Opening The Ipod Classic Case
First things first, you’ll need to gently pry open the case. The iPod Classic is known for its sturdy build, so take your time to avoid any damage:
- Prepare the necessary tools: a thin plastic pry tool or a flathead screwdriver works best.
- Work around the seams: start at the top corner and slide the tool around the edges to loosen the clips holding the case together.
- Open the case carefully: once the clips are disengaged, separate the front and back carefully to avoid damaging internal cables.
Removing The Original Hard Drive
With the case open, it’s time to remove the hard drive. This is where precision comes in:
- Disconnect the battery: unclip the battery connector to prevent any electric shock or damage.
- Remove the hard drive ribbon: gently detach the ribbon connecting the hard drive to the board.
- Lift the hard drive out: carefully remove any adhesive or padding securing the drive in place.
Installing The Ssd
Inserting the SSD is a significant turning point. Make sure you have a compatible SSD ready:
- Align the SSD: place the SSD into the drive bay, ensuring a snug fit.
- Attach the ribbon: connect the SSD to the main board with the ribbon cable — be sure the connection is secure.
- Secure the SSD: use the same adhesive or padding to fix the SSD in place.
Reassembling The Ipod Classic
The final step is reassembly. Follow these guidelines to safeguard your upgrade:
- Reconnect the battery: ensure the ribbon cable is secured before clipping the battery back in place.
- Close the case: gently press the two halves of the iPod Classic together, making sure the clips snap back into position.
- Perform a test run: turn on your device to verify that the upgrade is successful and the iPod is functioning properly.
Post-upgrade Steps
With the physical installation part of your iPod Classic SSD upgrade behind you, it’s time to embark on the crucial next steps. Now, we focus on bringing your iPod back to life, from restoring your data to ensuring it performs at its best.
Restoring Your Data And Music Library
Re-syncing your music and other data to your newly upgraded iPod Classic is your first task. Here’s how to restore your media:
- Connect your iPod to your computer using a USB cable.
- Open iTunes or the Finder (on macOS Catalina or newer).
- Select your iPod under “Devices.”
- Choose to restore from a previous backup if available or set up as a new device to manually manage your data.
- Once your backup is loaded or your device is set up, sync your music and other content back onto your iPod.
Troubleshooting Common Issues After An Ssd Upgrade
If you encounter problems post-upgrade, don’t worry. Common issues can often be solved with a few steps:
- If your iPod doesn’t turn on, ensure the battery is charged and the hold switch isn’t enabled.
- For recognition issues on iTunes or Finder, verify the USB connection, restart your computer and iPod, and try a different USB port.
- Error messages during the restore process can sometimes be fixed by updating your iTunes or macOS to the latest version.
Performance Testing And Expectations
Post-upgrade, expect a significant boost in performance. Here are some key points for evaluating your iPod’s SSD upgrade:
- Monitor boot times which should now be faster than before.
- Accessing music and navigating menus should be more responsive.
- Battery life may improve due to the SSD’s lower power consumption.
- Use disk utility tools to assess the health and performance of the new SSD.
Maintenance And Care For Your Upgraded Ipod Classic
Breathing new life into your iPod Classic with an SSD upgrade is a fantastic way to enjoy your favorite tunes on a classic device with improved speed and reliability. Yet, the journey doesn’t end there. Proper maintenance and care will ensure that your revamped gadget stands the test of time. By following a few key steps to protect and optimize your device, you’ll keep the music playing smoothly for years to come.
Protecting Your Ipod Classic From Physical Damage
The durable build of the iPod Classic still requires caution to keep it in tip-top shape:
- Use a Case: Invest in a high-quality case to shield your device from drops and scratches.
- Screen Protector: A clear screen protector can prevent scratches without compromising the classic look.
- Avoid Extreme Temperatures: Extreme heat or cold can damage your iPod. Keep it away from radiators and direct sunlight, and don’t leave it in a cold car overnight.
- Careful Storage: When not in use, store your iPod in a padded bag or away from potential hazards.
Optimizing Battery Life After The Upgrade
With a shiny new SSD, conserving your iPod Classic’s battery life takes a few mindful practices:
- Regular Charging: Keep your battery healthy by charging it fully and then letting it discharge to around 20%.
- Reduced Brightness: Lower the screen brightness to minimize battery drain.
- Update Settings: Turn off any unnecessary features like EQ settings that can use more power.
- Music Format: Use energy-efficient music formats. Higher quality formats may sound better but can also drain the battery faster.
Future-proofing Your Device And When To Consider Further Upgrades
The longevity of your iPod Classic hinges on foresighted care:
- Firmware Updates: Keep your device’s firmware up to date to ensure compatibility and security.
- Component Checkups: Regularly check on the health of your iPod’s components, such as the battery and headphone jack, and consider replacement when they show signs of wear.
- Storage Management: Even with an SSD, managing your storage effectively can prevent slowdowns. Delete files you no longer need and keep the device organized.
- Assess Performance: Monitor your iPod’s performance over time. If you notice substantial slowdowns or issues, it may be time to consider further hardware upgrades or consulting a professional.
Conclusion
Upgrading your iPod Classic with an SSD breathes new life into a beloved device. It’s a savvy move for music enthusiasts craving speed and reliability. Follow this guide for a transformative experience, ensuring your classic tunes play on for years to come.
Embrace the DIY spirit and enjoy your refreshed iPod, ready to hit play on your next adventure.

Harold Williams is a senior writer and technical editor at Drives Hero with 20+ years of experience in IT administration. He specializes in storage systems, SSD reviews, and performance testing, bringing real-world insight to every guide.