How to Upgrade Hard Drive to Ssd
To upgrade your hard drive to an SSD, first clone your current drive to the SSD. Then, replace the old drive with the newly cloned SSD in your system.
Upgrading from a traditional hard drive to a solid-state drive (SSD) is a surefire way to revitalize an aging computer or enhance the performance of a newer machine. This swap can significantly speed up boot times, quicken file transfers, and make your system more responsive overall.
It’s a popular upgrade due to its straightforward process and noticeable benefits. There are numerous guides and tools available that can assist with data migration and installation, ensuring your transition to an SSD is as smooth as possible. Keep in mind that choosing the right SSD is crucial; consider factors like storage capacity, form factor, and interface compatibility with your device.
Key Takeaway
Introduction To Ssd Upgrades
Transforming your computer’s performance through an SSD upgrade is akin to giving your old car a high-powered engine. As we delve into the world of solid-state drives (SSDs), you’ll discover that this upgrade is not just a luxury—it’s a strategic move to revitalize your computing experience. Swapping out your hard drive for an SSD can lead to dramatic improvements in boot times, application loads, and overall system responsiveness. Let’s explore how SSDs can bring your system back to life and why you might consider this upgrade.
Understanding Ssds And Their Benefits Over Hdds
An SSD, or solid-state drive, is a type of data storage device that uses flash memory to store data. Unlike traditional hard disk drives (HDDs), SSDs have no moving parts, meaning they are more durable, faster, and consume less power. Here’s why many users choose SSDs:
- Faster performance: Quick boot times and smooth application launches.
- Durability: Greater resistance to shock and vibrations.
- Energy efficiency: Lower power consumption leads to prolonged battery life for laptops.
- Silent operation: Without moving parts, SSDs operate silently.
- Lower heat production: Less heat generation helps maintain a cooler system environment.
Assessing The Need For An Ssd Upgrade
Upgrading to an SSD might feel like a leap, but the decision becomes clear when you assess your current system’s performance. Consider the following:
| Current System Performance | Desired Outcome |
|---|---|
| Slow boot and load times | Instant-on feel with rapid start-up |
| Frequent system freezes | Smooth and responsive computing |
| Excessive noise from HDD | Quiet system with noise-free operation |
| Battery drains quickly | Longer battery life with efficient power usage |
| Insufficient storage space | Adequate storage with quick file access |
Evaluating these factors, along with the age and usage of your current system, will help you determine the urgency and value of upgrading to an SSD. Users seeking a seamless and agile computing experience often find significant benefit in making the switch.
Preparing For The Upgrade
Embracing the transition from a traditional hard drive to a solid-state drive can significantly boost your computer’s performance. Preparing for the upgrade is a critical step that ensures a smooth and efficient transition to your new SSD. This phase encapsulates three major aspects: assembling the necessary requirements and tools, performing a thorough data backup to safeguard your important files, and meticulously choosing the right SSD that aligns with your system’s compatibility and storage needs. Let’s dive into each of these steps to guarantee a successful upgrade.
Requirements And Tools For Upgrading To An Ssd
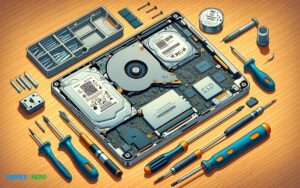
Upgrading to an SSD requires a few essential tools and understanding the prerequisites. Begin by gathering the following items:
- Screwdriver – Suitable for your computer’s screws.
- SATA-to-USB cable or SSD enclosure – For data cloning.
- Cloning software – Many SSDs come with proprietary software, or you can choose a third-party option.
- Antistatic wrist strap – To prevent static electricity from damaging components.
Data Backup: Safeguarding Your Information
Prior to initiating the upgrade, ensure all valuable data is backed up. This can prevent potential data loss during the transition. Employ one or more of the following methods for data backup:
- Cloud Storage Services – Upload your files to a secure cloud.
- External Hard Drive – Copy files directly to an external storage device.
- Cloning – Clone your entire drive to transfer to the SSD, streamlining the upgrade process.
Choosing The Right Ssd: Compatibility And Capacity
Selecting a compatible SSD is paramount. Pay attention to your system’s form factor (2.5-inch, M.2, or PCIe) and interface (SATA or NVMe). Ensure the SSD you choose is supported by your motherboard. Additionally, consider the storage capacity needed for your workload. While a 256GB SSD suffices for basic use, a 1TB or larger SSD is ideal for gaming or professional tasks that require substantial space. Match your selection to both your current and future requirements to avoid subsequent upgrades.
The Upgrade Process
Are you ready to give your computer a significant performance boost? Upgrading from a hard drive to a Solid State Drive (SSD) is a game changer for system speed and reliability. Let’s walk you through the entire SSD upgrade process, from the physical installation to system setup. With increased boot times, faster data access, and improved overall performance, transitioning to an SSD is an investment in your computing future. Follow this guide to ensure your upgrade is smooth and stress-free.
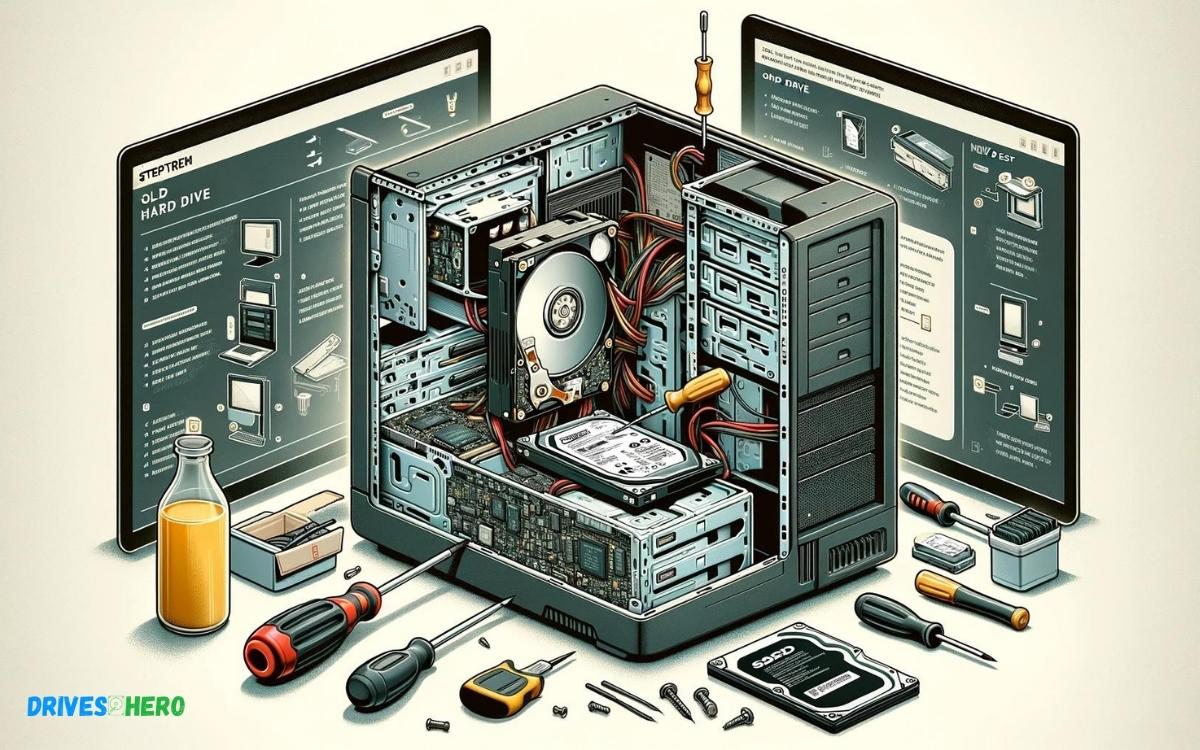
Step-by-step Guide To Physically Installing An Ssd
Preparing for the swap is crucial for a seamless transition. Prioritize backing up important data before beginning the installation. With your files secure, you’re ready to embark on the hardware change.
- Power down your computer and unplug all cables.
- Remove the computer’s side panel to access the interior.
- Locate the hard drive bay or bracket.
- Detach the existing hard drive by removing screws and disconnecting cables.
- Install the new SSD by sliding it into the same bay or using a 2.5″ to 3.5″ adapter if necessary.
- Secure the SSD with screws and connect the power and SATA cables.
- Reassemble your computer’s case and re-establish the cable connections.
- Turn on your computer to ensure it recognizes the new SSD. If not, check cable connections and BIOS settings.
With the SSD firmly in place, the next step breathes new life into your system.
Cloning Your Hard Drive To Your New Ssd
Transferring your data to the new SSD can be a breeze with the right tools. Cloning software helps create an exact copy of your hard drive onto your SSD, ensuring no data loss during the process. Here’s the gist:
- Connect the SSD to your system using a USB-to-SATA adapter or a spare SATA port if available.
- Choose reliable cloning software and follow its instructions to clone your hard drive to the SSD.
- Once the cloning is complete, you’ll have an exact copy of your old drive on the faster SSD.
- To finalize, replace the boot drive in your BIOS settings to the new SSD, so your system boots from it on startup.
Note: Some users prefer a fresh start rather than cloning. In such cases, a clean OS installation is the way forward.
Installing The Operating System On The Ssd
Installing an OS on your new SSD might seem daunting, but it’s straightforward.
- Firstly, ensure you have a valid OS license and installation media, such as a bootable USB drive or DVD.
- Insert the installation media into your computer and restart to boot from it.
- Follow the on-screen prompts to begin the installation. Choose ‘Custom Install’ to select the SSD as the target drive.
- Proceed with on-screen instructions and configure your preferences.
- After the OS installation, download and install the necessary drivers and updates.
You’re now set to enjoy the speed and reliability of your new SSD. Remember, regular maintenance and data backups are key to your system’s longevity.
Post-upgrade Steps
Once the physical installation of your SSD is complete, the journey isn’t quite over. The steps you take after upgrading to an SSD are critical to ensure you get the most out of your new drive. From optimizing performance to maintaining its longevity, here are the essential post-upgrade steps to take.
Optimizing Ssd Performance: Configuration And Settings
Now that your SSD is in place, tweaking a few settings can vastly improve its performance and lifespan. First, ensure that the BIOS settings are configured to support the SSD properly. Activate the Advanced Host Controller Interface (AHCI) mode for optimal performance. Next, verify that the Trim command is enabled on your system. This command helps the SSD manage space effectively, hence prolonging its service life. For Windows users, run the command line fsutil behavior query DisableDeleteNotify and make sure the result is 0. This indicates TRIM is active. In addition, disable disk defragmentation schedules as they are unnecessary with SSDs and can reduce the drive’s lifespan.
Troubleshooting Common Issues After An Ssd Upgrade
Sometimes, issues arise post-installation. Don’t panic; most are easily fixable. If your system doesn’t recognize the new SSD, check the SATA connection and power cables. If the drive is visible but not performing as expected, updating the SSD firmware can often solve the problem. Check your manufacturer’s website for updates. Additionally, ensure the SSD is the primary boot drive. Incorrect boot orders in the BIOS settings can lead to startup issues.
Maintaining Your Ssd: Best Practices
- Regular firmware updates – Check for and apply firmware updates from the SSD manufacturer to maintain performance and stability.
- Software optimization – Use tools provided by SSD vendors to optimize the drive. These tools can help with over-provisioning, which sets aside part of the SSD to improve endurance and performance.
- Minimize writing operations – The less you write to an SSD, the longer it lasts. Avoid using your SSD for temporary files and caches whenever possible.
- Monitor SSD health – Use software to keep tabs on your SSD’s health and performance metrics regularly. Early detection of potential issues can prevent data loss.
Conclusion
Upgrading from a hard drive to an SSD is a game-changer. With faster boot times and improved performance, your computer will feel brand new. Remember to back up data before starting, and follow the steps carefully. Embrace the speed and reliability of SSDs and enjoy the transformative upgrade.

Harold Williams is a senior writer and technical editor at Drives Hero with 20+ years of experience in IT administration. He specializes in storage systems, SSD reviews, and performance testing, bringing real-world insight to every guide.