How to Upgrade Macbook Pro 2011 to Ssd
To upgrade a MacBook Pro 2011 to SSD, start by purchasing a compatible SSD. Ensure you have the required tools for a smooth installation process.
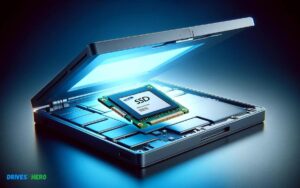
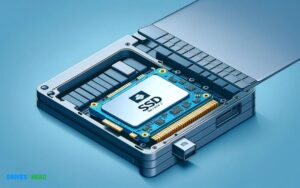
Upgrading a MacBook Pro 2011 to a solid-state drive (SSD) is a surefire way to enhance its performance and responsiveness. Swapping out the old hard drive for a sleek, new SSD can lead to faster boot times, quicker file accesses, and an overall snappier computing experience.
This upgrade, while technical, can be performed at home by those with a bit of DIY spirit and the right set of tools. The process involves backing up your data, removing the back panel of the MacBook Pro, unscrewing and replacing the existing hard drive with the SSD, and then reinstalling the operating system or restoring from a backup. Not only does an SSD consume less power, leading to improved battery life, but it also offers a more reliable storage solution with no moving parts, making it resistant to many of the common pitfalls of mechanical drives.
Key Takeaway
Preparing For The Upgrade
Is your MacBook Pro 2011 starting to feel sluggish? An SSD upgrade can breathe new life into your old laptop, providing lightning-fast boot times and snappier overall performance. But before diving into the transformation, proper preparation is crucial. This section covers all the bases to ensure a smooth and efficient upgrade to SSD for your MacBook Pro 2011.
Selecting The Right Ssd For Your Macbook Pro
Identifying a compatible and reliable SSD for your MacBook Pro is the first critical step. Consider factors such as:
- Capacity: How much storage you’ll need based on your usage.
- Performance: The read-write speeds that suit your workflow.
- Price: Your budget for the upgrade.
Researching the SSD market reveals various options, from SATA to newer NVMe drives (with required adapters). Compatibility with your MacBook Pro 2011 is a non-negotiable aspect to verify before purchase.
Tools And Materials Needed For The Upgrade
Assembling the right set of tools and materials is essential for a streamlined upgrade process. You will need:
- SSD Enclosure (optional): For cloning your data to the new SSD beforehand.
- Precision Screwdriver Set: To open your MacBook Pro and replace the drive.
- Static-free Workspace: To ensure no electrical damage to sensitive components.
- Microfiber Cloth: For cleaning any dust inside the laptop during the upgrade.
Having everything on hand before starting prevents any interruptions midway through the upgrade.
Backing Up Your Data: Cloning Vs Time Machine
Securing your data is paramount. You have two main options:
- Cloning: Creates an exact copy of your existing drive’s contents onto the new SSD. You can use tools like Carbon Copy Cloner or SuperDuper for this process.
- Time Machine: macOS built-in backup feature that helps you restore your data after installing the new SSD.
Weigh the pros and cons of each method to determine the best option for you. Cloning offers a seamless transition with minimal downtime, while Time Machine provides a comprehensive backup solution for regular use.
Step-by-step Upgrade Process
Are you ready to give your MacBook Pro 2011 a rejuvenating speed boost? Upgrading to an SSD (Solid State Drive) is a transformative step that will bring new life to your aging laptop. With the right tools and a bit of patience, you can elevate your MacBook Pro’s performance to rival that of newer models. Below is the essential step-by-step upgrade process broken down into manageable stages to ensure a smooth transition.
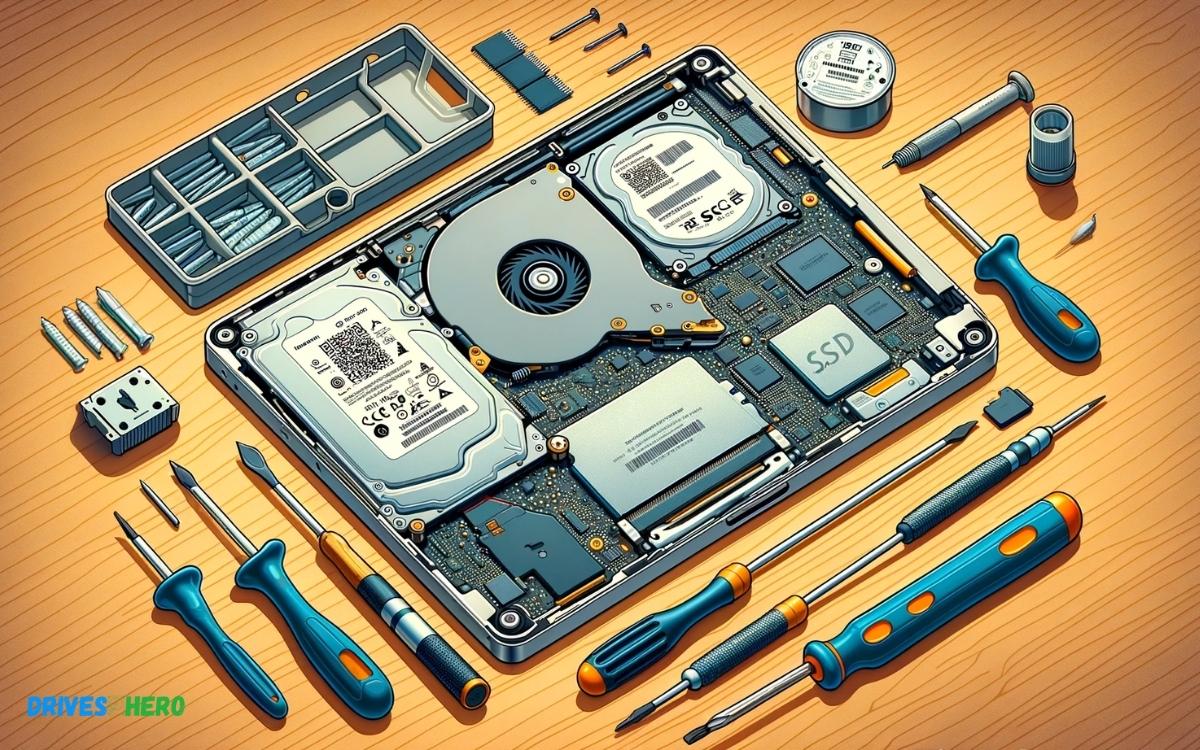
Opening The Macbook Pro Case
Gear up for the upgrade by gathering a Phillips screwdriver, a Torx T6 screwdriver, and a plastic spudger. Begin with your MacBook Pro powered off and disconnected from all power sources. Place it upside down on a soft, clean cloth to prevent any scratches.
- Identify the ten screws on the bottom of the MacBook Pro.
- Use the Phillips screwdriver to remove these screws, keeping track of their placement and size.
- Gently lift the bottom case off to expose the internal components.
Removing The Old Hard Drive
With the case open, locate the hard drive. You’ll notice it’s held in place by a black bracket secured by two Phillips screws. Carefully unscrew these to free the bracket.
- Detach the bracket and carefully lift the hard drive slightly.
- Disconnect the SATA connector with the use of a plastic spudger.
- Remove the hard drive from its bay.
Installing The Ssd
Now the slot is ready for the new SSD. If your SSD didn’t come with a built-in SATA connection, you’ll need to attach it to the existing hard drive connector. Secure the connector tightly, ensuring a snug fit.
- Place the SSD into the hard drive bay, aligning it with the SATA connector.
- Once connected, reposition it in the bay and replace the retaining bracket using the Phillips screws.
- Check all connections to ensure there’s no movement.
Reassembling The Macbook Pro
With the SSD securely installed, it’s time to reassemble your MacBook Pro. Ensure that no cables are pinched and that all components are settled in their original positions.
- Place the bottom case back onto your MacBook Pro.
- Replace all ten screws, matching their original positions according to size.
- Finally, power on your MacBook Pro to marvel at the increased speed and performance.
Post-upgrade Steps
With your MacBook Pro 2011 hardware refreshed with a new SSD, it’s time to embark on the post-upgrade journey. This phase brings your machine back to life, making it swifter and more responsive than ever. The post-upgrade steps are crucial for ensuring the upgrade process brings tangible improvements to your MacBook’s performance. Let’s dive into these tailored instructions that will guarantee you reap all the benefits of your new SSD.
Installing Or Restoring The Operating System
The first priority post-SSD installation is to install or restore your MacBook’s operating system (OS). Ensure you have a stable internet connection, as you may need to download the OS from Apple’s servers. Follow these steps:
- Turn off your MacBook Pro.
- Press the power button and immediately hold down Command (⌘) + R to enter macOS Recovery.
- Select ‘Reinstall macOS’ from the utilities window.
- Follow the on-screen instructions to install macOS on your new SSD.
Transferring Data Back To The Macbook
Once the operating system is in place, the next step is to transfer your data back. If you created a Time Machine backup or a clone of your old drive, you could restore your files seamlessly. Here’s how to proceed:
- Connect the drive containing your backup to your MacBook Pro.
- Access macOS Recovery again by restarting and holding Command (⌘) + R.
- Choose ‘Restore From Time Machine Backup’ and select your backup source.
- Follow the prompts to complete the data transfer.
Testing And Optimizing Ssd Performance
Post-data transfer, it’s paramount to test your SSD’s performance to ensure it’s operating at peak efficiency. Conduct a boot time and application launch test to feel the speed difference. Here are additional tips to optimize your SSD’s performance:
| Optimization Task | Benefits |
|---|---|
| Enable TRIM | Ensures efficient SSD block management for longer life. |
| Monitor Drive Health | Keeps tabs on the SSD’s health and predicts potential failures. |
| Keep Your OS Updated | Ensures all software optimizations are current. |
For TRIM support, use the following command in Terminal:
sudo trimforce enable
Regular maintenance, such as keeping the SSD firmware updated and minimizing unnecessary read and write operations, also contributes to the longevity and performance of your new SSD.
Troubleshooting Common Issues
Encountering hiccups during an SSD upgrade on your MacBook Pro 2011 is not uncommon, and thankfully, most issues have straightforward fixes. From an SSD that’s not recognized to poor post-installation performance, let’s navigate through these common pitfalls to help you enjoy your MacBook’s new lease of life.
Ssd Not Recognized By Macbook Pro
If your MacBook isn’t recognizing the new SSD, you might feel as though you’ve hit a brick wall. Here are several steps to resolve this:
- Ensure the SSD is properly connected — a loose connection can prevent detection.
- Reset the NVRAM/PRAM, which can help your MacBook to recognize new hardware.
- If these steps fail, boot into Recovery Mode and use Disk Utility to check the SSD’s format and partition map.
Data Migration Problems
Data migration should be seamless, but sometimes the transfer does not go as planned.
- Start by verifying the source disk’s health using Disk Utility; unresolved errors can impede migration.
- Ensure you have the correct adapter or enclosure if you’re using an external SSD for data transfer.
- Use reliable data cloning software and verify the clone post-transfer to ensure data integrity.
Performance Tweaks And Solutions
After installing an SSD, you anticipate a speed boost but might face disappointments. Consider these performance tweaks:
| Tweak | Benefit | How to Implement |
|---|---|---|
| Enable TRIM | Enhances SSD lifespan and speed | Use the terminal command sudo trimforce enable |
| Reset SMC | Fixes power and hardware issues | Shut down your MacBook, then hold the power button and all keys for 10 seconds |
| Clean Install | Optimal OS performance | Backup data, then reinstall macOS via Recovery Mode |
Follow these tweaks to ensure your SSD operates at peak efficiency, transforming your computing experience.
Maintaining Your Macbook Pro With Ssd
Upgrading your MacBook Pro 2011 with an SSD (Solid State Drive) is a transformative step that breathes new life into your aging device. An SSD upgrade not only boosts performance significantly but also extends the lifespan of your MacBook Pro. To capitalize on this investment, however, it’s essential to maintain your SSD-equipped MacBook Pro meticulously. This segment sheds light on the smartest ways to keep your upgraded MacBook Pro running smoothly for years to come.
Regular Software Updates And Ssd Firmware
Keeping your MacBook Pro updated is crucial for optimal performance and security. Apple regularly releases software updates that enhance the macOS and maintain compatibility with your SSD.
- Regularly check for updates by going to the Apple menu > About This Mac > Software Update.
- Enable automatic updates for continued ease.
Alongside macOS updates, ensure your SSD firmware is up to date. Firmware updates can improve SSD performance, extend its lifespan and even fix bugs. To update:
- Refer to your SSD manufacturer’s website for update instructions tailored to your specific SSD model.
- Follow the provided steps closely to avoid any potential issues.
Monitoring Ssd Health And Storage Space
Regular monitoring of SSD health is key to preemptively identifying issues. Various tools available can help you track the performance and health of your SSD.
- Utilize applications like DriveDx or Smart Reporter Lite to monitor SSD health metrics.
- Be vigilant about storage space; SSDs perform best with at least 10-15% free space.
Proactive management of storage space ensures your MacBook Pro remains speedy and efficient. Clean up unnecessary files and offload large data to external storage if needed.
Best Practices For Longevity And Efficiency
Incorporating best practices into your routine maximizes SSD longevity and maintains peak efficiency:
| Action | Benefit |
|---|---|
| Trim Enabling | Optimizes write performance and extends SSD life |
| Optimal Temperature | Prevents overheating; SSD longevity is temperature-sensitive |
| Safe Practices | Regular backups and safe ejection of connected drives avoid data loss |
| Energy Settings | Adjust for efficiency; inappropriate settings can lower performance |
Energy efficiency settings play a vital role in SSD performance. Access these settings under System Preferences > Energy Saver to ensure your MacBook Pro isn’t working harder than it needs to.
Mindful attention to how you store and manage files also contributes to your MacBook’s performance. Organize files systematically and remove any clutter that could slow down your system.
Conclusion
Upgrading your MacBook Pro 2011 to an SSD is clearly a wise move. With quicker boot times and snappier performance, the change is palpable. Remember, following the correct steps ensures a seamless transition. Don’t overlook the potential for extended laptop life and improved productivity.
Take the leap, and give your old MacBook a breath of new life.

Harold Williams is a senior writer and technical editor at Drives Hero with 20+ years of experience in IT administration. He specializes in storage systems, SSD reviews, and performance testing, bringing real-world insight to every guide.