How to Upgrade Ssd on Hp Laptop
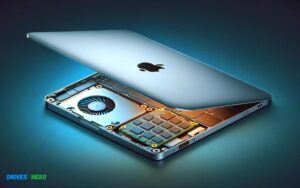
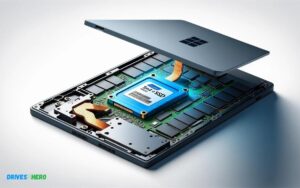
To upgrade an SSD on an HP laptop, first consult the user manual for compatibility and instructions. Next, back up your data and follow the outlined steps for hardware replacement.
Upgrading the SSD in your HP laptop can significantly boost performance and storage capacity, making tasks like booting up, file access, and software loading much quicker. It’s a cost-effective way to extend the life of your laptop without purchasing a new one.
A solid-state drive (SSD) upgrade enhances reliability, efficiency, and overall user experience, making it a popular choice for laptop users seeking system improvements. Before proceeding, ensure you have the right tools and take necessary precautions such as grounding yourself to avoid static damage to sensitive components.
Key Takeaway
Introduction To Ssd Upgrades For Hp Laptops
Replacing the sluggish hard drive with a state-of-the-art solid-state drive (SSD) can remarkably revamp the performance of your HP laptop. This upgrade is akin to giving your device a new lease on life, with boosted speed, enhanced durability, and efficient battery usage. For those seeking a seamless computing experience, transitioning to an SSD is indeed a wise move.
Understanding The Benefits Of Upgrading To An Ssd
The response time of an SSD outshines that of a typical HDD, ensuring faster boot times, quicker file transfers, and overall snappier performance. Here’s what you stand to gain from an SSD upgrade:
- Speed: Open and run applications at lightning speed.
- Reliability: Fewer moving parts mean lower risk of mechanical failure.
- Energy Efficiency: Consume less power, which is great for battery life.
- Quiet Operation: SSDs operate silently, without the hum or vibration from HDDs.
Pre-upgrade Considerations: Compatibility And Choices
Before proceeding with an SSD upgrade, it’s crucial to ensure compatibility and make well-informed choices. Here’s a checklist:
- Determine your HP laptop model and research which SSD types are supported (SATA or NVMe).
- Check the physical dimensions that your laptop can accommodate—2.5-inch or M.2 form factor.
- Ascertain the maximum storage capacity and interface that your laptop’s motherboard supports.
Selecting the right SSD involves striking a balance between capacity, performance, and price. A variety of brands are available, each with its unique features and benefits. It’s important to compare options and read reviews to find the most suitable SSD for your upgrade.
Preparing For Your Hp Laptop Ssd Upgrade
Upgrading your HP laptop’s SSD is a transformative step that can breathe new life into your device, enhancing performance and storage capacity. Preparing properly for this upgrade is crucial to ensure a smooth transition and safeguard your data. This guide will walk you through the essential steps to get your HP laptop ready for an SSD upgrade, from backing up your data, gathering the right tools and software, to selecting the ideal SSD for your system. Let’s ensure your upgrade process is as efficient and hassle-free as possible.
Backup Your Data: Preventing Loss During Transition
It’s vital to back up all the data on your current hard drive before attempting an SSD upgrade. This step is non-negotiable: it ensures that you don’t lose precious files or encounter heartache during the upgrade process.
- Utilize an external hard drive or cloud service to create a complete copy of your laptop’s content.
- Consider employing a disk cloning software if you wish to mirror your current hard drive onto your new SSD.
- Verify the backup on a separate device to ensure all files are accessible and intact.
Gathering The Necessary Tools And Software
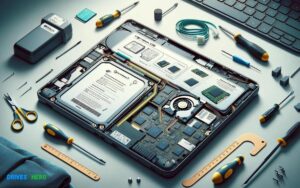
Equipped with the correct tools, your SSD installation will go smoothly. Make sure you have the following on hand:
| Item | Description |
|---|---|
| Screwdriver | For opening the laptop’s back panel and securing the SSD. |
| USB to SATA Adapter | If cloning your drive, this will connect your new SSD to your laptop for data transfer. |
| Cloning Software | Essential for copying your current drive’s contents to your new SSD. |
Additionally, check if your HP laptop requires any specific drivers for the new SSD and download these beforehand.
Choosing The Right Ssd: Size And Type For Your Hp Laptop
Selecting the ideal SSD for your HP laptop involves matching the right size and type. Pay attention to these specifics:
- Determine whether your HP laptop uses a 2.5-inch SATA drive or an M.2 SSD.
- Assess the storage capacity your needs dictate — 250GB, 500GB, 1TB, or more.
- Opt for an SSD with a high read/write speed for enhanced performance.
- Choose a reputable brand with proven reliability and customer support.
Remember that not all laptops support NVMe SSDs, which are faster than SATA SSDs, so confirm compatibility with your HP laptop model.
The Step-by-step Upgrade Process
Ready to take your HP laptop’s performance to the next level? Upgrading your laptop’s SSD is a brilliant move to boost speed and storage space. But to execute this upgrade flawlessly, you need a clear, step-by-step guide. Worry not, because we’ve got you covered with essential tips to enhance your DIY project. Dive into the process with confidence – let’s upgrade your computing experience!
Opening The Hp Laptop Safely: Avoiding Static And Damage
Before embarking on this tech journey, creating a safe environment to operate on your HP laptop is crucial. Static electricity poses a real threat to sensitive components. To mitigate this risk:
- Work on a clean, static-free surface.
- Ground yourself with an anti-static wrist strap or periodically touch an unpainted metal surface.
- Ensure the laptop is powered off and unplugged; battery removed if possible.
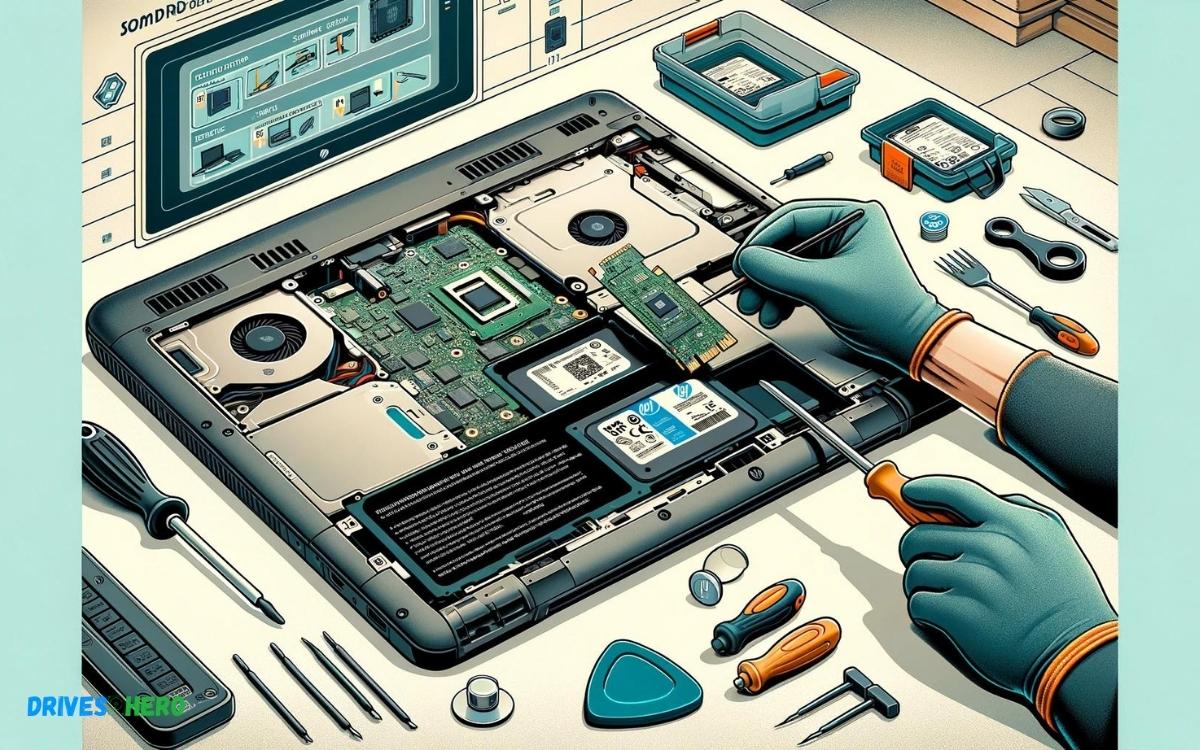
- Use the correct tools, typically a Phillips head screwdriver, to gently loosen screws from the back panel.
Removing The Old Hdd Or Ssd: Steps And Precautions
With the laptop safely opened, the next step involves removing the existing storage unit. To avoid damage and data loss:
- Locate the HDD or SSD bay and remove any screws securing it.
- Gently pull the drive out using available tabs or handles.
- Detach any cables or connectors carefully.
- Keep screws and drive in a safe location; you may need them for warranty or future use.
Note: Handle the old storage unit with care to prevent physical damage.
Installing The New Ssd: Aligning And Securing
The exhilarating moment of transforming your laptop’s capabilities is here! Kick-off by:
- Aligning the new SSD carefully into the slot or bay.
- Connect the SATA or PCIe interface firmly, ensuring a snug fit.
- Secure the drive with the previously removed screws to prevent movement.
Choose an SSD with ample storage and notable speed to maximize your investment and laptop’s potential.
Reassembly And Post-installation Checks
After the SSD is firmly installed:
- Replace the back panel using the original screws.
- Reinsert the battery if it was removed, and power on the laptop.
- Enter the BIOS to confirm the new SSD is recognized by your system.
- Format and partition the SSD if required, and reinstall the operating system or restore data from a backup.
Perform a final check to ensure everything works correctly. Congratulations, your HP laptop now has a new, speedier SSD, ready to tackle all your computing needs!
Software Configuration After Ssd Installation
With your HP Laptop now sporting a shiny new SSD, the voyage of rejuvenation is halfway through. The next pivotal step involves Software Configuration After SSD Installation, ensuring your laptop not only functions but flies at impressive speeds. It’s not just about hardware installation; the right software setup can make or break your experience with the new drive.
Installing The Operating System On The New Ssd
Embarking on a clean slate, the first action is installing an operating system (OS). Modern SSDs are the epitome of speed and efficiency and pairing them with a fresh OS install can lead to a seamless computing experience.
- Begin by creating a bootable USB drive with your preferred OS installer.
- Insert it into any available USB port on your HP laptop.
- Restart the laptop and boot from the USB drive. This process may require entering the BIOS or UEFI settings to change the boot order.
- Follow the on-screen instructions to install the OS on your new SSD.
- After installation, remove the USB drive and let the system reboot from your new SSD.
Remember to enter your OS license key if prompted. This key will validate your copy of the OS, assuring authenticity and security.
Restoring Data And Applications: Reclaiming Your Workspace
With a fresh OS pulsing through the veins of your SSD, it’s time to restore your personal files and applications.
- Personal Files: Transfer documents, images, and other important files from your backup source. This could be an external hard drive, cloud storage, or your old HDD if accessible.
- Applications: Download and install essential applications. A fresh install can often lead to better performance compared to migrating applications from an old drive.
Keep your workspace organized by prioritizing important data and applications. It’s an opportune moment to declutter and optimize your digital landscape.
Optimizing Ssd Settings For Performance And Longevity
Having the OS humming and your data neatly in place, perfected tuning of SSD settings is the final frontier for realizing the full potential of your upgrade. These optimizations can profoundly impact both performance and the lifespan of your SSD:
- Enable TRIM command to allow your OS to inform the SSD which blocks of data are no longer considered in use and can be wiped internally.
- Turn off disk defragmentation schedules as they are unnecessary for SSDs and can reduce their lifespan.
- Adjust indexing settings, since SSDs can quickly search for files without the need for indexing, lifting unnecessary write operations from the SSD.
- Disable Prefetch and Superfetch as these features, meant for HDD efficiency, are redundant for SSDs and may cause unnecessary writes.
Balance is key—ensure system restore and backup settings are enabled to safeguard data without putting undue strain on your SSD.
Common Issues And Troubleshooting
Upgrading the SSD on your HP laptop can be an exhilarating move towards enhanced performance and storage capacity. Nonetheless, this process can come with its own set of challenges. It’s essential to anticipate potential hurdles and know how to navigate through them. This section of our article dives into common issues users might encounter when upgrading their HP laptop’s SSD, along with functional advice on troubleshooting these obstacles.
Diagnosing And Solving Detection Problems
After installing a new SSD, you might find that your HP laptop does not recognize the new drive. This issue is a common roadblock but fear not; it’s usually solvable with a few steps:
- Recheck the Installation: Ensure the SSD is properly seated in the connection interface. A loose connection can prevent detection.
- BIOS Settings: Access the BIOS setup on your HP laptop and verify if the SSD is listed there. Sometimes, you may need to enable certain settings or configure the boot order.
- Driver Updates: Outdated or missing drivers could be the culprit. Visit HP’s official website to download and install the latest firmware and drivers.
- Hardware Compatibility: Ensure the SSD you’ve chosen is compatible with your HP laptop’s specifications.
If the drive still isn’t recognized, consider consulting the manufacturer’s support or forums for additional guidance.
Performance Tweaks And Fixes After Upgrading
Once your SSD is successfully detected, you may aspire for it to run at its best. Here are some performance adjustments and remedies that can help:
- SSD Optimization: Utilize built-in Windows tools such as ‘Defragment and Optimize Drives’ to optimize your SSD.
- Firmware Update: Ensure your SSD’s firmware is up-to-date to improve performance and stability.
- System Configuration: Adjust settings like virtual memory and disable unnecessary startup programs to speed up boot times.
Remember, maintaining regular backups and monitoring SSD health can preempt further issues.
Dealing With Bios And Firmware Challenges
BIOS and firmware updates are pivotal for ensuring compatibility with newer SSDs. These updates can be daunting, but they are often essential for recognizing state-of-the-art hardware:
- Firmware Upgrade: Check for the latest firmware version for your SSD and apply any available upgrades.
- BIOS Version: Verify that your HP laptop’s BIOS is current. If not, carefully follow HP’s guidelines to update your BIOS version.
- Secure Boot: Some SSDs require Secure Boot to be disabled in the BIOS. This setting can be accessed and modified within your laptop’s BIOS menu.
In case these steps do not solve your issues, it may be worthwhile to consult with a professional technician who can provide a more nuanced approach to solving firmware or BIOS challenges.
Conclusion And Maintenance Tips
As we wrap up our discussion on upgrading your HP laptop with a solid-state drive, it’s essential to reflect on the dramatic improvements this change can offer. Not only does an SSD breathe new life into your HP laptop by enhancing performance and speed, but it also ushers in a new era of efficiency and reliability. To capitalize on your recent upgrade and ensure the longevity of your new SSD, let’s dive into some vital maintenance tips to keep it running at its peak.
Reviewing The Benefits Realized From The Ssd Upgrade
The leap from a traditional hard drive to an SSD likely brought a noticeable boost in boot times, application launch speeds, and overall system responsiveness. The absence of moving parts in SSDs reduces the risk of mechanical failure, providing a more durable solution for data storage. With these improvements, users typically experience:
- Faster system performance and smoother multitasking.
- Quicker data access speeds, slashing loading times.
- Enhanced durability against physical shocks, making your laptop more robust.
- Improved battery life due to the energy-efficient nature of SSDs.
Best Practices For Maintaining Your New Ssd
Maintaining an SSD is crucial to ensure it lasts and continues to perform well. Here’s how you can take care of it:
- Keep your firmware updated: Manufacturers often release updates that can improve SSD performance and compatibility.
- Avoid unnecessary writes: SSDs have limited write cycles, so minimize disk usage by disabling hibernation and reducing the frequency of backups.
- Monitor SSD health: Use tools to check the status of your SSD and address potential issues promptly.
- Enable TRIM: This command helps to manage the data on your SSD and can extend its lifespan.
Considering Future Upgrades And Long-term Care
While your SSD now provides a substantial enhancement, technology is ever-evolving. To remain current, consider these steps for the future:
- Stay informed about emerging storage technologies to anticipate when another upgrade might be beneficial.
- Strategize data storage to balance your SSD’s workload with cloud services or additional drives as needed.
- Regularly back up your data to mitigate the risk of unforeseen SSD failures and safeguard your important files.
By following these guidelines, your SSD will continue to serve as a robust foundation for your HP laptop’s performance, securing a smooth computing experience for years to come.
Conclusion
Upgrading your HP laptop’s SSD is a wise move for enhanced performance. With the right tools and steps, it’s a manageable task. Remember to back up data and follow manufacturer guidelines. Embrace the speed and efficiency of your newly upgraded device.
Ready for a smoother computing experience, it’s time to enjoy your laptop’s full potential!

Harold Williams is a senior writer and technical editor at Drives Hero with 20+ years of experience in IT administration. He specializes in storage systems, SSD reviews, and performance testing, bringing real-world insight to every guide.