How to Upgrade Ps3 to Ssd
To upgrade your PS3 to an SSD, start by purchasing a compatible 2.5-inch SATA SSD and a Phillips screwdriver. Ensure you back up your PS3 data before beginning the upgrade process.
Optimizing gaming consoles for performance is the key for enthusiasts looking to enhance their gaming experience. Replacing the standard hard drive in a PlayStation 3 with a solid-state drive (SSD) is a strategic upgrade that can revitalize the aging system.
An SSD can improve the console’s responsiveness, decrease loading times, and offer a more seamless gaming experience. This simple hardware switch is a cost-efficient way to breathe new life into the PS3, especially for those not ready to invest in newer console generations. With the right tools and a bit of know-how, transforming your PS3’s performance through an SSD upgrade is achievable for any gamer. By tailoring these improvements, gamers are able to squeeze out more utility from their PS3’s hardware, giving them a refined edge in both gameplay and system navigation.
Key Takeaway
Introduction To Ssd Upgrades For Ps3
Welcome to the exciting world of console enhancement, where a simple hardware upgrade can breathe new life into your beloved PlayStation 3. While the PS3 comes with a traditional hard drive, gamers around the world have discovered the transformative power of Solid State Drives (SSDs). In this section, we’ll embark on a journey to understand how an SSD upgrade can turn your PS3 into a faster and more responsive gaming system, making loading screens and game installations a breeze.
Overview Of The Benefits Of Upgrading To Ssd
- Enhanced Speed: Experience significantly reduced load times, which means more gaming and less waiting.
- Improved Reliability: With no moving parts, SSDs are less prone to mechanical failure compared to traditional HDDs.
- Quieter Operation: SSDs operate silently, offering a noise-free gaming environment.
- Lower Power Consumption: SSDs consume less power, which can help keep your PS3 cooler and potentially extend its lifespan.
Compatibility And Considerations Before Upgrading
Before leaping into the SSD upgrade for your PS3, it’s crucial to ensure compatibility and prepare accordingly. Here are the points you should consider:
- System Model: Verify that your PS3 model supports an SSD upgrade. Most models are compatible, but it’s best to check your system’s specifications.
- Drive Size: The PS3 uses a 2.5-inch drive, which is the standard size for most SSDs. However, double-check the storage dimensions to avoid size mismatches.
- Storage Capacity: Decide on your storage needs. While SSDs tend to have less space than HDDs at similar price points, a larger SSD can offer a balance between performance and storage capacity.
- Data Backup: Before replacing the hard drive, back up your saved game data to avoid any loss. This can be done using the PS3’s data backup utility or by transferring data to an external storage device.
- Firmware: Make sure your PS3’s firmware is up-to-date to prevent any potential software compatibility issues.
- Installation Process: Familiarize yourself with the drive replacement process, which involves removing the existing HDD, installing the new SSD, and reinstalling the PS3’s operating system.
Consider adding a step-by-step guide or video tutorial in the main content to help users with the installation process.
Preparing For The Ssd Upgrade
Your PlayStation 3 was an engineering marvel in its heyday, and you can breath new life into it with a solid-state drive (SSD) upgrade. The process can seem daunting, but properly preparing for the swap is half the battle. Prepare to streamline the performance of your PS3, reduce load times, and revitalize your gaming experience!
Choosing the Right SSD for Your PS3
Choosing The Right Ssd For Your Ps3
Selecting a compatible SSD is crucial for your PS3. You’ll want to ensure the drive’s form factor matches your console. Most PS3 models require a 2.5-inch SATA drive, the common size for laptops. But it’s not just about size; performance and reliability play a part too. Look for SSDs known for their speed and durability to get the most out of your upgrade.
Backing Up Your PS3 Data
Backing Up Your Ps3 Data
Before making the switch, safeguard your data with a complete backup. This process involves transferring your saved games, profiles, and downloads. You’ll need an external hard drive or a USB flash drive with enough space to hold your PS3’s data. Use the backup utility from the PS3’s settings menu to start the process and avoid losing your precious gaming milestones.
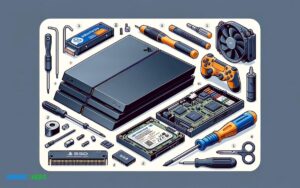
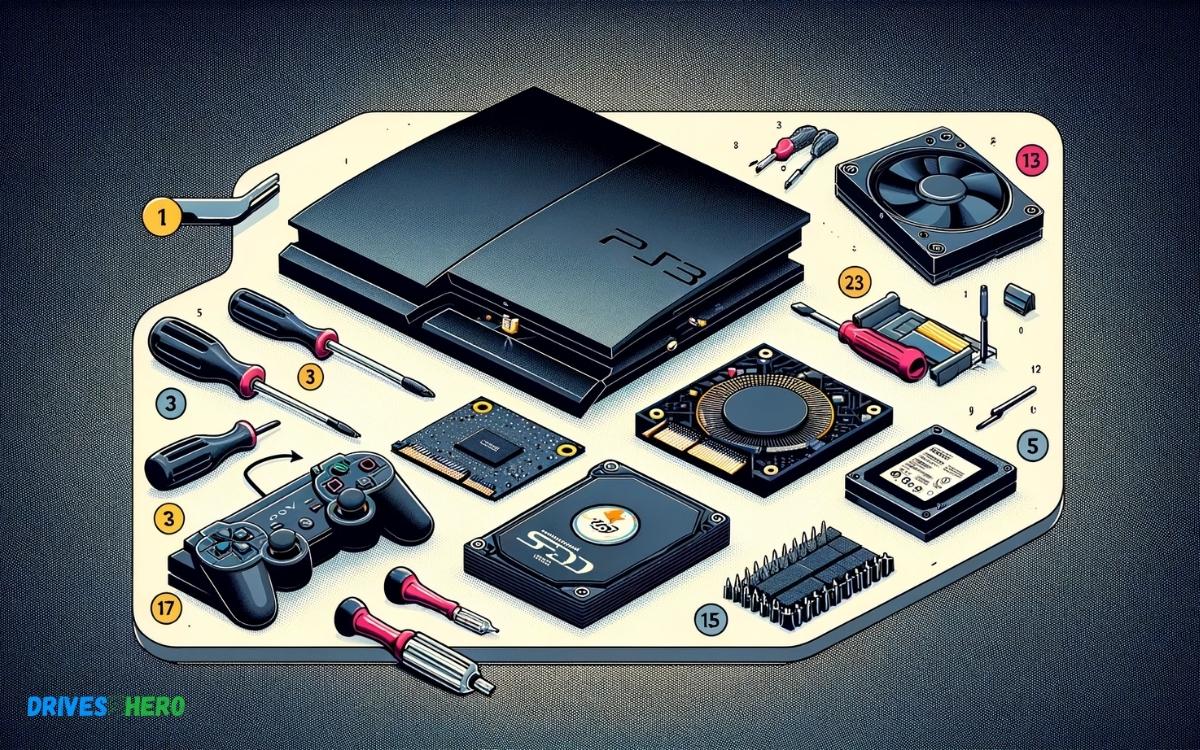
Gathering the Necessary Tools and Materials
Gathering The Necessary Tools And Materials
To ensure a smooth transition, you’ll need a few items on hand before you start. Here’s a quick checklist:
- Phillips-head screwdriver – For opening the console and replacing the drive.
- USB drive – Has to be formatted to FAT32, with the latest PS3 firmware downloaded from the PlayStation website.
- External hard drive or second USB drive – For backing up your PS3 data.
- Static-free workspace – To protect your console and the new drive from static damage.
With these preparations in place, you’re all set to upgrade your gaming world with an SSD in your PS3!
Step-by-step Guide To Upgrading Your Ps3 To An Ssd
Embarking on an upgrade to an SSD on your PS3 is an exciting step toward rejuvenating your console and enhancing its performance significantly. Solid State Drives (SSD) provide faster load times, improved durability, and a quieter gaming experience. The following step-by-step guide is designed to walk you through the process seamlessly.
Removing The Ps3 Original Hard Drive
Start by ensuring your PS3 is fully powered off and unplugged. You’ll need a safe, clutter-free workspace to begin the removal process of the original hard drive. Tools you might require include a Phillips screwdriver and a small container to hold screws.
- Locate the hard drive cover on the side of your PS3 and remove it.
- Unscrew the blue screw that holds the hard drive cage in place.
- Slide the hard drive cage out carefully by pulling on the latch.
- Remove all screws attaching the original hard drive to the cage and gently take it out.
Installing The Ssd Into The Ps3
With the original drive removed, prepare for the installation of your new SSD. The SSD should be a 2.5-inch SATA drive, similar in size to the original PS3 hard drive ensuring easy installation.
- Place the SSD into the hard drive cage aligning it with the screw holes.
- Secure the SSD in place by refastening the screws you previously removed.
- Slide the hard drive cage back into the PS3 bay.
- Tighten the blue screw to lock the cage into the bay.
- Replace the HDD cover on your PS3.
Initializing And Formatting The Ssd On Ps3
Upon installation, initialization and formatting of the SSD are crucial for the PS3 system to recognize and utilize the new storage properly.
- Connect your PS3 to the power supply and television.
- Power on the console and follow the on-screen prompts to format the new SSD.
- Choose ‘Yes’ to initialize the SSD when the system requests confirmation.
- Wait for the PS3 system to format the SSD, this might take a few minutes.
- Access your PS3 System Settings menu to check if the SSD is running as the primary storage after the format completes.
Remember to back up any vital data before starting the upgrade, as the process will erase all existing content on your PS3. This upgrade is a straightforward way to boost your console’s life and performance, making your gaming experience smoother and more enjoyable.
Post-upgrade Steps
Now that you’ve successfully installed a new SSD in your PS3, it’s time to focus on the post-upgrade steps to restore functionality and optimize your console. These final touches will ensure your gaming experience is not only rejuvenated but also smoother and quicker, thanks to the speed of your newly installed SSD. Let’s dive into each critical step:
Restoring Data From Backup To The New Ssd
After the hardware switch, your first task is to get your data back. If you followed the recommended procedure and backed up your files, this step will be a breeze:
- Power on your PS3 and log in to your user profile.
- Navigate to the Settings menu, then System Settings followed by Backup Utility.
- Select Restore and choose the backup you created before the SSD upgrade.
- Follow the on-screen instructions to complete the restoration process.
Note: Restoring data can take a significant amount of time depending on the backup size and the speed of the external drive used for backup.
Ensuring The Ps3 System Software Is Up-to-date
With your data secure on the new SSD, it’s essential to make sure your PS3 system software is current:
- Connect your PS3 to the internet.
- Under the Settings menu, scroll to System Update.
- Select Update via Internet and allow the system to download and install any available updates.
Pro Tip: Keeping your system’s software updated is crucial to ensure compatibility and enjoy the latest features and security enhancements.
Optimizing Performance And Settings For Ssd Use
Finally, optimize your PS3’s settings to take full advantage of your SSD. SSDs operate differently from traditional hard drives, so consider these adjustments:
- System Settings: Turn off features that may cause unnecessary writes to the SSD like automatic downloads and updates.
- Game Saves: Habitually save games to minimize data loss in the event of an issue.
- Energy Savings: Set your PS3 to turn off automatically after a period of inactivity. This not only saves energy but also reduces the wear on your SSD.
Optimizing these settings will help maintain the integrity and longevity of your SSD while ensuring fast and efficient gaming sessions.
Troubleshooting Common Ssd Upgrade Issues
When upgrading your PS3 with a shiny new SSD, you expect a straightforward process and an instant performance boost. But sometimes, roadblocks such as compatibility issues or data transfer errors may arise. Don’t let these common hiccups discourage you! In this section, we’ll navigate through effective solutions to ensure your upgrade to a lightning-fast SSD is smooth and hassle-free.
Addressing Incompatibility Or Recognition Problems
Facing an issue where your PS3 refuses to recognize your new SSD? This is not unheard of and can often be the result of a compatibility mismatch or a connection problem. Let’s troubleshoot:
- Check SSD specifications: Ensure that your SSD is a 2.5-inch SATA drive, which is the required format for PS3 systems.
- Update PS3 firmware: Sometimes, an outdated system version might not support the SSD. Always upgrade to the latest firmware available.
- Secure connections: Confirm that the SSD is properly connected to the PS3. A loose cable or an improperly seated drive can cause recognition failures.
If these steps don’t resolve the issue, it might be worth testing the SSD on another device to confirm its functionality, or considering a different SSD model that’s known to be compatible with the PS3.
Resolving Data Transfer Errors
Data migration is a critical part of the SSD upgrade process, but sometimes, data transfer can encounter errors. Follow these steps to resolve any hiccups during the transfer:
- Use reliable software: Opt for trusted data cloning software to minimize the risk of errors during the transfer.
- Check the source drive’s health: Run a diagnostic on your PS3’s original hard drive. Bad sectors or corruption can cause errors during cloning.
- Ensure sufficient power supply: Insufficient power can lead to interruptions. Make sure your PS3 is plugged into a stable power source.
If problems persist, simplify the process by transferring smaller chunks of data at a time or use an intermediate backup method to transfer your data safely.
Note: Always back up your data before beginning any transfer to avoid data loss, and ensure that your backup is accessible and intact.
Maintaining Your Ps3 With An Ssd
Reviving your aging PlayStation 3 with a solid-state drive (SSD) upgrade can breathe new life into the console. The speed boost from the SSD not only decreases loading times for games but also contributes to the more responsive operation of the system’s interface. Maintaining the upgraded PS3 is crucial to keep it running smoothly. Proper upkeep ensures that your investment in an SSD pays off, extending the lifespan of your console and providing you with the best gaming experience possible.
Routine Maintenance For Continued Performance
Maintaining your PS3 post-SSD upgrade is straightforward but essential. Routine maintenance includes:
- Cleaning out dust from the console vents to prevent overheating.
- Regularly updating the PlayStation 3 firmware for optimal compatibility and performance.
- Organizing game data and deleting unneeded files to keep the SSD clutter-free.
- Monitoring SSD health with available software tools when connected to a PC.
Following a consistent maintenance schedule ensures that the PS3 operates at peak performance and can prevent many common issues from arising. A well-kept system with an SSD can significantly outlive its expected lifespan, offering countless hours of gaming enjoyment.
When To Consider A Further Upgrade Or Replacement
Even with a new SSD and diligent maintenance, technology continues to evolve. Recognize the signs that it’s time for another upgrade or a full system replacement:
- If the PS3 struggles with the latest software updates.
- When game developers stop supporting the platform.
- If there are repeated hardware failures despite the SSD upgrade.
- When the cost of repairs exceeds the price of a replacement console or modern upgrade.
Evaluating your PS3’s performance on a regular basis against current gaming standards can help you determine the right time for another update or when to move on to the newer generation consoles. The decision to upgrade further or to replace should balance your gaming needs with practical considerations such as cost and available technology.
Conclusion
Upgrading your PS3 to an SSD can breathe new life into an aging console. It’s a straightforward process that rewards you with faster boot times and improved game load speeds. Embrace this change and enjoy a revitalized gaming experience on your trusty PS3 with the swiftness of solid-state technology.
Remember, a smoother play session is just an upgrade away!

Harold Williams is a senior writer and technical editor at Drives Hero with 20+ years of experience in IT administration. He specializes in storage systems, SSD reviews, and performance testing, bringing real-world insight to every guide.