How to Clone Your Hard Drive to a SATA SSD Without Reinstalling Windows
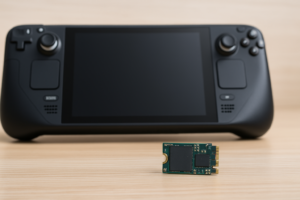
Upgrading from a spinning hard drive to a SATA SSD is the single most impactful performance boost you can give an older PC. Boot times drop from minutes to seconds. Apps launch almost instantly. And the best part? You don’t have to reinstall Windows, reconfigure your settings, or re-download every program. You can clone your existing drive, bit for bit, to a brand-new SSD and pick up right where you left off.
This guide walks you through the entire process using free tools, from preparing your SSD to changing your BIOS boot order after the clone is complete. If you’re still weighing the upgrade, our SSD vs HDD comparison breaks down exactly why the switch is worth it.
What You’ll Need Before You Start
Gather everything before you begin so the process goes smoothly:
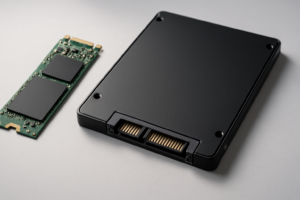
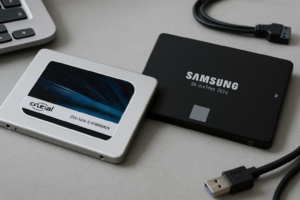
- A SATA SSD with enough capacity to hold everything on your current drive. The Samsung 870 EVO and Crucial MX500 are both excellent, reliable choices. Not sure what capacity to get? Our guide on choosing between 1TB and 2TB SSDs can help.
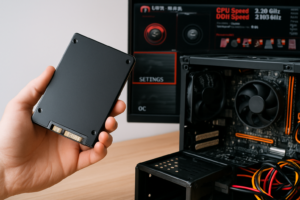
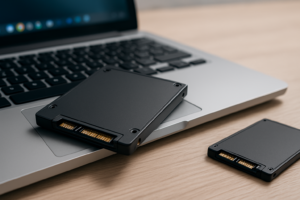
- A USB-to-SATA adapter or cloning dock so you can connect the new SSD externally during the clone. Many SSD cloning kits include a cable and cloning software.
- Cloning software (we’ll cover two free options below).
- A backup of your important files. Cloning is very safe, but always back up first. If you have a NAS, our automated backup setup guide makes this quick.
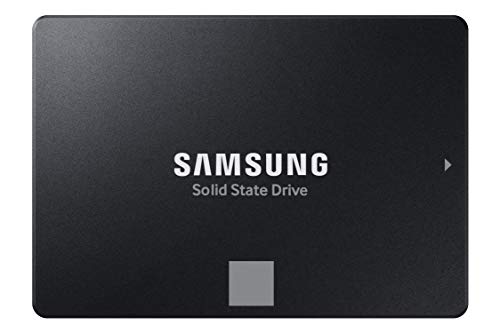
Samsung 870 EVO 1TB SATA SSD
Our top pick for SATA SSD cloning targets due to its proven reliability and strong sustained write speeds.
Step-by-Step Cloning with Free Software
Two free tools stand out for disk cloning: Macrium Reflect Free and Clonezilla. Macrium Reflect is the easier option for most people, with a familiar Windows interface. Clonezilla is more powerful but runs from a bootable USB, which intimidates some users. I recommend Macrium Reflect unless you’re comfortable with command-line-style tools.
Option A: Macrium Reflect Free
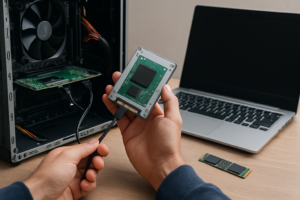
- Download and install Macrium Reflect Free from macrium.com. Connect your new SSD via the USB-to-SATA adapter.
- Open Macrium Reflect and select your source disk (your current hard drive with Windows on it).
- Click “Clone this disk” and then select your new SSD as the destination.
- Review the partition layout. Macrium will show you how partitions map to the new drive. If your SSD is smaller than your HDD, you may need to shrink partitions. Macrium handles this automatically in most cases.
- Click “Finish” then “OK” to start the clone. Depending on how much data you have, this typically takes 30 minutes to two hours.
Option B: Clonezilla (Bootable USB Method)
- Download the Clonezilla ISO from clonezilla.org and flash it to a USB drive using Rufus or Etcher.
- Boot from the USB drive (you may need to change your boot order, more on that below).
- Select “device-device” mode, then choose “disk_to_local_disk” to clone your entire drive.
- Pick your source drive (the old HDD) and your target drive (the new SSD). Double-check these carefully because selecting the wrong one will overwrite data.
- Confirm and wait. Clonezilla will clone every partition, including the boot partition.

Sabrent USB 3.0 to SATA Adapter
An affordable adapter that lets you connect your new SSD externally for cloning without opening your PC case.
Changing the BIOS Boot Order After Cloning
Once the clone finishes, you need to tell your computer to boot from the new SSD instead of the old hard drive. Here’s how:
- Shut down your PC. If you were using a USB adapter, physically install the SSD into your computer’s drive bay (or swap it into the slot where the old HDD was). If you need guidance on using both drives simultaneously, check out our guide on using an SSD and HDD together in one PC.
- Power on and enter the BIOS/UEFI. Press the key shown during startup, usually F2, F12, DEL, or ESC depending on your motherboard manufacturer.
- Navigate to the Boot tab. Find the boot priority or boot order settings.
- Move your new SSD to the top of the boot order list. It should appear by its brand name (e.g., “Samsung SSD 870 EVO”).
- Save and exit (usually F10). Your PC will restart and boot from the cloned SSD.
If Windows boots correctly, you’re done. You should notice dramatically faster load times immediately. Over time, keep an eye on your SSD’s health. If performance dips after months of use, our article on why SSDs slow down over time and how to fix it covers the most common causes and solutions.
Tip: Once you’ve verified the clone works perfectly, you can repurpose or wipe your old hard drive. If you plan to sell or donate it, make sure you securely wipe the drive to protect your personal data.
Frequently Asked Questions
Can I clone a larger HDD to a smaller SSD?
Yes, as long as the used space on your HDD is smaller than the total capacity
James Kennedy is a writer and product researcher at Drives Hero with a background in IT administration and consulting. He has hands-on experience with storage, networking, and system performance, and regularly improves and optimizes his home networking setup.