How to Set Up a Scratch Disk Workflow for Premiere Pro and Photoshop
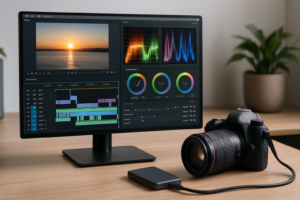
Every time Premiere Pro stutters during a timeline scrub or Photoshop throws a “scratch disk full” error, your storage setup is the bottleneck. A scratch disk is where Adobe apps write temporary files, previews, cache data, and media conforms while you work. If that disk is slow or cramped, your entire editing experience suffers. The fix is surprisingly simple: point your scratch disk to a fast, dedicated drive and let your creative apps breathe.
This guide covers exactly what a scratch disk does, how to configure it in both Premiere Pro and Photoshop, and which SSDs deliver the best results for the money.
What a Scratch Disk Actually Does
Adobe applications constantly generate temporary data behind the scenes. In Premiere Pro, that includes audio and video previews, conforming files, and project auto-saves. In Photoshop, it’s virtual memory overflow: when your system RAM fills up, Photoshop pages out to the scratch disk to keep working on large files.
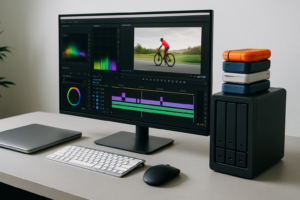
By default, both apps use your OS drive as the scratch disk. This creates a bottleneck because your operating system, applications, and scratch data all compete for the same read/write bandwidth. Separating your scratch disk onto a dedicated drive eliminates that contention and can make a noticeable difference, especially with 4K+ timelines or PSD files with dozens of layers.
If you’ve noticed your SSD slowing down over time, constant scratch disk writes could be one contributing factor. Keeping scratch data on a separate volume helps preserve the health and speed of your primary drive.
How to Configure Scratch Disks in Premiere Pro and Photoshop
Premiere Pro
Open your project and go to File > Project Settings > Scratch Disks. You’ll see options for Captured Video, Captured Audio, Video Previews, Audio Previews, and Project Auto Save. Point each of these to your dedicated scratch drive. Create a folder like D:\Premiere_Scratch to keep things organized.
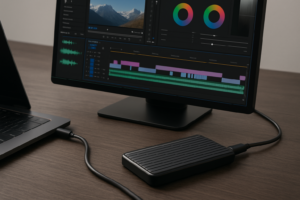
You should also change the media cache location under Edit > Preferences > Media Cache. This is where Premiere stores peak files, conform files, and accelerator data. Redirect both the Media Cache Files and Media Cache Database to your scratch drive. This single change often has the biggest impact on timeline responsiveness.
Photoshop
Go to Edit > Preferences > Scratch Disks (on Mac, it’s Photoshop > Settings > Scratch Disks). You’ll see a list of available drives with checkboxes. Check your dedicated scratch drive and move it to the top of the list using the arrow buttons. Uncheck your OS drive if you have enough space on the scratch disk. Photoshop uses the drives in order from top to bottom, so priority matters.
Restart Photoshop after making changes. The new scratch disk won’t take effect until the next launch.
Which SSDs Work Best as Scratch Disks
A scratch disk benefits most from high sequential write speeds and sustained write performance. Here’s how the main SSD types compare:
- SATA SSDs (up to ~550 MB/s): A massive upgrade over any spinning hard drive and perfectly fine for Photoshop scratch work. For Premiere Pro with 4K footage, you’ll want something faster. If you’re weighing form factors, our M.2 vs 2.5-inch SSD comparison breaks down the physical differences.
- NVMe Gen3 SSDs (up to ~3,500 MB/s): The sweet spot for most editors. Fast enough for multi-stream 4K editing scratch data without a premium price tag. The WD Blue SN580 is a solid pick in this category.
- NVMe Gen4 SSDs (up to ~7,000 MB/s): Worth it if you’re editing 6K/8K footage or running both Premiere and After Effects simultaneously with Dynamic Link. The extra bandwidth keeps cache writes from becoming a chokepoint.
For most Premiere Pro and Photoshop users, a 1TB NVMe Gen3 or Gen4 drive dedicated to scratch data is the ideal setup. You don’t need 2TB unless you’re working on extremely long-form projects. If you’re choosing between capacities, our 1TB vs 2TB SSD guide can help you decide.
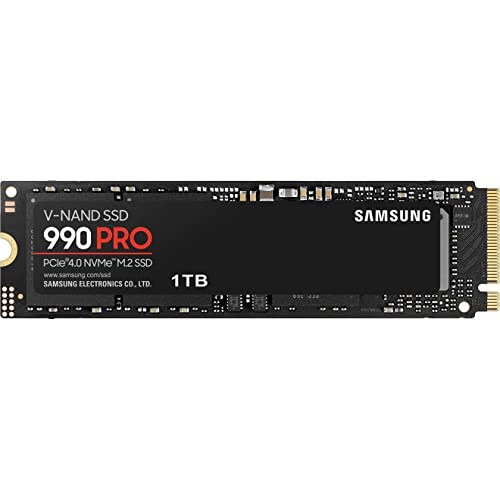
Samsung 990 PRO 1TB NVMe SSD
Excellent sustained write speeds and a large SLC cache make this one of the best Gen4 scratch disk options for creative professionals.
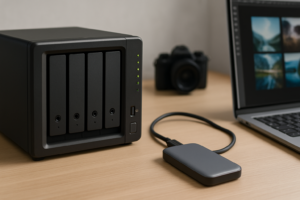
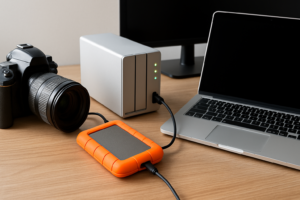
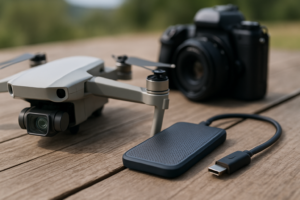
If you already own a fast NVMe boot drive and want to add a dedicated scratch disk without cracking open your case, a Thunderbolt 3/4 external SSD enclosure with an NVMe drive inside can deliver close to internal speeds. Just make sure your enclosure supports at least 40Gbps throughput. For Mac users juggling external drives, using an SSD and HDD together in a tiered workflow (fast SSD for scratch, large HDD for archival media) is an excellent approach.
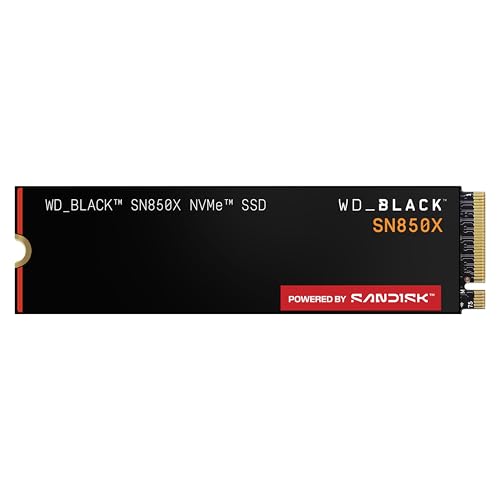
WD_BLACK SN850X 1TB NVMe SSD
Consistent high-speed writes and a solid thermal design keep this drive performing well under sustained scratch disk loads.
Frequently Asked Questions
How much space should I allocate for a scratch disk?
Adobe recommends a minimum of 50 GB of free space for Photoshop scratch and considerably more for Premiere Pro. In practice, keep at least 20% of your scratch drive empty at all times. A 1TB NVMe drive gives you plenty of headroom even when working on large projects, and the extra free space helps the drive maintain peak write performance through better wear leveling and garbage collection.
Can I use an external SSD as a scratch disk?
Yes, but connection speed matters. A USB 3.2 Gen 2 (10Gbps) external SSD like the Samsung T7 Shield works well for Photoshop scratch and lighter Premiere Pro projects. For heavy video editing scratch data, you’ll want a Thunderbolt 3/4 connection to avoid bandwidth limitations. Avoid USB 3.0 (5Gbps) connections entirely for scratch disk use, as the throughput ceiling creates a noticeable lag during intensive operations.
This article contains affiliate links. We may earn a small commission at no extra cost to you.
James Kennedy is a writer and product researcher at Drives Hero with a background in IT administration and consulting. He has hands-on experience with storage, networking, and system performance, and regularly improves and optimizes his home networking setup.