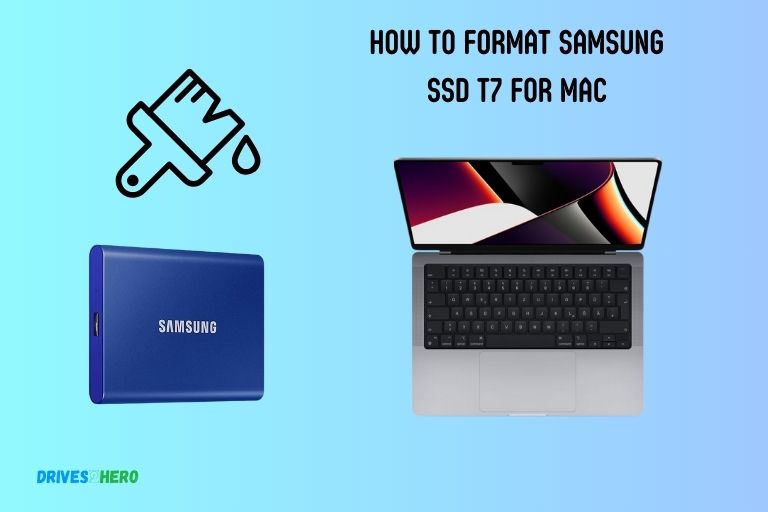
How to Format Samsung Ssd T7 for Mac? 8 Steps!
Unlocking the full potential of your Samsung T7 SSD on your Mac requires a precise and essential step: formatting.
Whether you’ve just acquired this high-performance storage solution or are preparing it for a new purpose, understanding how to format your Samsung T7 SSD for Mac is crucial.
We’ll walk you through the process, ensuring that your SSD is not only seamlessly integrated into your Mac system but also optimized for efficient data management.
Key Takeaway
Formatting Samsung SSD T7 for Mac: A Step-by-Step Guide
Step 1: Connect the SSD
Using the provided USB-C to USB-C or USB-C to USB-A cable, connect your Samsung SSD T7 to your Mac.
Step 2: Power On the SSD
Press the power button on the SSD to turn it on.
Step 3: Open Disk Utility
- Click on the magnifying glass icon in the top-right corner of your screen.
- Type “Disk Utility” and press Enter to open the application.
Step 4: Select Samsung SSD T7
In Disk Utility, locate your Samsung SSD T7 on the left-hand side. Click on it to select it.
Step 5: Choose Erase
- Click the “Erase” button at the top of the Disk Utility window.
Step 6: Configure Format and Scheme
- Choose “ExFAT” or “Mac OS Extended (Journaled)” as the format.
- For scheme, select “GUID Partition Map.”
- Click “Erase” to start the formatting process.
Step 7: Confirm Formatting
A warning message will appear, stating that formatting will erase all data. Confirm by clicking “Erase.”
Step 8: Wait for Completion
Allow Disk Utility to format the SSD. Once done, your Samsung SSD T7 will be ready for use with your Mac.
By following these straightforward steps, you’ll successfully format your Samsung SSD T7 for use with your Mac, optimizing it for your specific needs.
Preparing Your Samsung Ssd T7 For Formatting
To format your Samsung SSD T7 for Mac, follow these steps carefully. Connect the SSD to your Mac, launch the Disk Utility, select the SSD, click on “Erase,” choose a file system (like macOS Extended), and click “Erase” to complete the formatting process.
Checking Compatibility With Mac Devices
Before you begin formatting your Samsung SSD T7 for your Mac, it’s essential to ensure that your device is compatible.
Here’s what you need to know:
- Check the system requirements: Verify that your Mac meets the minimum system requirements for the Samsung SSD T7. This will ensure smooth functioning and optimum performance.
- USB-C compatibility: Confirm that your Mac has a USB-C or Thunderbolt 3 port, as the Samsung SSD T7 utilizes these connections for data transfer. If your Mac has a different port, you may need an adapter for compatibility.
- MacOS version: Ensure that your Mac is running a compatible version of macOS. Refer to the Samsung website or the product documentation to determine the compatible operating systems.
Understanding The Importance Of Backing Up Data
Before formatting your Samsung SSD T7, it is crucial to back up your data to prevent any loss or corruption.
Here’s why backing up is important:
- Data protection: Creating a backup of your files safeguards against accidental deletion, device malfunctions, or data corruption during the formatting process.
- Seamless transition: When formatting your Samsung SSD T7, all data stored on the drive will be erased. Having a backup ensures a smooth transition as you can easily restore your files to the newly formatted drive.
- Peace of mind: By backing up your data, you can eliminate the fear of losing important files, photos, videos, or documents. It provides peace of mind knowing that your valuable data is protected.
Remember, it is vital to regularly back up your data to avoid any potential loss or inconvenience.
Formatting Samsung Ssd T7 For Mac
Learn how to easily format your Samsung SSD T7 for Mac in just a few simple steps. This guide will walk you through the process of optimizing your SSD for maximum performance on your Mac device.
Follow the instructions below to correctly format your Samsung SSD T7 on a Mac:
Connecting The Samsung Ssd T7 To Your Mac
To begin the formatting process, you’ll need to connect your Samsung SSD T7 to your Mac.
Here’s how:
- Connect the USB-C end of the cable to the Samsung SSD T7.
- Connect the other end of the cable to an available USB-C port on your Mac.
Launching The Disk Utility Application
Once you’ve successfully connected the Samsung SSD T7 to your Mac, it’s time to launch the Disk Utility application. Disk Utility is a built-in utility that allows you to manage and format external drives on your Mac.
Follow these steps:
- Click on the magnifying glass icon on the top right corner of your Mac screen to open Spotlight search.
- Type “Disk Utility” in the search bar and press Enter.
- From the search results, click on the Disk Utility application to open it.
Selecting The Samsung Ssd T7 For Formatting
With the Disk Utility application open, you can now select the Samsung SSD T7 to begin the formatting process.
Follow these steps:
- In the left sidebar of the Disk Utility window, locate and click on the Samsung SSD T7.
- This will highlight the Samsung SSD T7, and you’ll see its details displayed on the right side of the window.
Choosing The Appropriate Format For Mac Compatibility
Now that you’ve selected the Samsung SSD T7, it’s time to choose the appropriate format for Mac compatibility.
Follow these steps:
- Click on the “Erase” button located on the top middle of the Disk Utility window.
- A new window will appear, allowing you to specify the name, format, and scheme for your Samsung SSD T7.
Here are the available options:
- Name: Enter a name for your Samsung SSD T7.
- Format: Choose “Mac OS Extended (Journaled)” for general Mac compatibility.
- Scheme: Leave it as “GUID Partition Map” for most cases.
Once you’ve specified the necessary details, click on the “Erase” button to start the formatting process. This will erase all existing data on the Samsung SSD T7 and format it with the selected format.
Tips For Optimizing The Format Process
Looking to format your Samsung SSD T7 for Mac? Here are some tips to optimize the process and ensure smooth compatibility between the two devices.
If you want to format your Samsung SSD T7 for your Mac, it’s essential to follow the right steps to ensure a smooth and successful process.
Here are some valuable tips to optimize the format process:
Checking For Firmware Updates:
- Before formatting your Samsung SSD T7, it’s crucial to check if there are any available firmware updates. Firmware updates often include stability improvements and bug fixes, which can enhance the formatting experience.
- Visit the official Samsung website or use the Samsung Portable SSD Software to check for any updates.
- Download and install the latest firmware version if there are any updates available.
- Firmware updates are necessary to ensure compatibility and proper functioning of your SSD.
Ensuring Sufficient Power Supply During Formatting:
- It is vital to ensure a stable power connection during the formatting process to avoid any interruptions or data loss.
- Connect your Mac to a reliable power source, such as an AC adapter or make sure the battery level is sufficient.
- Avoid formatting your Samsung SSD T7 when your Mac is running on low battery to prevent abrupt power loss.
Verifying The Formatted Samsung Ssd T7 On Mac:
- After formatting your Samsung SSD T7, it’s important to verify that the format was successful and the drive is working correctly with your Mac.
- Connect the formatted SSD to your Mac using the USB-C cable provided with the T7.
- Open the Finder on your Mac and check if the Samsung SSD T7 appears under the Devices section.
- Access the Samsung SSD T7 folder and try copying some files to and from the SSD to verify read and write functionality.
- If everything works smoothly, you have successfully formatted your Samsung SSD T7 for your Mac.
Following these tips will help ensure a hassle-free and optimized formatting process for your Samsung SSD T7 on your Mac.
Remember to keep your firmware up to date, maintain a stable power supply, and verify the formatted SSD’s functionality on your Mac.
Conclusion
Formatting your Samsung SSD T7 for Mac is a simple process that allows you to optimize your storage device for seamless compatibility with your Mac system.
By following the step-by-step guide provided in this blog post, you can ensure that your SSD is properly formatted and set up for optimal performance.
Remember to back up your data before formatting to prevent any potential data loss. Once you have completed the formatting process, you can enjoy the benefits of faster data transfers and improved storage management on your Mac.
Whether you are a professional in need of high-speed storage or a casual user looking for reliable performance, formatting your Samsung SSD T7 for Mac is essential for maximizing its potential.

