How to Install External Ssd Ps4: Step-by-Step Guide!
Installing an external SSD (Solid State Drive) on your PS4 (PlayStation 4) is a simple process.
First, you will need to purchase a compatible SSD. Next, connect the SSD to your PS4 using the USB port.
Lastly, follow the on-screen prompts to format the SSD and make it your default storage location.
PlayStation 4 allows gamers to use external storage devices to expand the console’s internal storage.
SSDs are preferred over traditional hard drives due to their faster data transfer speeds, resulting in shorter game loading times.
Once the SSD is connected to the PS4, the console software guides you through the setup process.
Using an external SSD for your PS4 provides many benefits. The most significant advantage is the faster load times for games and other applications.
Furthermore, SSDs are more reliable and durable than traditional hard drives, which can be crucial for maintaining your saved games and installed applications.
It’s important to remember that while external SSDs can provide additional storage, they can’t replace the PS4’s internal drive completely. The PS4’s operating system will continue to run from the internal drive.
13 Steps: Installing an External SSD on PS4
| Steps | Description |
|---|---|
| 1 | Turn off your PS4. |
| 2 | Prepare your external SSD. |
| 3 | Plug your USB 3.0 cable into the SSD. |
| 4 | Plug the other end of the USB cable into the PS4. |
| 5 | Turn on your PS4. |
| 6 | Go to ‘Settings’ on the PS4 menu. |
| 7 | Scroll down to the ‘Devices’ option and select it. |
| 8 | Select ‘USB Storage Devices’. |
| 9 | Select the SSD from the list. |
| 10 | Select the ‘Format as extended storage’ option. |
| 11 | Follow the instructions to format the SSD. |
| 12 | Once formatting is complete, select ‘OK’. |
| 13 | The SSD is now ready to use. |
Key Takeaway
Five Facts About: Installing an External SSD on PS4
Benefits Of Using An External Ssd On Ps4
External SSDs provide numerous benefits for PS4 users, enhancing gaming performance, reducing loading times, and providing additional storage capacity.
Installing an external SSD on your PS4 is a simple process, allowing you to quickly and easily expand your console’s storage capabilities.
Using an external SSD with your PS4 can significantly enhance your gaming experience.
With faster loading times, improved game performance, and increased storage capacity, it’s a worthwhile investment for any avid gamer. In this section, we will explore the benefits of using an external SSD on your PS4.
Faster Loading Times:
- Reduced loading times: Installing games on an external SSD can drastically decrease loading times, allowing you to jump right into the action without any delays.
- Improved responsiveness: With an external SSD, game menus, character selection screens, and in-game interactions become more responsive, providing a seamless gaming experience.
- Quick game launches: By storing your games on an external SSD, you can expect faster boot-up times, ensuring that you spend less time waiting and more time playing.
Improved Game Performance:
- Smooth gameplay: An external SSD can handle the data transfer more efficiently, resulting in smoother gameplay and fewer instances of lag or stuttering.
- Reduced frame rate drops: With faster data access, an external SSD can help eliminate frame rate drops, allowing for uninterrupted gameplay and a more immersive experience.
- Enhanced graphics: An external SSD can improve overall graphical performance, enabling games to load high-quality textures and effects more quickly, resulting in visually stunning gameplay.
Increased Storage Capacity:
- Additional space: Connecting an external SSD to your PS4 increases your storage capacity, giving you the freedom to install more games and downloadable content (DLCs) without worrying about limited internal storage.
- Easy game management: With an external SSD, you can conveniently organize and store your games, avoiding clutter in your internal storage and making it easier to find and access specific titles.
- Portability: The compact size of an external SSD allows for easy portability, enabling you to carry your games and save files wherever you go without the need to transfer them between consoles.
Incorporating an external SSD into your PS4 setup brings numerous benefits, including faster loading times, improved game performance, and increased storage capacity.
By enhancing your gaming experience, an external SSD helps you fully immerse yourself in the virtual world and enjoy your games to the fullest.
Choosing The Right External Ssd For Your Ps4
Find the perfect external SSD for your PS4 by considering factors like storage capacity, transfer speeds, and compatibility.
Installing an external SSD on your PS4 can enhance your gaming experience with faster load times and improved performance.
Installing an external SSD on your PS4 can significantly enhance your gaming experience by boosting performance and increasing storage capacity.
However, with a plethora of options available in the market, it’s essential to choose the right external SSD that perfectly suits your needs.
To help you make an informed decision, consider the following factors:
Considerations For Compatibility And Performance
Is your selected external SSD compatible with your PS4 model?
The following points will help you determine compatibility:
- Check the supported connection types: Most external SSDs use USB 3.0 or later for optimal performance. Ensure that your PS4 supports the same interface to ensure seamless data transfer.
- Consider the physical dimensions: Make sure the external SSD fits properly with your PS4 without any issues. Some SSDs come with a sleek design and compact form factor, ideal for PS4 installations.
- Look for SSDs with solid-state technology: Compared to traditional hard disk drives (HDDs), SSDs offer faster load times and better game performance due to their high read and write speeds.
When it comes to performance, here are some key factors to keep in mind:
Seek higher data transfer rates:
Look for SSDs with higher data transfer speeds to reduce load times and improve overall game performance.
Read/write speeds of 400 MB/s or above are recommended for a seamless gaming experience.
Consider the cache size:
SSDs with larger cache sizes can optimize data transfer and improve performance. Look for models with cache sizes of 8MB or higher for optimal results.
Pay attention to durability:
Since gaming involves regular data read and write cycles, an external SSD with robust durability is crucial.
Look for SSDs that offer shock and vibration resistance, as well as temperature and heat resistance to ensure longevity.
Recommended Brands And Models
To help you kickstart your external SSD hunt, here are some highly recommended brands and models:
Samsung T5 Portable SSD:
Widely regarded as one of the best external SSDs for PS4, the Samsung T5 offers impressive performance and durability.
With its compact design and read/write speeds of up to 540 MB/s, it’s a top choice for many gamers.
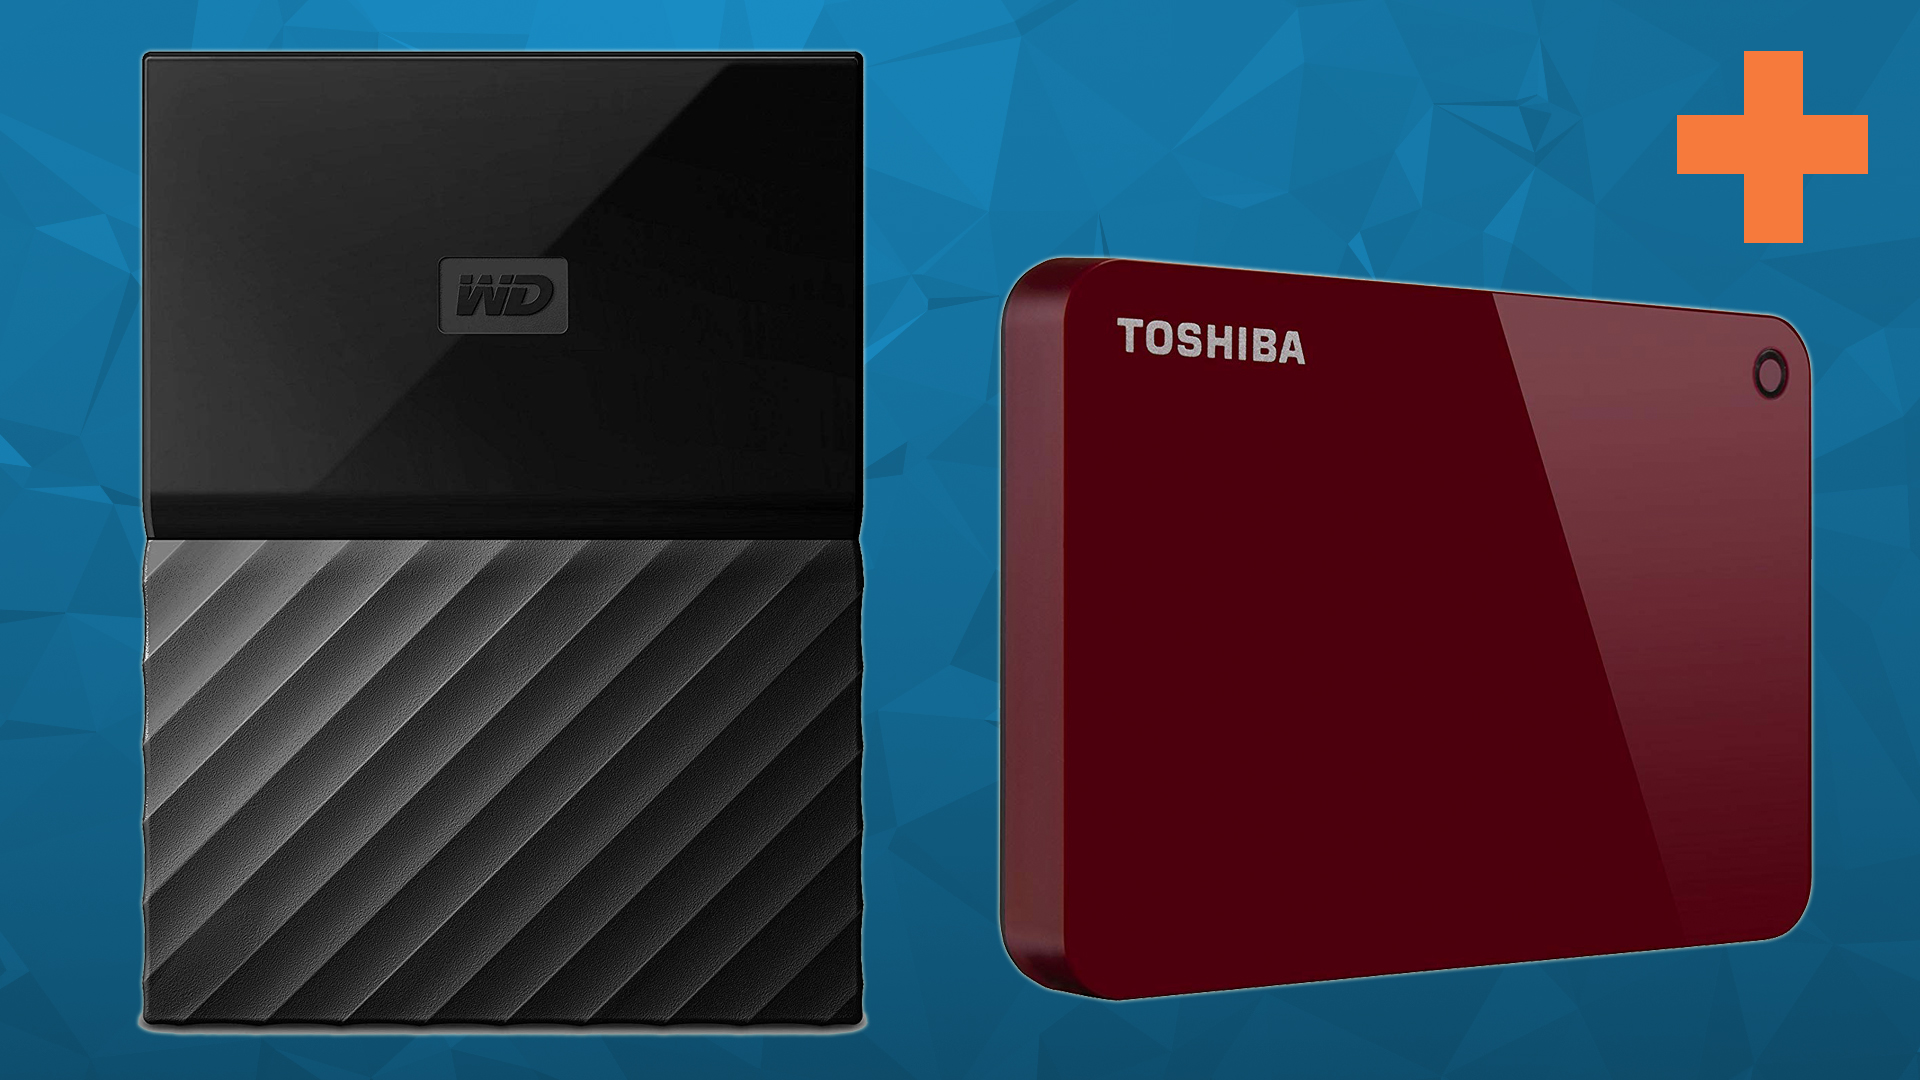
Seagate Expansion SSD:
Known for its reliability, Seagate offers a range of external SSDs that deliver fast and efficient performance.
The Seagate Expansion SSD is a popular choice, thanks to its high-speed USB 3.0 interface and impressive storage capacity options.
Western Digital My Passport SSD:
With its sleek design and high-speed USB 3.1 Gen 2 interface, the Western Digital My Passport SSD offers excellent performance for PS4 gaming.
It’s available in various capacities, allowing you to choose the one that suits your storage needs.
Capacity Options
Determining the right capacity for your external SSD is crucial for storing your favorite games and downloadable content.
Consider the following options:
- 500GB: Suitable for gamers with a moderate game library, providing ample space for a selection of games and additional content.
- 1TB: Offers a generous amount of storage and is ideal for gamers with a growing collection of games and downloadable content.
- 2TB or higher: Perfect for hardcore gamers who require extensive storage for their vast game library, including multiple AAA titles and large downloadable content.
Choose the capacity that best aligns with your gaming needs and provides sufficient space for your games, ensuring you never have to compromise on your playing experience due to limited storage.
With these considerations and recommended brands and models in mind, you’re equipped to make an informed decision when it comes to installing an external SSD on your PS4.
Enhance your gaming performance and expand your storage capacity with the perfect external SSD for your needs.
Experience faster load times, smoother gameplay, and effortless storage management, all at the tip of your fingers. Happy gaming!
Preparing Your Ps4 For The External Ssd Installation
Prepare your PS4 for easy installation of an external SSD. Follow these steps to optimize your gaming experience with increased storage and faster loading times.
If you’re looking to boost the storage and performance of your PS4, installing an external SSD is a game-changer.
But before you dive into the installation process, there are a few crucial steps you need to follow to ensure a seamless experience.
In this section, we’ll guide you through each step, from backing up your data and saves to formatting the external SSD and updating your PS4 firmware. Let’s get started!
Backup Data And Saves
To avoid any potential loss of data during the installation process, it’s essential to back up your data and saves.
Here’s how you can do it:
- Connect an external USB storage device to your PS4.
- From the home screen, go to “Settings” and then select “System.”
- Choose “Back Up and Restore” and then “Back Up PS4.“
- Follow the prompts to transfer your data and saves to the external USB storage device.
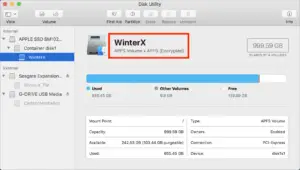
Formatting The External Ssd
Before you can use the external SSD with your PS4, you’ll need to format it.
Here’s what you need to do:
- Connect the external SSD to your PS4 using a compatible USB port.
- From the home screen, go to “Settings” and then select “Devices.”
- Choose “USB Storage Devices” and then select the connected external SSD.
- Select “Format as Extended Storage” and follow the on-screen instructions to format the SSD.
Updating Ps4 Firmware
To ensure compatibility and optimal performance, it’s crucial to update your PS4 firmware.
Here’s how you can do it:
- From the home screen, go to “Settings” and then select “System Software Update.”
- Choose “Update System Software” and follow the on-screen instructions to download and install the latest firmware.
- Once the update is complete, restart your PS4.
By following these steps, you’ll be fully prepared to install your external SSD on your PS4 without any hiccups.
Remember to back up your data and saves, format the external SSD, and update your PS4 firmware to make the most out of your gaming experience.
Happy gaming!
Step-By-Step Guide To Installing An External Ssd On Ps4
Learn how to easily install an external SSD on your PS4 with this step-by-step guide.
Enhance your gaming experience by boosting storage capacity and improving loading times.
If you’re experiencing slow load times or limited storage space on your PS4, installing an external SSD can be a game-changer.
Not only will it provide you with faster performance, but it will also give you plenty of extra room for all your favorite games.
In this step-by-step guide, we’ll walk you through the process of installing an external SSD on your PS4, so you can start enjoying improved gaming experience in no time.
Opening The Ps4 Console:
To begin the installation process, you’ll need to open up your PS4 console.
Here’s how:
- Turn off your PS4 and unplug all cables, including the power cord.
- Place the console on a flat surface and remove the glossy part of the top cover by sliding it to the side.
- Unscrew the hard drive tray with a screwdriver and gently lift it out of the console, exposing the internal hard drive.
Removing The Internal Hard Drive:
Now that you have access to the internal hard drive, you need to remove it before installing the external SSD.
Follow these steps:
- Carefully unplug the SATA data cable and power cable from the internal hard drive.
- Undo any screws or brackets holding the hard drive in place and remove it from the tray.
- Set aside the internal hard drive in a safe location to keep it protected.
Connecting The External Ssd:
Now it’s time to connect the external SSD to your PS4.
Here’s what you need to do:
- Take your external SSD and connect it to one of the available USB ports on your PS4.
- Wait for the console to recognize the external SSD. Once it does, you’ll see a notification on your screen.
- Go to the Settings menu on your PS4 and select “Devices” followed by “USB Storage Devices.”
- Find your external SSD listed and select it as the default installation location for future downloads and installations.
Closing The Ps4 Console:
With the external SSD connected and set up, it’s time to close up your PS4 console.
Follow these final steps:
- Slide the hard drive tray back into the console and screw it securely into place.
- Reattach the glossy top cover by sliding it back into position.
- Plug in all necessary cables, including the power cord, and turn on your PS4.
- Congratulations! Your external SSD is now installed and ready to use on your PS4.
By following this step-by-step guide, you can easily install an external SSD on your PS4, enhancing its performance and storage capabilities.
Now you can enjoy faster load times and have more space for all your gaming adventures. Happy gaming!
Configuring The External Ssd On Your Ps4
Learn how to easily configure an external SSD on your PS4 with this step-by-step guide.
Enhance your gaming experience by installing an external SSD onto your console for faster load times and smoother gameplay.
So, you’ve got your shiny new external SSD for your PS4, and now it’s time to set it up and get it ready for action.
In this section, we’ll walk you through the process of formatting the external SSD as Ext and configuring it with your PS4.
Let’s dive in!
Formatting The External Ssd As Ext
To ensure optimal performance and compatibility with your PS4, it’s essential to format your external SSD correctly.
Follow these steps to format your SSD as Ext:
- Connect your external SSD to the USB port on your PS4.
- Power on your PS4 and wait for it to detect the connected SSD.
- Once your PS4 recognizes the SSD, go to the Settings menu.
- Scroll down and select the “Devices” option.
- In the Devices menu, select “USB Storage Devices.”
- Locate your external SSD in the list of connected devices and select it.
- From the options listed, choose “Format as Extended Storage.”
- Confirm the formatting process when prompted.
Formatting your external SSD as Ext will prepare it for use with your PS4, allowing you to store and run games directly from the SSD for improved loading times and performance.
Transferring Games And Apps To The External Ssd
Now that your external SSD is formatted and ready to go, you can start transferring games and apps to it.
Here’s how:
- From the main menu, go to the “Settings” option.
- Scroll down and select “Storage.”
- In the Storage menu, choose “System Storage.”
- Select “Applications” to view the list of installed games and apps on your PS4.
- To move a game or app to the external SSD, highlight it and press the “Options” button on your controller.
- From the options menu, select “Move to Extended Storage.”
- Follow the prompts to confirm and initiate the transfer.
- Repeat this process for each game or app you want to move to the external SSD.
Setting The External Ssd As The Default Installation Location
To streamline the installation of future games and apps, you can set the external SSD as the default installation location.
This way, any new content will automatically be installed on the external SSD instead of the internal storage.
Here’s how:
- Go to the “Settings” menu again.
- Scroll down and select “Storage.”
- In the Storage menu, choose “System Storage.”
- Press the “Options” button on your controller when highlighting “System Storage.”
- From the options menu, select “Application Install Location.”
- Choose “Extended Storage” as the default installation location.
With these steps, you’ve successfully configured the external SSD on your PS4. Enjoy faster load times and smoother gaming experiences as you take full advantage of the benefits offered by your new external SSD.
Happy gaming!
Conclusion
Installing an external SSD on your PS4 is a relatively simple process that can significantly enhance your gaming experience.
With the ability to store more games and experience faster load times, you can say goodbye to storage limitations and long waiting periods.
By following the steps outlined in this guide, you can safely and efficiently install an external SSD to your PS4.
Remember to choose a reliable SSD that meets the requirements of your console, and always backup your data before making any changes.
With the additional storage and improved performance, you’ll be able to enjoy your games to their fullest potential.
So, go ahead and give your PS4 the boost it deserves and start reaping the benefits of an external SSD today. Happy gaming!

Harold Williams is a senior writer and technical editor at Drives Hero with 20+ years of experience in IT administration. He specializes in storage systems, SSD reviews, and performance testing, bringing real-world insight to every guide.