How to Migrate Windows 10 to Samsung Ssd? 9 Steps!
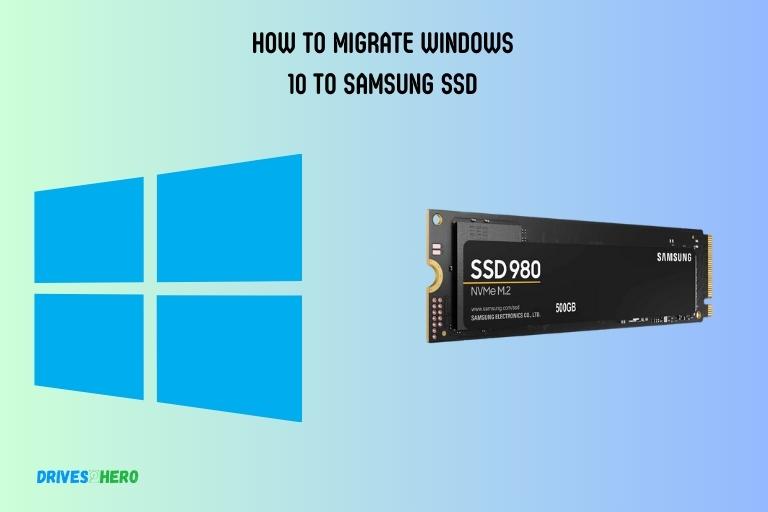
To migrate Windows 10 to a Samsung SSD, you can use software like Samsung Data Migration Tool or third-party tools like EaseUS Todo Backup.
Migrating your Windows 10 operating system to an SSD can greatly improve the performance and speed of your computer.
Upgrading to a Samsung SSD can breathe new life into your system, offering faster performance and improved responsiveness.
This concise guide will walk you through the process of migrating your Windows 10 operating system to a Samsung SSD seamlessly.

Key Takeaway
Migrating Windows 10 to Samsung SSD: A Step-by-Step Guide
Step 1: Acquire Necessary Equipment
Ensure you have your Samsung SSD, a SATA-to-USB cable or an external drive enclosure, and a screwdriver for the migration process.
Step 2: Backup Important Data
Before starting, create a backup of your critical data. Use an external drive or a reliable backup tool to safeguard your files.
Step 3: Connect Samsung SSD
Connect your Samsung SSD to your computer using the SATA-to-USB cable or by placing it in the external drive enclosure. Ensure a secure connection.
Step 4: Download Samsung Data Migration Software
Visit the official Samsung website and download the Samsung Data Migration tool. Install the software on your computer.
Step 5: Run Data Migration Software
Launch the Samsung Data Migration tool. Select your current drive (HDD) as the source and your Samsung SSD as the destination drive.
Step 6: Start the Migration Process
Initiate the migration process. The software will clone your Windows 10 installation, applications, and data from the source drive to the Samsung SSD.
Step 7: Complete Migration
Once the migration is complete, shut down your computer. Disconnect the old drive and connect the Samsung SSD in its place.
Step 8: Boot from Samsung SSD
Restart your computer and access the BIOS/UEFI settings. Set the Samsung SSD as the primary boot drive. Save changes and exit.
Step 9: Verify Windows 10 on Samsung SSD
Ensure Windows 10 boots up successfully from the Samsung SSD. Check if all your data and applications are intact.
You’ve successfully migrated Windows 10 to your Samsung SSD. Enjoy the improved speed and responsiveness of your system with the new solid-state drive.
Preparing For The Migration
Prepare for a seamless migration of Windows 10 to your Samsung SSD with these expert tips and tricks. Increase your device’s performance and storage capacity effortlessly.
Check System Requirements For Samsung Ssd Installation
Before migrating your Windows 10 operating system to a Samsung SSD, it is essential to ensure that your system meets the necessary requirements for a smooth installation process.
Here are the key points to consider:
- Processor and RAM: Check if your Windows 10 system meets the minimum processor and RAM specifications recommended by Samsung for their SSD models. Refer to the Samsung website or the documentation that came with your SSD to find the specific requirements.
- Storage capacity: Verify the storage capacity of the Samsung SSD you plan to install. Make sure it aligns with your needs, considering the amount of data you currently have on your Windows 10 system and any future growth expectations.
- Interface compatibility: Determine whether your system supports the interface used by the Samsung SSD. Common interfaces include SATA, PCIe, and NVMe. Confirm the type of interface your SSD utilizes and check if your motherboard or laptop has the required slot or connector.
- Firmware updates: Check if there are any firmware updates available for your Samsung SSD model. Keeping the firmware up to date ensures optimal performance and compatibility with your Windows 10 system.
By verifying these system requirements beforehand, you can avoid any potential compatibility issues and ensure a successful migration process. Now, let’s move on to the next crucial step.
Backup Important Data Before Migrating
Here’s what you need to do:
- Identify your essential data: Determine the files, documents, photos, videos, and any other important data that you want to back up from your current Windows 10 system.
- Choose a backup method: There are several methods you can use to back up your data. Some popular options include using an external hard drive, cloud storage services, or specialized backup software. Select the method that best suits your needs and preferences.
- Perform the backup: Follow the specific instructions provided by the chosen backup method to create a copy of your essential data. Ensure that the backup process is complete and that you have successfully copied all your important files.
Ensure That The Samsung Ssd Is Compatible With Your Windows 10 System
To ensure a successful migration of your Windows 10 operating system to a Samsung SSD, it is important to confirm compatibility between the two.
Follow these steps to verify compatibility:
- Check Samsung’s compatibility list: Visit the Samsung website and search for the compatibility list for the specific SSD model you have or plan to purchase. This list will outline the supported operating systems, including Windows 10.
- Review your Windows 10 system specifications: Check your current system specifications, such as processor, RAM, and storage interface. Compare these specifications with the requirements mentioned in the SSD’s compatibility list to ensure they align.
- Consult user forums and reviews: Research online forums and read user reviews from individuals who have successfully migrated their Windows 10 system to a Samsung SSD. Pay attention to any compatibility issues or recommendations they mention.
By confirming compatibility between your Windows 10 system and the Samsung SSD, you can proceed with confidence, knowing that your migration process will go smoothly.
Optimizing Performance On Samsung Ssd
Learn how to seamlessly migrate Windows 10 to your Samsung SSD with our step-by-step guide for improved speed and efficiency.
Enabling TRIM for enhanced performance:
- TRIM is a command that allows your operating system to inform the SSD which data blocks are no longer in use, helping the SSD to optimize its performance and prolong its lifespan.
To enable TRIM, open the Command Prompt and type in the following command: `
- fsutil behavior set DisableDeleteNotify 0`. This will ensure that TRIM is enabled on your Samsung SSD.
- Keep in mind that TRIM is automatically enabled in Windows 10, so you may not need to manually enable it. However, it’s always a good idea to double-check.
Utilizing Samsung Magician software for SSD maintenance and optimization:
- Samsung Magician is a powerful software that allows you to optimize and maintain your Samsung SSD for peak performance.
- Install Samsung Magician on your Windows 10 system and launch the software.
- Use the built-in optimization features, such as Rapid Mode, which uses system RAM to enhance SSD performance, and Over Provisioning, which reserves a portion of the SSD’s capacity for maintenance tasks.
- Samsung Magician also provides various tools for monitoring your SSD’s health, updating firmware, and securely erasing data when needed.
Tips and tricks for maximizing the lifespan and performance of your Samsung SSD:
- Enable AHCI mode in your system BIOS for better compatibility and performance with your Samsung SSD.
- Regularly update your Samsung SSD’s firmware to benefit from any performance enhancements and bug fixes.
- Avoid filling your Samsung SSD to its maximum capacity, as leaving some free space will help maintain its performance over time.
- Enable BitLocker encryption on your Samsung SSD to ensure data security without compromising performance.
- Perform regular disk cleanup and defragmentation to maintain optimal performance.
- Avoid exposing your Samsung SSD to extreme temperatures, as it can affect both performance and lifespan.
- Make sure to check for and install any available Samsung SSD-specific driver updates for your Windows 10 system.
- If you encounter any performance issues, consider running a benchmarking or diagnostic tool, such as CrystalDiskMark or Samsung’s SSD Magician, to identify any underlying problems.
By following these tips and utilizing the features provided by Samsung Magician, you can optimize your Samsung SSD’s performance, enhance its lifespan, and ensure a smooth migration experience from Windows 10.
Troubleshooting Common Issues
Learn how to easily migrate your Windows 10 operating system to a Samsung SSD to improve your computer’s performance and storage capacity. This step-by-step guide will help troubleshoot common issues and ensure a seamless transfer of data.
Failed Cloning Attempts And How To Troubleshoot Them:
- Insufficient storage space on the target SSD: Ensure that the Samsung SSD has enough capacity to accommodate the data from your Windows 10 system. If the SSD is smaller than the source drive, consider cleaning up unnecessary files or upgrading to a larger SSD.
- Improper disk formatting: Check if the Samsung SSD is properly formatted and initialized. Use the Disk Management tool in Windows to format the SSD to the appropriate file system (NTFS) and assign it a drive letter.
- Incompatible cloning software: Make sure you are using a reliable cloning software that supports Windows 10 and Samsung SSDs. Check for updates or try an alternative cloning tool if the current one is causing issues.
Compatibility Issues And How To Address Them:
- Mismatched SATA connection: Verify that the Samsung SSD is connected to the correct SATA port on your motherboard. Some older systems may have compatibility issues with certain SATA ports. Try connecting the SSD to a different port if necessary.
- Unsupported firmware: Ensure that the Samsung SSD is running the latest firmware version. Visit the Samsung website and download the appropriate firmware update tool to keep your SSD up to date.
- Legacy BIOS settings: If you are using an older system with a legacy BIOS, make sure the BIOS settings are properly configured to support the new Samsung SSD. Check the SATA mode (AHCI or IDE) and enable any necessary settings for optimal compatibility.
Error Messages During The Migration Process And Their Solutions:
- “Target disk not found”: This error message typically indicates a connection issue with the Samsung SSD. Double-check the SATA cable connections and power supply to ensure a secure and stable connection.
- “Disk cloning failed”: If the cloning process fails, it could be due to bad sectors or corrupted data on the source drive. Run a disk check utility, such as CHKDSK, on the source drive to repair any errors and attempt the cloning process again.
- “Insufficient privileges”: Sometimes, the cloning software may encounter permissions issues when accessing certain system files. Run the cloning software as an administrator to ensure it has the necessary privileges to access all required files and folders.
Remember, successfully migrating Windows 10 to a Samsung SSD requires attention to detail and troubleshooting skills.
Conclusion
Migrating your Windows 10 operating system to a Samsung SSD can bring significant performance improvements to your device.
With a faster and more reliable SSD, your computer will boot up quicker, open applications faster, and provide an overall smoother user experience.
By following the step-by-step guide provided in this blog post, you can seamlessly transfer your Windows 10 system to your new Samsung SSD without losing any data.
Remember to back up your important files before starting the migration process to prevent any potential loss. With the help of tools like Samsung Data Migration software, you can effortlessly clone your system and enjoy the benefits of a speedy SSD.


