Can I Upgrade Ssd on Macbook Air 2018? Yes!
Yes, you can upgrade the SSD on a MacBook Air 2018, but it involves using third-party components and professional assistance due to the proprietary nature of Apple’s storage design.
The MacBook Air models from 2018 and later come with solid-state drives (SSDs) that are soldered onto the motherboard.
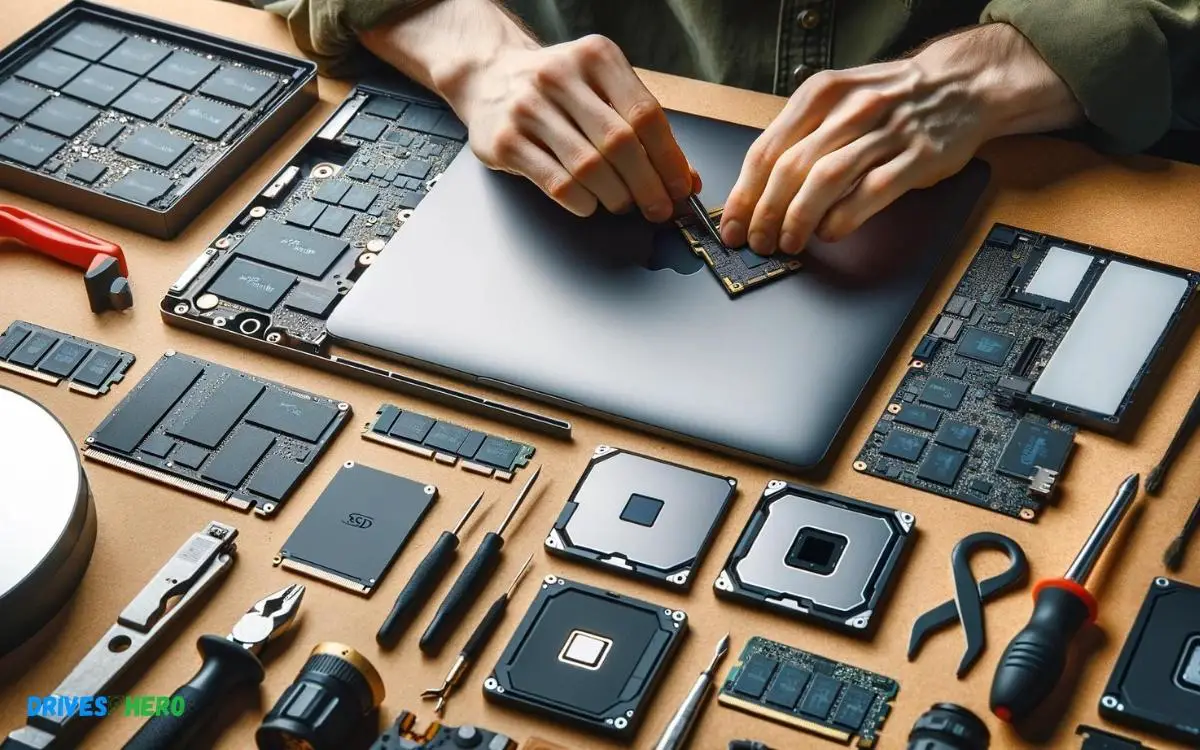
This design choice by Apple means that the SSD is not meant to be user-replaceable or upgradeable. However, technically, it is possible to upgrade the SSD with the help of specialized services that offer third-party solutions.
Such services can desolder the existing storage chip and replace it with a higher-capacity one, but this is a delicate process that can potentially void your warranty and is not recommended by Apple.
Considerations for upgrading your MacBook Air 2018 SSD:
- Warranty voiding: Unauthorized modifications might void any remaining warranty.
- Professional service: Seek a service that specializes in Apple hardware upgrades.
- Data backup: Always ensure your data is backed up before undertaking hardware modifications.
- Compatibility: Ensure the third-party SSD is compatible with your MacBook Air.
Upgrading your MacBook Air’s SSD is not a straightforward process, and though possible, it requires expertise and may compromise your laptop’s integrity or warranty.

Key Takeaway
Understanding Macbook Air 2018 Ssd
Embarking on the journey to elevate your MacBook Air performance starts with a profound understanding of its solid-state drive (SSD).
Tailored, slick, and with the promise of dizzyingly fast access speeds, the SSD of a MacBook Air 2018 is a marvel in its own right.
Features And Specifications
- Retina Display: 13.3-inch (diagonal) LED-backlit display with IPS technology
- Processor: 1.6GHz dual-core Intel Core i5, Turbo Boost up to 3.6GHz, with 4MB L3 cache
- Graphics: Intel UHD Graphics 617
- Storage: 128GB or 256GB SSD, may vary based on model
- Memory: 8GB of 2133MHz LPDDR3 onboard memory
- Ports: Two Thunderbolt 3 (USB-C) ports, 3.5 mm headphone jack
- Battery: Up to 12 hours of battery life
- Security: Integrated Touch ID sensor
Importance Of Ssd In Macbook Air 2018
Knowing the ins and outs of your MacBook Air’s storage capabilities isn’t just about recognizing specs it’s about turning knowledge into power.
With a precise understanding of your MacBook Air 2018’s SSD, you’re positioned better to make informed decisions regarding potential upgrades and optimizations, aligning your device’s performance with your aspirations.
How To Check Macbook Air 2018 Ssd?
Upgrading the SSD on a MacBook Air 2018 isn’t straightforward due to its onboard design. To assess your current SSD, use macOS Utilities or third-party applications for a detailed overview.
Step-by-step Guide For Checking Ssd Size
- Click on the Apple logo in the top-left corner of your screen.
- Select “About This Mac” from the dropdown menu.
- Navigate to the “Storage” tab to see a visual representation of your storage.
- The SSD’s total capacity is listed alongside a breakdown of the space occupied by different file types.
Utilizing System Information To Get Ssd Details
An alternative method to discover more in-depth information about your SSD involves the System Information app.
Here’s how to use this utility:
- Press and hold the “Option” key.
- While holding the key, click the Apple logo at the top-left corner of the screen.
- Choose “System Information” from the dropdown menu.
- From the sidebar, select “Storage“.
- Your SSD’s information, including its model, capacity, and connection type, will be displayed on the right.
These details can help when scouting for a compatible SSD upgrade for your MacBook Air 2018.
Exploring Ssd Upgrade Options
When it’s time to give your MacBook Air 2018 a boost in performance and capacity, upgrading the internal SSD can seem like a daunting task. However, with the right information and tools, enhancing your laptop’s storage can be both rewarding and transformative.
Available Compatible Ssd Upgrades
Compatibility is key when looking for a new SSD for your MacBook Air 2018. Not all SSDs are created equal, and choosing one that matches Apple’s proprietary interfaces is essential. Thankfully, there are specific models designed to fit seamlessly into your Mac.
These include:
- OWC Aura Pro X2: Known for its high-speed and increased storage capacity.
- Transcend JetDrive: Offers an excellent balance of performance and reliability.
- Crucial P1: For those seeking a cost-effective upgrade without compromising speed.
Different Ssd Upgrade Kits Or Tools
Proper tools and a kit can make the SSD upgrade process smooth and hassle-free.
Typically, SSD upgrade kits for the MacBook Air 2018 come with:
- Precision screwdrivers to open your MacBook and replace the SSD.
- External enclosures to repurpose your original SSD as an external storage device.
- Cloning software to transfer data from your old SSD to the new one.
Consideration For Selecting The Right Ssd
Selecting the perfect SSD for your MacBook Air 2018 isn’t just about capacity.
Consider these critical factors:
| Factor | Description |
|---|---|
| Interface Compatibility | Ensure the SSD fits your MacBook’s unique interface. |
| Performance | Look for high read/write speeds for better functionality. |
| Reliability | Choose a brand with a proven track record in durability. |
| Warranty | An SSD with a long warranty period offers peace of mind. |
| Storage Capacity | Decide how much extra storage you actually need. |
Upgrading the SSD in your MacBook Air 2018 can be a rewarding project that enhances your device’s speed and storage capacity. By choosing a compatible SSD, a comprehensive upgrade kit, and considering the right factors, your laptop will feel brand new.
Professional Assistance And Diy Techniques
Upgrading the SSD in your MacBook Air 2018 is possible with professional help or by following detailed DIY instructions.
Expert technicians offer seamless service, whereas reliable online guides can empower tech-savvy users to undertake the upgrade themselves.
Pros And Cons Of Seeking Professional Help
Considering professional assistance comes with its own set of benefits and drawbacks:
| Pros | Cons |
|---|---|
| Expertise in handling complex hardware Less risk of damage to your MacBook Warranty coverage for the service provided Use of genuine Apple parts | Higher cost compared to DIY Time without your device during repair Dependence on service provider’s schedule |
Complete Ssd Replacement Guide For Diy Enthusiasts
- Acquire the necessary tools (P5 Pentalobe screwdriver, T5 Torx screwdriver).
- Purchase a compatible SSD for your MacBook Air model.
- Back up all data before proceeding with the replacement.
- Shut down the MacBook and disconnect all power sources.
- Remove the back cover with the P5 screwdriver.
- Locate the SSD and carefully unscrew it with the T5 screwdriver.
- Remove the old SSD and replace it with the new one, ensuring a firm connection.
- Screw the new SSD into place and reattach the back cover.
- Restore your data and enjoy your MacBook’s enhanced performance.
Safety Precautions And Best Practices For Ssd Upgrade
- Anti-static wrist strap: Use it to prevent electrostatic discharge (ESD) that could damage your MacBook’s internals.
- Work in a clean, static-free environment: This minimizes the risk of dust or debris entering the device.
- Keep track of screws: Organize the tiny screws to avoid losing them and ensure proper reassembly.
- Battery disconnection: Ensure the MacBook is powered off and disconnect the battery connector to prevent short circuits.
- Be patient: Work deliberately and carefully to avoid damage to the fragile ribbon cables and connectors.
Conclusion
Wrapping up, upgrading the SSD on a MacBook Air 2018 is not a straightforward task. Before proceeding, consult Apple’s guidelines and consider professional assistance to ensure data safety and device integrity.
Enhancing your Mac’s performance starts with understanding its upgrade capabilities.


