How to Remove Ssd from Macbook Air? 12 Steps!
The MacBook Air, known for its sleek design and impressive performance, has revolutionized the world of portable computing.
However, there may come a time when you need to upgrade or replace the SSD (Solid State Drive) within your MacBook Air to boost its storage capacity or enhance its speed.
Whether you’re a seasoned tech enthusiast or a newcomer to hardware upgrades, fear not! Removing the SSD from your MacBook Air is a straightforward process that requires just a few simple steps.
We’ll take you through the necessary procedures to safely and efficiently remove the SSD from your MacBook Air, allowing you to embark on your upgrade journey with confidence.
Key Takeaway
Removing SSD from MacBook Air: Step-by-Step Guide
Step 1: Gather Necessary Tools
- Prepare a Pentalobe screwdriver, a spudger tool, and a soft cloth to protect your MacBook Air.
Step 2: Power Off and Disconnect
- Power off your MacBook Air and disconnect any connected cables or peripherals.
Step 3: Prepare the MacBook Air
- Place your MacBook Air on a flat, clean surface with the bottom facing upwards.
- Use the soft cloth to protect the surface of your MacBook Air from scratches.
Step 4: Remove Screws
- Use the Pentalobe screwdriver to remove the screws securing the bottom case of your MacBook Air.
- Keep the screws in a safe place to avoid misplacement.
Step 5: Open the MacBook Air
- Carefully lift off the bottom case of your MacBook Air and set it aside.
Step 6: Locate the SSD
- Identify the location of the SSD inside your MacBook Air. It is usually located near the center of the device.
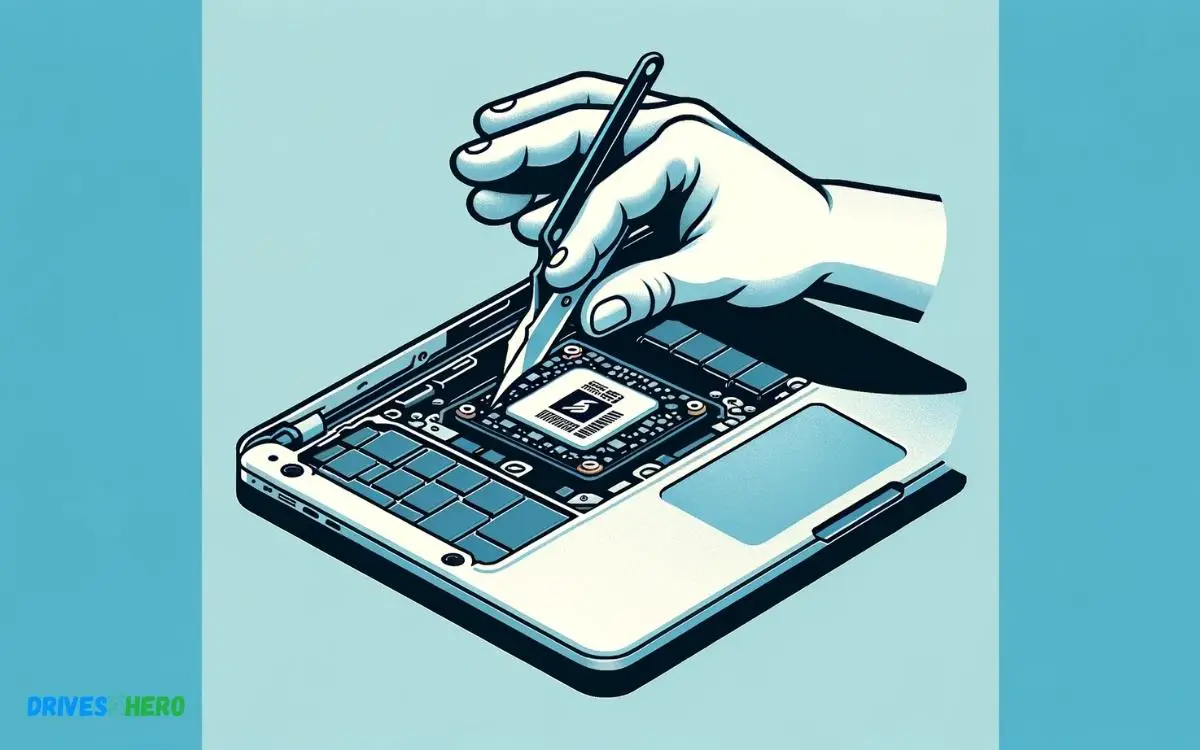
Step 7: Disconnect SSD
- Use the spudger tool to gently disconnect the SSD cable or ribbon cable from the SSD.
- Be cautious not to damage any surrounding components while disconnecting the SSD.
Step 8: Remove SSD
- Once the SSD is disconnected, carefully lift it out of its slot.
- Handle the SSD with care to avoid damaging the connectors or circuitry.
Step 9: Optional: Install Replacement SSD
- If you are replacing the SSD with a new one, follow the manufacturer’s instructions to install the new SSD into the slot.
Step 10: Close the MacBook Air
- Place the bottom case back onto your MacBook Air.
- Ensure it is properly aligned before pressing down to secure it in place.
Step 11: Screw the Bottom Case
- Use the Pentalobe screwdriver to screw the bottom case back onto your MacBook Air.
- Tighten the screws securely but avoid over-tightening.
Step 12: Power On and Verify
- Power on your MacBook Air and verify that it boots up properly.
- Check to ensure that the SSD is recognized by your MacBook Air.
By following these steps, you can safely remove the SSD from your MacBook Air. If necessary, you can also replace it with a new SSD following similar steps in reverse.
Preparation For Ssd Removal
Before attempting to remove an SSD from a MacBook Air, ensure you back up all data and shut down the computer. Gather the proper tools, such as a P5 Pentalobe screwdriver, to safely proceed with the SSD extraction process.
Backing Up Data
- Connect an external hard drive or select a cloud storage provider.
- Open Time Machine and choose ‘Backup Now‘.
- Verify the backup’s integrity once the process is finished.
Gathering Necessary Tools
| Tool | Description | Use |
|---|---|---|
| P5 Pentalobe Screwdriver | Specialized for MacBook Air | To remove the lower case |
| T5 Torx Screwdriver | Common in electronic devices | To disconnect the battery & SSD |
| Plastic Pry Tools / Spudgers | Non-conductive tools | For safe separation of components without damage |
| ESD-Safe Tweezers | Prevent static damage | To handle small connectors |
| Anti-Static Wrist Strap (Optional) | Reduces risk of electrostatic discharge | For personal safety and device protection |
Understanding Macbook Air Ssd Architecture
Removing the SSD from a MacBook Air requires precision and understanding of its internal architecture. Before attempting, ensure you have the right tools and static-free environment to prevent damage to delicate components.
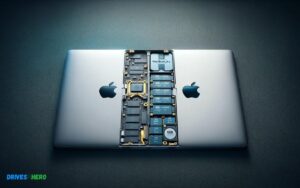
Exploring Macbook Air Internal Components
The MacBook Air, an epitome of efficient design, houses its components in a remarkably compact chassis.
Here’s what you’ll discover inside:
- Main Logic Board: The central hub where the processor, memory, and graphics are located.
- Battery Cells: These power the device, arranged to optimize space and performance.
- Cooling System: This keeps the CPU at an optimal temperature during use.
- SSD Module: A key performance component, responsible for storage and quick access to data.
- I/O Ports: A series of ports for connecting external devices and peripherals.
- Speakers: Positioned to deliver quality audio without occupying excessive space.
Ssd Location And Functionality
- Swift Boot Times: It allows for rapid system startups.
- Fast Data Access: Providing quick file retrievals and application launches.
- Energy Efficiency: SSDs consume less power, enhancing battery life.
- Reliability: With no moving parts, the SSDs are more resilient to physical shock.
The SSD is pivotal for both the speed of the system and the safekeeping of the user’s data, making its condition and functionality crucial for the MacBook Air’s overall performance.
Identifying Ssd Compatibility
Determining the compatibility of an SSD with your MacBook Air involves checking three main factors:
| Factor | Description |
|---|---|
| Model Year | Each MacBook Air generation has specific SSD connectors and dimensions. |
| Interface Type | Whether the SSD uses SATA, PCIe, or other interface technologies. |
| Operating System Support | The SSD must support the version of macOS you plan to run. |
To avoid compatibility issues, users should ensure they match their MacBook Air model with the correct SSD specifications.
Conduct research or consult with a professional if necessary to ascertain the precise SSD type your MacBook Air requires for a seamless and effective upgrade.
Precautions For Ssd Removal
To safely remove an SSD from a MacBook Air, ensure the device is completely powered down and disconnected from any external power sources.
Handle the SSD with care to prevent any static damage by using proper anti-static precautions during the removal process.
Esd (electrostatic Discharge) Protection
- Wear an anti-static wrist strap to ground yourself and prevent static electricity from damaging the SSD.
- Work on an anti-static mat or surface to further reduce the risk of static discharge.
- Avoid working in environments with low humidity, as dry air increases the likelihood of static electricity buildup.
Handling SSD with Care
- Hold the SSD by its edges or use an anti-static bag to prevent direct contact with your skin.
- Avoid touching the connectors or circuitry on the SSD to minimize the risk of damage from oils or debris on your fingers.
- Place the SSD on a soft cloth or anti-static surface when not in use to prevent scratches or damage.
Antistatic Work Environment
- Remove any synthetic or woolen clothing that may generate static electricity.
- Ensure the work area is clean and free of dust or debris that could potentially cause damage to the SSD.
- Keep all tools and materials organized and away from the edge of the work surface to prevent accidental drops or contact with the SSD.
By following these precautions, you can safely handle and remove the SSD from your MacBook Air without risking damage from electrostatic discharge or mishandling.
Conclusion
Removing the SSD from your MacBook Air can be a straightforward process with the right tools and instructions. Armed with this guide, stepping through each phase with confidence becomes second nature.
For future upgrades or maintenance, revisit these tips to keep your device running smoothly. Remember, patience and precision are your best companions in this task.

Harold Williams is a senior writer and technical editor at Drives Hero with 20+ years of experience in IT administration. He specializes in storage systems, SSD reviews, and performance testing, bringing real-world insight to every guide.