How to Open Sandisk Extreme Portable Ssd? 10 Easy Steps!
The Sandisk Extreme Portable SSD offers reliable storage and high-speed performance in a compact and durable design. Whether you’re looking to perform maintenance or upgrades, accessing the internal components of your SSD is a simple process.
We’ll walk you through the step-by-step process of opening your Sandisk Extreme Portable SSD, allowing you to carry out necessary tasks with ease while ensuring the integrity of your device.
Key Takeaway
Step-by-Step Guide to Opening Sandisk Extreme Portable SSD
Step 1: Gather Your Supplies
Before starting, ensure you have your Sandisk Extreme Portable SSD, a small Phillips-head screwdriver, and a clean, flat surface to work on.
Step 2: Locate the Screws
Turn your SSD over and examine the edges. You’ll notice small screws holding the casing together. These screws might be hidden beneath rubber feet or stickers, so gently peel them off to reveal the screws.
Step 3: Unscrew the Casing
Using your Phillips-head screwdriver, carefully remove the screws. Keep them in a safe place to avoid misplacing them. Once all screws are removed, gently pry open the casing.
Step 4: Be Gentle
Inside, you’ll find the internal components of your SSD. Handle them with care, avoiding unnecessary force or pressure.
Step 5: Access the Interior
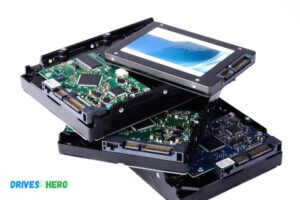
With the casing open, you can now access the interior components, such as the SSD controller and NAND flash memory.
Step 6: Perform Necessary Maintenance or Upgrades
If you’re opening your SSD for maintenance or upgrades, proceed with the necessary tasks. Be cautious and refer to any relevant guides or instructions provided by Sandisk.
Step 7: Reassemble
Once you’ve completed your tasks, carefully put the casing back together. Ensure all components are properly aligned before tightening the screws.
Step 8: Test Functionality
Before fully sealing the SSD, it’s advisable to test its functionality to ensure everything is working correctly. Connect it to your computer and verify that it’s recognized and functions as expected.
Step 9: Seal the Casing
Once you’ve confirmed everything is working correctly, seal the casing by tightening the screws securely. Make sure the casing is properly aligned to avoid any damage to the components inside.
Step 10: Final Check
Give your SSD a final inspection to ensure everything is in place and secure. Congratulations, you’ve successfully opened and closed your Sandisk Extreme Portable SSD!
By following the step-by-step guide provided, you can access the internal components for maintenance or upgrades with ease. Remember to handle all components delicately and perform necessary tests before resealing the casing.
Five Facts About: About Opening Sandisk Extreme Portable SSD
Tools Required For Opening Sandisk Extreme Portable Ssd
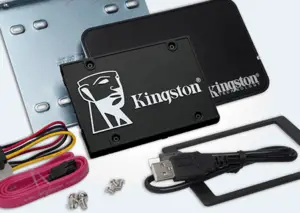
To open your Sandisk Extreme Portable SSD, you’ll need a few essential tools. These include a small screwdriver and a pry tool to carefully remove the casing and access the internal components.
To open a Sandisk Extreme Portable SSD, you will need the following tools:
- Screwdriver: You will need a small screwdriver, preferably a Philips head screwdriver, to remove the screws holding the SSD enclosure together.
- Plastic pry tool: A plastic pry tool will come in handy to safely separate the different parts of the enclosure without causing damage to the SSD or its components.
With these tools at your disposal, you can easily open the Sandisk Extreme Portable SSD enclosure and access its internal components. Remember to handle the SSD and tools with care to avoid any accidents or damage.
Removing The Back Cover Of Sandisk Extreme Portable Ssd
Learn how to easily remove the back cover of your Sandisk Extreme Portable SSD with these simple steps. Open your SSD for quick and hassle-free access to its internal components.
When it comes to opening up your Sandisk Extreme Portable SSD for maintenance or upgrading purposes, it’s crucial to know the correct steps to avoid causing any damage.
Locate The Screws On The Back Cover:
- Flip the Sandisk Extreme Portable SSD over to locate the screws on the back cover.
- You will find four screws positioned around the edges of the back cover, each holding it in place securely.
Unscrew The Screws Using A Screwdriver:
- Take a screwdriver that matches the size of the screws on the back cover.
- Carefully insert the screwdriver into the screws one by one, turning counterclockwise to unscrew them.
- Be cautious not to apply excessive force when unscrewing to prevent stripping the screws.
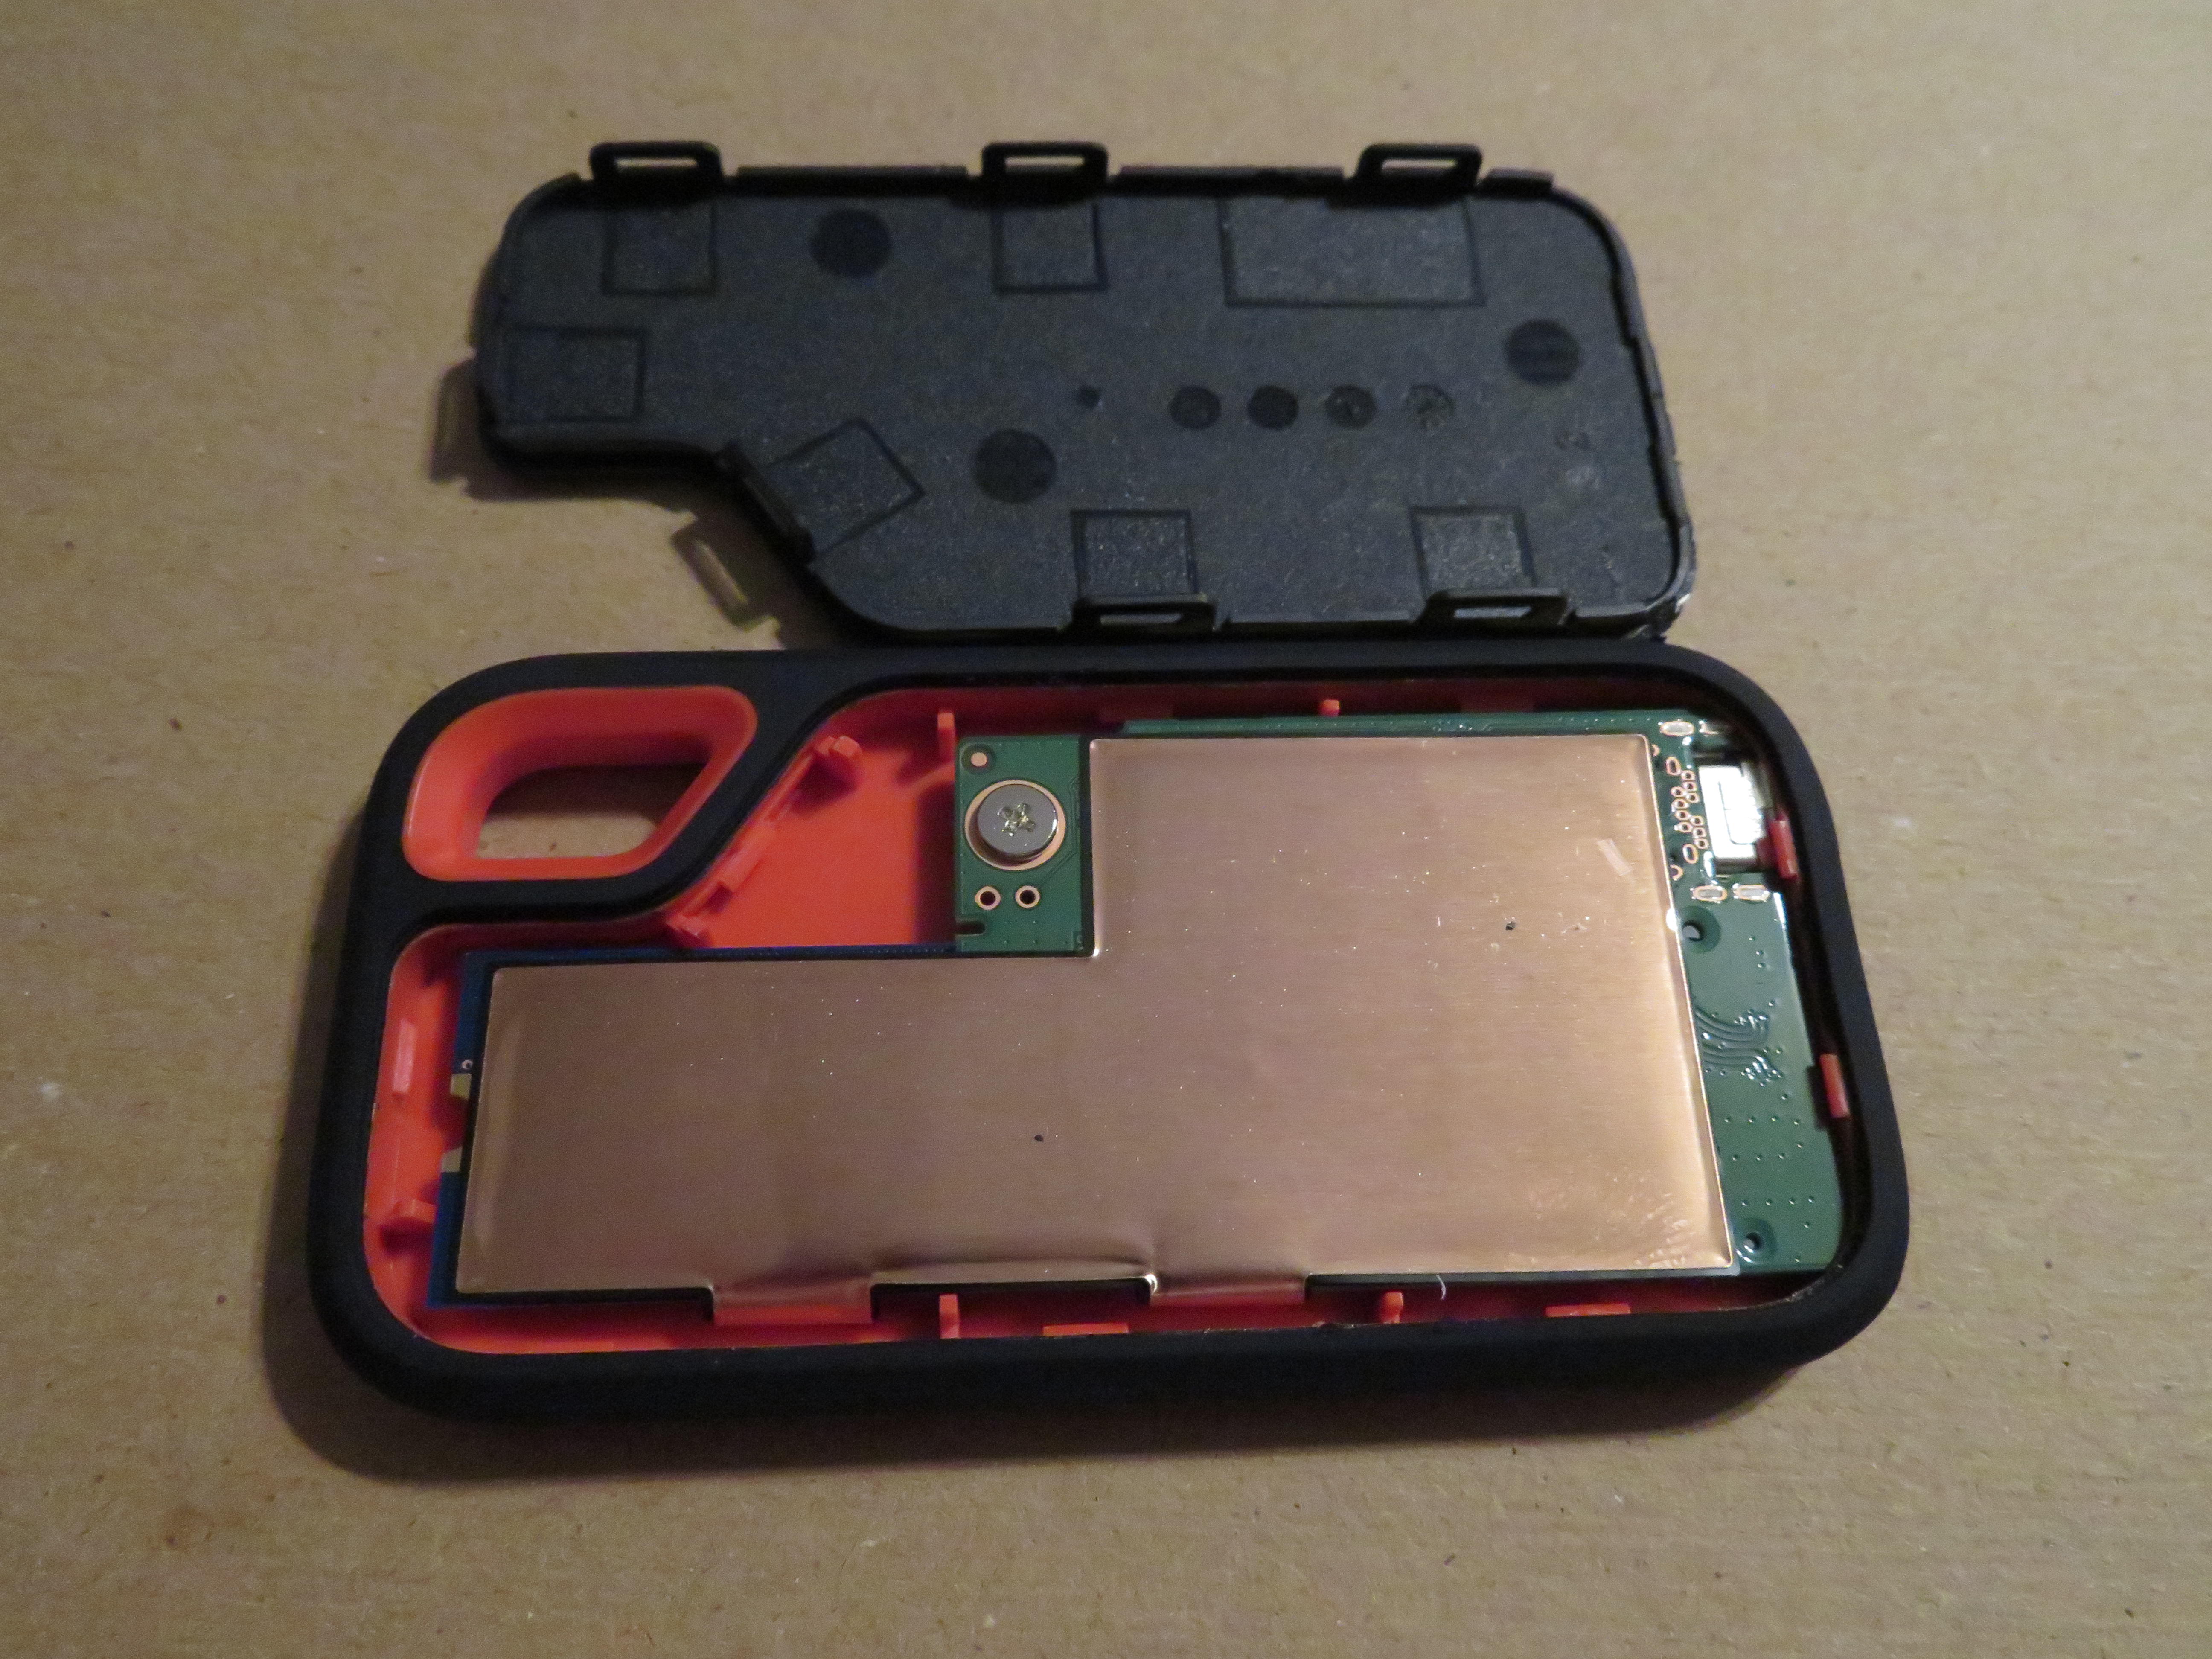
Gently Pry Open The Back Cover Using A Plastic Pry Tool:
- Once the screws are completely loose, take a plastic pry tool.
- Insert the pry tool into the gap between the front and back covers of the Sandisk Extreme Portable SSD.
- Apply gentle pressure and slowly move the pry tool along the edges to separate the back cover from the device.
- Ensure that you do not use excessive force as it may cause damage to the internal components.
Removing the back cover of your Sandisk Extreme Portable SSD is a delicate process that requires precision and care.
By following the steps mentioned above, you can safely access the internal components of your SSD for maintenance or upgrade purposes.
Accessing The Internals Of Sandisk Extreme Portable Ssd
Discover the simple steps to access the internals of the Sandisk Extreme Portable SSD and gain insights into opening this device easily. Unlock your device’s potential with our straightforward guide.
Identify The Internal Components:
To begin, you need to familiarize yourself with the internal components of the Sandisk Extreme Portable SSD.
Here are the main parts you will encounter:
- Cables and connectors: The SSD is connected to the motherboard through various cables and connectors. Identifying them correctly is crucial for a successful disassembly.
- Circuit board: This is where all the electronic components of the SSD are located. It plays a vital role in the device’s functionality.
- Storage chips: These chips are responsible for storing your data. They are usually located on the circuit board and can be easily identified by their rectangular shape.
- Connectors and ports: The SSD will have connectors and ports for power supply, data transfer, and other purposes. Understanding their locations is essential for a smooth disassembly process.
Carefully Disconnect Any Cables Or Connectors:
Before proceeding further, ensure that you have disconnected all cables and connectors properly.
Follow these steps to avoid any damage:
- Power off: Make sure the SSD is powered off before you start disconnecting any cables or connectors. This will prevent any electrical shock or potential damage.
- Use proper tools: Utilize the appropriate tools, such as tweezers or a small screwdriver, to carefully disconnect any cables or connectors. Gently remove them without applying excessive force.
- Label cables: If you’re unfamiliar with the internal layout, it’s a good idea to label cables or take pictures before disconnecting them. This will help you remember their positions when reassembling the SSD.
Remove The Internal Components:
Now that you have safely disconnected the cables and connectors, it’s time to remove the internal components of the Sandisk Extreme Portable SSD.
Follow these steps:
- Unscrew the casing: Locate the screws that secure the casing of the SSD and carefully remove them using a screwdriver. Set the screws aside in a safe place to avoid misplacing them.
- Separate the circuit board: Once the casing is removed, you can access the circuit board. Gently detach it from the SSD’s housing, taking care not to damage any delicate components.
- Upgrade or replace components: If you wish to upgrade or replace any specific internal components, this is the time to do so. Ensure that you follow the manufacturer’s instructions and handle the new components with care.
By following these simple steps, you can access the internals of the Sandisk Extreme Portable SSD and make any necessary upgrades or replacements.
Remember to handle the internal components with caution, and always refer to the manufacturer’s guidelines for any specific instructions.
Tips For Opening Sandisk Extreme Portable Ssd Without Damaging It
Learn how to safely open your Sandisk Extreme Portable SSD without causing any damage. These helpful tips will guide you through the process step by step, ensuring your SSD remains intact and functional.
Opening the Sandisk Extreme Portable SSD can be a bit tricky, but with the right approach, you can avoid any potential damage to the device. Whether you need to access the internal components for maintenance or upgrading purposes,
Avoid Using Excessive Force
- Apply gentle pressure: It’s important to avoid using excessive force when trying to open the Sandisk Extreme Portable SSD. Applying too much pressure can lead to cracks or breakages in the device.
- Use the right tools: Make sure you have the appropriate tools on hand, such as a small screwdriver or a plastic pry tool, to help you gently pry open the back cover without causing any harm.
- Take it slow: Rushing the process can lead to accidents. Be patient and take your time when trying to open the SSD. Remember, slow and steady wins the race!
Be Gentle When Prying Open The Back Cover
- Find the opening point: Locate the small gap or slot on the edges of the SSD’s back cover. This is where you can insert your tool to start prying it open.
- Use a plastic tool: Opt for a plastic pry tool rather than a metal one to reduce the risk of scratching or damaging the SSD. Insert the tool into the gap and carefully twist or wiggle it to separate the back cover from the main body.
- Work your way around: Once you’ve successfully inserted the tool, gently work your way around the edges, gradually prying open the back cover. Take care not to insert the tool too deeply and avoid putting excessive pressure in one spot.
Take Your Time And Proceed With Caution
- Inspect the seal: Before attempting to open the SSD, carefully inspect the device for any signs of tampering or warranty seal. If you find a seal, consult the manufacturer’s guidelines to ensure opening the device won’t void the warranty.
- Observe any adhesive: Some SSD models may have adhesive securing the back cover. If you encounter adhesive, use a hairdryer to gently warm the edges of the SSD. This heat can help loosen the adhesive, making it easier to remove the back cover.
- Document the process: Take pictures or notes as you go along to remember the steps you took. This way, you can reverse the process if needed or seek assistance if you encounter any issues.
By implementing these tips, you can safely open the Sandisk Extreme Portable SSD without causing any harm. Remember to be patient, use the right tools, and work gently to ensure a smooth opening process.
Closing And Securing The Sandisk Extreme Portable Ssd After Opening
To close and secure the Sandisk Extreme Portable SSD after opening, simply align the edges and gently push until it clicks into place. Ensure a secure connection by confirming that the device is firmly sealed.
After successfully opening your Sandisk Extreme Portable SSD to access the internal components, it is important to securely close the device to ensure its optimal functioning.
Follow the steps below to safely close and secure your SSD:
Place The Internal Components Back Into The Device:
- Gently place the internal components, such as the circuit board and the solid-state drive, back into the enclosure.
- Ensure the components are aligned properly and fit snugly into their designated spots.
- Take extra care not to damage any fragile components during this process.
Reconnect Any Cables Or Connectors:
- Identify the cables and connectors that were disconnected during the opening process.
- Match the shapes and sizes of the connectors with their corresponding slots on the internal components.
- Firmly connect the cables and gently push the connectors into place until they are secure.
Carefully Align The Back Cover And Screw It Back On:
- Take the back cover of the Sandisk Extreme Portable Ssd and align it with the enclosure’s edges.
- Ensure that the connectors, ports, and buttons align properly with the corresponding holes and cutouts on the back cover.
- Once aligned, begin screwing the cover back onto the enclosure, using the screws that were removed earlier.
- Tighten the screws carefully, but do not overtighten as it may damage the device.
Safely Testing The Sandisk Extreme Portable Ssd After Opening
After opening the Sandisk Extreme Portable SSD, it is important to safely test its functionality. Follow these steps to ensure a smooth and reliable experience with your device.
Once you’ve successfully opened your Sandisk Extreme Portable Ssd, it’s important to ensure that it functions properly and runs smoothly.
Power On The Device To Ensure It Functions Properly
- Connect the Sandisk Extreme Portable Ssd to a power source.
- Press the power button to turn on the device.
- Check if the device starts up without any errors or issues.
Run Diagnostic Tests To Check For Any Issues
- Use the manufacturer’s provided software or utility to run diagnostic tests on the Sandisk Extreme Portable Ssd.
- Run a quick test to check the overall health and performance of the device.
- Perform a thorough scan to detect any potential errors or issues.
- Observe the test results and ensure that they indicate a healthy and functioning device.
Safely Eject The Device Before Disconnecting It
- Before disconnecting the Sandisk Extreme Portable Ssd, make sure to properly eject it from your computer or any other connected devices.
- On your computer, locate the Sandisk Extreme Portable Ssd icon in the system tray or Finder menu.
- Right-click on the icon and select the “Eject” option.
- Wait for the system to safely eject the device before physically disconnecting it.
By following these steps, you can confidently test your Sandisk Extreme Portable Ssd after opening it to ensure its proper functioning.
Remember to power on the device, run thorough diagnostic tests, and safely eject it before disconnecting to avoid any potential issues or data loss.
FAQ About How to Open Sandisk Extreme Portable Ssd
How do I open my Sandisk Extreme Portable SSD?
To open the Sandisk Extreme Portable SSD, you will need to use a small Phillips screwdriver to remove the four screws securing the casing to the device.
Once the screws have been removed, you can lift the casing off of the device and access the internal components of the drive.
What tools do I need to open my Sandisk Extreme Portable SSD?
You will need a small Phillips screwdriver in order to open the Sandisk Extreme Portable SSD.
Can I upgrade the memory on my Sandisk Extreme Portable SSD?
Yes, it is possible to upgrade the memory on your Sandisk Extreme Portable SSD. Refer to the user manual provided with the device for information on compatible memory modules and installation instructions.
What is the maximum storage capacity of a Sandisk Extreme Portable SSD?
The maximum storage capacity of a Sandisk Extreme Portable SSD varies depending on the model. Some models can support a maximum capacity of 2TB, while others up to 8TB of storage.
Can I use my Sandisk Extreme Portable SSD with both Windows and Mac computers?
Yes, the Sandisk Extreme Portable SSD is compatible with both Windows and Mac computers. Refer to the user manual provided with the device for more information about compatible operating systems.
Conclusion
Opening your Sandisk Extreme Portable SSD is a simple process that can greatly enhance your storage capability and data transfer speed.
With the right tools and a few careful steps, you can effortlessly access the contents of your SSD and make any necessary upgrades or modifications.
By following the manufacturer’s guidelines and visual cues, you can ensure a smooth and hassle-free process.
Whether you are a tech-savvy individual or a beginner, opening your Sandisk Extreme Portable SSD is a task that anyone can accomplish.

Harold Williams is a senior writer and technical editor at Drives Hero with 20+ years of experience in IT administration. He specializes in storage systems, SSD reviews, and performance testing, bringing real-world insight to every guide.