How to Use Samsung Ssd As External Drive? 5 Steps!
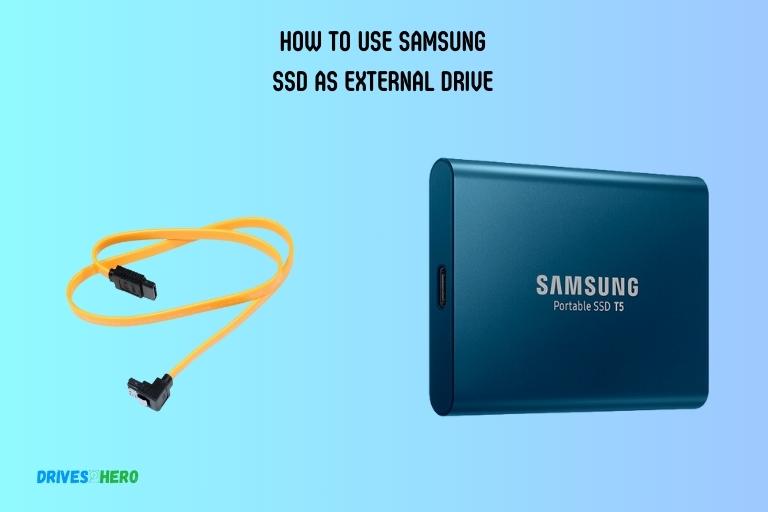
To use a Samsung SSD as an external drive, connect it to your computer using a compatible USB cable and format it for use with your operating system.
Ensure that the drive has enough power and is recognized by your computer before transferring files to or from it. Unlock the full potential of your Samsung SSD by transforming it into a versatile external drive.
We’ll provide a straightforward, step-by-step walkthrough to help you seamlessly connect, configure, and utilize your Samsung SSD as an external drive. Enhance your data storage and accessibility with these easy-to-follow instructions.

Key Takeaway
Using Samsung SSD as an External Drive: A Step-by-Step Guide
Step 1: Connect the SSD
- Find an Available Port: Locate an unused USB or Thunderbolt port on your computer.
- Plug-In: Use the provided cable to connect your Samsung SSD to the chosen port.
Step 2: Power On and Confirm Connection
- Turn On the SSD: If your SSD has a power button, press it. Otherwise, it may activate automatically.
- Check Recognition: Look on your computer to ensure it recognizes the SSD. On Windows, check “This PC”; on Mac, check “Finder” under “Devices.”
Step 3: Format the SSD (if needed)
- Access Disk Management (Windows) or Disk Utility (Mac): Confirm the SSD is listed.
- Format: If unformatted, right-click (Windows) or select (Mac) the SSD, choose “Format,” and select a compatible format like exFAT.
Step 4: Transfer or Backup Data
- Drag and Drop (Windows/Mac): Open the SSD folder and drag files into it.
- Backup Software (Optional): Consider using Samsung Data Migration (Windows) or Time Machine (Mac) for automated backups.
Step 5: Eject and Disconnect Safely
- Eject the SSD (Windows/Mac): Right-click (Windows) or select (Mac) the SSD and choose “Eject” to avoid data corruption.
- Disconnect: Unplug the cable from both the SSD and the computer once ejection is complete.
Follow these steps to effectively use your Samsung SSD as an external drive, expanding your storage capabilities and streamlining data management.xternal drive.
Preparing The SSD for Formatting
To prepare your Samsung SSD for formatting as an external drive, follow these steps: Connect the SSD to your computer using a USB cable, open the Disk Management tool, locate the SSD, right-click on it, and select “Format. “
Checking Compatibility
To ensure that your Samsung SSD is compatible with your computer and can be used as an external drive, follow these steps:
- Make sure your computer has a USB port: Check if your computer has a USB port available for connecting the SSD. Most computers nowadays have at least one USB port, but if yours doesn’t, you may need to use an external USB hub.
- Verify the USB standard supported: Check the USB standard supported by your computer and the Samsung SSD. For optimal performance, it is recommended to use USB 3.0 or higher. If your computer only supports USB 2.0, you can still use the SSD.
Backing Up Data
Before formatting your Samsung SSD, it is crucial to back up any important data you may have on it. Formatting will erase all data on the drive, so taking the time to back up your files is essential.
Here’s how you can back up your data:
- Transfer files to another storage device: Copy all the files from your Samsung SSD to another storage device, such as an external hard drive or cloud storage. This will ensure that your data is safely stored and can be retrieved later.
- Organize and categorize your files: Before transferring the files, take some time to organize and categorize them. This will make it easier to find specific files later when you need them.
By following these steps to check compatibility and back up your data, you can safely prepare your Samsung SSD for formatting.
Once you’ve completed these steps, you’ll be ready to proceed with the formatting process and start using your SSD as an external drive.
Formatting Procedures
Learn how to utilize your Samsung SSD as an external drive with these simple formatting procedures. Gain easy access to your files and optimize storage space with this efficient solution.
Formatting On Windows:
To format your Samsung SSD as an external drive on a Windows computer, follow these steps:
- Connect the SSD to your computer using a USB cable or an external enclosure.
- Open the “File Explorer” by clicking on the folder icon in the taskbar or by pressing the Windows key + E.
- Locate your Samsung SSD under the “This PC” or “My Computer” section.
- Right-click on the SSD and select “Format” from the context menu.
- In the Format window, choose the desired file system format. For external drives, it is recommended to use the NTFS format for Windows.
- Select the allocation unit size based on your needs. The default option is usually fine for general use.
- Optionally, give a new name to your SSD by entering a desired volume label.
- Ensure that the “Quick Format” option is checked to speed up the formatting process.
- Double-check your settings and click on the “Start” button to begin the formatting process.
- Wait for the process to complete, and once finished, you will have a freshly formatted Samsung SSD ready to be used as an external drive on your Windows computer.
Formatting On Mac:
If you are using a Mac computer, the formatting procedure for your Samsung SSD as an external drive is slightly different.
Here’s how to do it:
- Connect the SSD to your Mac using a USB cable or an external enclosure.
- Open “Finder” by clicking on the smiley face icon in the Dock or by pressing Command + Spacebar and typing “Finder” in the Spotlight search.
- Locate your Samsung SSD in the sidebar under the “Devices” section.
- Right-click on the SSD and select “Get Info” from the context menu.
- In the Info window, click on the “Erase” tab.
- Choose the desired file system format. For Mac, it is recommended to use the APFS format, but you can also choose Mac OS Extended (Journaled) if compatibility with older Mac systems is required.
- Optionally, give a new name to your SSD by entering a desired name in the Name field.
- Ensure that the “Format” option is set to the chosen file system format.
- Double-check your settings and click on the “Erase” button to begin the formatting process.
- Wait for the process to complete, and once finished, your Samsung SSD will be formatted and ready to use as an external drive on your Mac.
By following these formatting procedures, you can utilize your Samsung SSD as an external drive on both Windows and Mac systems smoothly.
Using File Syncing Software
Learn how to use your Samsung SSD as an external drive with the help of file syncing software. Easily transfer and synchronize your files between devices for quick and convenient access. Boost your productivity and keep your data organized effortlessly.
Selecting A File Syncing Software:
Before diving into the file syncing process, it’s crucial to select the right software that suits your needs.
Consider the following factors when choosing file-syncing software:
- Compatibility: Ensure that the software is compatible with your Samsung SSD and operating system.
- Features: Look for features like automated syncing, real-time updates, and selective syncing options based on folders or file types.
- Security: Check if the software offers encryption for your transferred files to protect your sensitive information.
- User-friendliness: Opt for software with an intuitive interface and easy setup process for a seamless user experience.
- Pricing: Evaluate the pricing plans and choose one that fits your budget.
Setting Up And Syncing Files:
Once you’ve chosen the file-syncing software that aligns with your requirements, follow these steps to set it up and start syncing your files:
- Download and Install: Visit the official website of the file syncing software and download the appropriate version for your operating system. Follow the on-screen instructions to install the software on your computer.
- Configure Syncing Preferences: Launch the file syncing software and navigate to the settings/preferences section.
- Connect Samsung SSD: Connect your Samsung SSD to your computer using the appropriate cables or adapters. Ensure that both the SSD and the computer are powered on.
- Create Syncing Pair: In the file syncing software, locate the option to create a new syncing pair or connection. Select your Samsung SSD as the source or origin drive and choose the desired destination folder on your computer where the files will be synced.
- Start Syncing: Once the syncing pair is created, initiate the syncing process by clicking on the designated sync button or manually triggering it from the software interface. The software will compare the files on the Samsung SSD and your computer.
- Monitor Syncing Status: Keep an eye on the syncing status within the software to ensure that the process is completed successfully. Some software may provide progress bars, notifications, or detailed logs displaying the files that have been synced or encountered any errors.
- Enjoy Seamless File Access: Once the initial syncing is complete, you can access your files stored on the Samsung SSD directly from your computer’s file explorer or the designated syncing software interface.
File syncing software allows you to streamline your workflow by keeping your files synchronized and readily accessible across multiple devices, including your Samsung SSD acting as an external drive.
With the right software and proper setup, you can enjoy convenient file management and ensure that your data remains up to date wherever you go.
Conclusion
Utilizing a Samsung SSD as an external drive is an excellent choice for expanding your storage options and increasing your device’s performance. Its compact size allows for easy portability, and its quick data transfer speeds ensure efficient file management.
By following the simple steps outlined in this guide, you can seamlessly connect your Samsung SSD to your device and enjoy the benefits of additional storage space.
Whether you’re a student needing extra room for assignments, a photographer storing high-quality images, or a gamer seeking faster load times, using a Samsung SSD as an external drive offers a reliable and convenient solution.
Embrace the versatility and functionality of your Samsung SSD, and explore all the possibilities it brings to your digital life.


