How to Upgrade Ssd on Dell Laptop
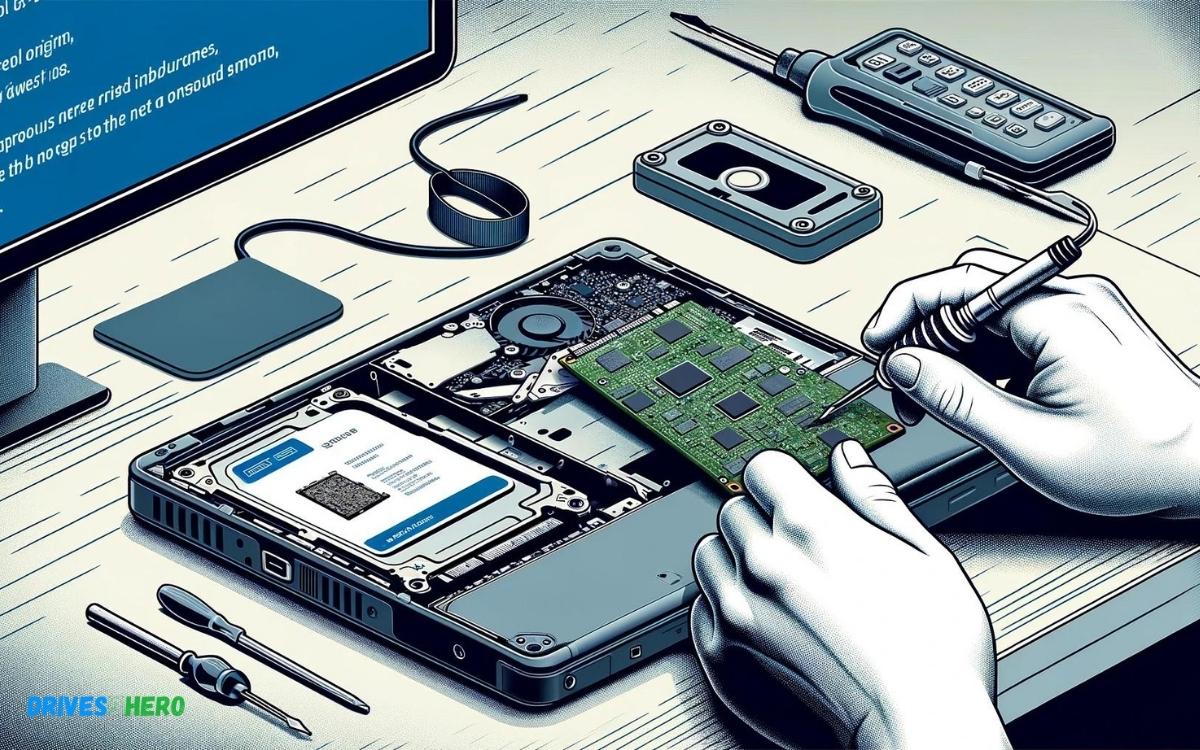
To upgrade the SSD on a Dell laptop, first ensure compatibility, then follow the user manual for installation guidance. Power off the laptop and remove the battery before replacing the SSD.
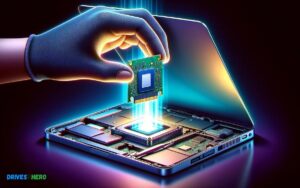
Upgrading the solid-state drive (SSD) in your Dell laptop can dramatically improve its performance, including faster boot times and quicker data access. Such an enhancement is particularly enticing for users who handle large files or run demanding applications. Before starting, check your Dell laptop model for the correct SSD type and maximum supported size, as this can vary between models.
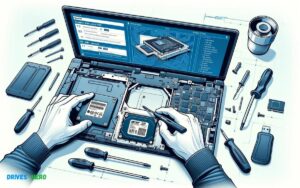
Once you have the compatible SSD, gather your tools, typically just a small Phillips-head screwdriver, and have your laptop’s service manual handy for reference. Remember, handling internal components requires a careful approach to avoid damage from electrostatic discharge; so grounding yourself is recommended. After upgrading, reinstalling your operating system or cloning your existing drive may be necessary to take full advantage of the new SSD’s capabilities.
Key Takeaway
Introduction To Ssd Upgrades
Transforming your Dell laptop’s performance can be as simple as upgrading to a Solid-State Drive (SSD). This upgrade not only rejuvenates older laptops but also boosts the efficiency of newer models, providing lightning-fast boot times and instantaneous data access. With an SSD, your laptop will operate with an agility that is impossible with traditional HDDs. Let’s delve into the advantages, compatibility requirements, and preparation needed to make this switch seamless.
Understanding The Benefits Of Upgrading To An Ssd
An SSD can revitalize your computing experience with benefits that include:
- Improved Performance: Drastically faster read and write speeds mean quicker boot times, faster file transfers, and smoother multitasking.
- Energy Efficiency: SSDs consume less power, which can lead to extended battery life for your laptop.
- Durability: With no moving parts, SSDs are less prone to failure and data loss due to physical shock or movement.
- Quieter Operation: The lack of mechanical parts makes SSDs silent, enhancing your work environment.
- Cooler Running Temperature: SSDs typically operate at a lower temperature, which can contribute to the longevity of your laptop.
Assessing Compatibility And Types Of Ssds For Dell Laptops
Before upgrading, identify the right SSD for your Dell laptop:
| Laptop Model | SSD Type | Interface |
|---|---|---|
| Dell XPS Series | M.2 NVMe | PCIe |
| Dell Inspiron Series | 2.5″ SATA, M.2 SATA/NVMe | SATA, PCIe |
| Dell Latitude Series | 2.5″ SATA, M.2 SATA/NVMe | SATA, PCIe |
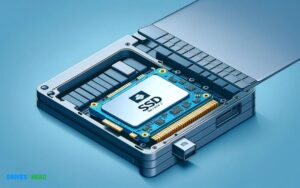
Always verify your laptop’s specifications and ensure that the selected SSD form factor and interface match your system’s capabilities. M.2 NVMe SSDs are renowned for their speed and compact design, ideal for slim laptops, while 2.5″ SATA SSDs are more common and usually easier to install.
Preparing For The Ssd Upgrade: Tools And Data Backup
Ready to upgrade? Gather the necessary tools and safeguard your data first:
- Back Up Your Data: Use Dell’s built-in backup application or third-party software to clone your drive or back up important files.
- System Restoration: Create a system recovery drive in case you need to reinstall Windows after the upgrade.
- Required Tools:
- Precision screwdriver set
- Anti-static wrist strap
- USB drive for software reinstalls (if necessary)
- An external enclosure or adapter if cloning your old drive
Perform the data backup without fail to prevent data loss. Once all files are secure, the actual hardware switch is a straightforward process with the right tools on hand.
Step-by-step Guide To Upgrading Ssd
Upgrading the SSD in your Dell laptop can revitalize the performance of your device, giving you faster boot times, quicker file transfers, and overall snappier responsiveness. This guide is your companion in the upgrade process, ensuring that you confidently take every step towards enhancing your Dell laptop’s performance with a new SSD. Swift, safe, and simple – let’s elevate your computing experience together!
Locating The Ssd Compartment On Your Dell Laptop
Finding the SSD compartment is the first step in the upgrade journey. Begin by turning off your laptop and disconnecting all cables. Place the laptop upside down on a soft, static-free surface. Look for a cover that typically holds the memory and storage or refer to the user manual specific to your Dell model.
- Power down your Dell laptop completely and unplug all cables and accessories.
- Position your laptop with its bottom facing up on a clean, soft surface to avoid scratches or damage.
- Identify the SSD compartment, usually marked with a small SSD or storage symbol.
Safely Removing The Old Ssd: Best Practices
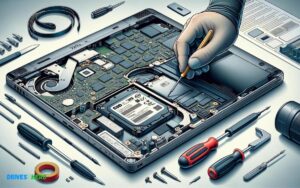
With the SSD compartment located, gently unscrew and remove the cover. Ground yourself to prevent electrostatic discharge, which could damage the laptop’s components. Carefully slide out the old SSD, avoiding any force that might harm the connectors.
- Ground yourself by touching an unpainted metal surface on the laptop’s exterior or using an antistatic wrist strap.
- Carefully remove screws, keeping them safe for reinstallation.
- Locate the notch on the SSD and gently slide the drive out of its slot.
Installing The New Ssd: Detailed Instructions
Now that the old SSD is out, you’re ready to install the new one. Make sure the new SSD is compatible with your Dell laptop model. Align the notches on the SSD with the slot, and slide it in gently until it’s fully seated.
- Align the SSD notches with the slot, ensuring proper orientation.
- Slide the new SSD in at a slight angle, and then press down until it clicks into place.
- Once secured, if required, reinstall any holding screw to anchor the SSD.
Reassembly And Ensuring Proper Fit: Tips And Tricks
Following the installation of your new SSD, it’s time to reassemble the laptop. Replace the cover of the SSD compartment, ensuring it fits snugly without forcing any parts. Reinstall the screws using a screwdriver, and remember not to overtighten to avoid damaging the threads.
- Ensure the cover fits correctly and is not misaligned with the laptop’s chassis.
- Reinstall the screws carefully, applying gentle pressure to secure the cover.
- After reassembly, power on your laptop to verify the new SSD is recognized and functioning correctly.
Note: Depending on the model of your Dell laptop, the upgrading process may vary slightly. Always consult your Dell manual or professional assistance to ensure compatibility and safety.
Post-installation Process
Upgrading your Dell laptop with a new SSD can breathe fresh life into your system. But the journey doesn’t end with physically swapping out the drives. The post-installation process is equally critical to ensure a smooth transition and the best performance gains from your new SSD. Let’s walk through the vital steps, from setting up the operating system to troubleshooting common hiccups that might appear post-installation.
Installing The Operating System On The New Ssd
Boot up for a brand-new start! With your new SSD securely installed, it’s time to lay down the groundwork — the operating system. You can either choose to start fresh or clone your old drive.
- Insert your installation media (USB drive or DVD) and restart your Dell laptop.
- Press
F12during boot to enter the Boot Menu. - Select your installation media from the list and press
Enter. - Follow the prompts to install Windows, ensuring you select the new SSD as the destination drive.
Remember to enter your product key if prompted and to ensure that all drivers are up to date once the installation finishes.
Transferring Data Back To Your Dell Laptop
Get your files right where you want them. After your operating system is up and running, it’s time to bring back your personal data and files.
- Use Dell’s Backup and Recovery tools or other software to restore your data.
- Manually copy files from your backup storage (external HDD, cloud storage, etc.) to the new SSD.
- Reinstall any applications that were not included in the drive clone (if you opted for cloning).
Be sure to check all critical files and applications are functioning correctly before moving on.
Optimizing Ssd Performance: Configuration And Settings
Make the most of your SSD. For optimal performance, tweak a few settings:
| Action | Details | How-to |
|---|---|---|
| Enable AHCI Mode | Allows advanced SSD operations | Change in BIOS settings |
| Disable Defragmentation | Prevents unnecessary wear on the SSD | Schedule settings in Defragment and Optimize Drives |
| Enable TRIM | Helps with consistent SSD performance | Use cmd command: fsutil behavior set DisableDeleteNotify 0 |
Once configured, your SSD will have optimal settings for prolonged life and improved speed.
Troubleshooting Common Issues After An Ssd Upgrade
Run into a problem? After an upgrade, you might face issues like system not recognizing the new SSD, slow performance, or boot errors. Here’s how to tackle them:
- BIOS Doesn’t Recognize SSD
- – Check your SATA cable connections.
- – Confirm your BIOS is updated to the latest version.
- – Ensure the SSD is listed in the Boot priority.
- Slow Performance
- – Make sure the SSD firmware is current.
- – Double-check that you have optimized the settings as mentioned above.
- Boot Errors
- – Repair the Master Boot Record (MBR) by using Windows Recovery Environment.
- – Check for a secure connection between the SSD and the motherboard.
- – You might need to do a clean OS install.
These steps should help fix most of the common problems faced after an SSD upgrade, ensuring a smooth performance from your upgraded Dell laptop.
Conclusion
Upgrading the SSD in your Dell laptop is a savvy move to boost speed and performance. By following the straightforward steps outlined, you can breathe new life into your device. Keeping your system refreshed ensures a smoother and more efficient computing experience.
So, grab your tools, and let’s make that upgrade happen!

Harold Williams is a senior writer and technical editor at Drives Hero with 20+ years of experience in IT administration. He specializes in storage systems, SSD reviews, and performance testing, bringing real-world insight to every guide.