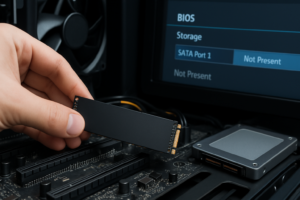
NVMe Shows in BIOS but Not Windows 11
You installed a new NVMe drive, booted up, and your BIOS confirms it’s there. Model number, capacity, everything looks right. Then you load Windows 11 and the drive is nowhere to be found. Not in File Explorer, not in Disk Management, not anywhere you’d expect it to show up.
This is one of the most common issues with new NVMe installs, and it’s rarely a dead drive. In almost every case, it comes down to a driver problem, a missing partition, a BIOS mode mismatch, or a drive that simply hasn’t been initialized yet. This guide walks through exactly how to figure out what’s wrong and how to fix it, based on where the drive is and isn’t showing up.
Step One: Figure Out Exactly Where the Drive Is Missing
Before you try any fix, you need to know precisely where the drive shows up and where it doesn’t. This single step will save you from wasting time on unrelated fixes.
Check each of these locations and note the result:
- BIOS/UEFI: Does it show the drive’s model name and capacity, or just an empty NVMe slot?
- Windows installer (if doing a fresh install): Does it appear in the “Where do you want to install Windows” screen?
- Device Manager: Look under “Disk drives.” Is the NVMe listed, even with a warning icon?
- Disk Management (diskmgmt.msc): Does it appear as a disk, even if unallocated or “Not Initialized”?
- File Explorer: Does it have a drive letter and show up under “This PC”?
- Boot menu: If this is meant to be your boot drive, does it appear as a bootable option?
Once you know which of these apply, skip ahead to the matching section below. There’s no reason to mess with RAID settings if the real issue is that the drive just needs a partition.
Drive Shows in BIOS But Not in Disk Management or Device Manager
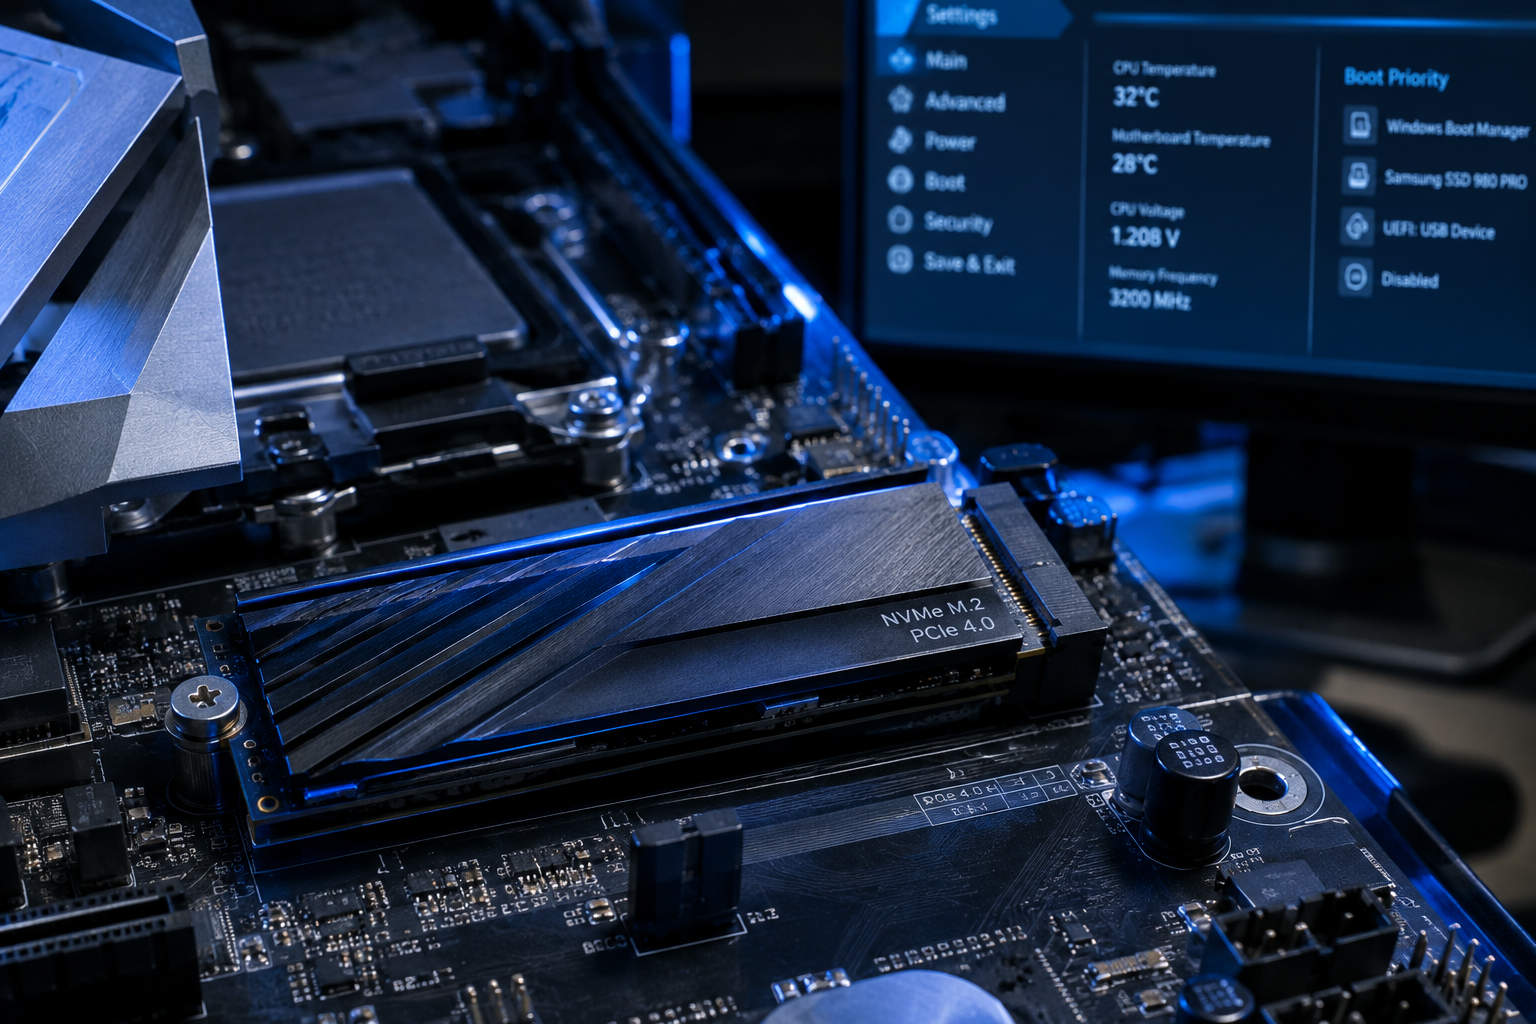
This is the classic symptom of a driver or controller mode problem. The BIOS talks to the drive at a hardware level, so it can see it regardless of what Windows supports. Windows needs the right storage driver loaded, and if that driver isn’t there or the controller mode doesn’t match, the OS acts like the drive doesn’t exist.
Check Your SATA/NVMe Controller Mode (AHCI vs RAID vs VMD)
Go into BIOS and look for a setting usually labeled “SATA Mode,” “Storage Controller,” or on Intel systems, “VMD” (Volume Management Device). If your motherboard has RAID or VMD enabled and Windows was installed without the matching driver, newer NVMe drives added later can simply disappear from the OS.
If you recently changed this setting and the drive vanished right after, switch it back to what it was before. Changing this setting after Windows is already installed on another drive can also break that boot drive, so only touch it if you’re troubleshooting a secondary NVMe that isn’t your boot device.
Install or Update the RST/VMD Driver
Intel systems running RAID or VMD mode need the Intel Rapid Storage Technology (RST) driver, and sometimes the separate VMD driver, installed in Windows before an NVMe drive attached through that controller will show up. Download the latest version directly from Intel’s site or your motherboard manufacturer’s support page (Asus, MSI, Gigabyte, and ASRock all host these under their board’s driver downloads).
After installing, restart and check Device Manager again. If the drive now appears with a yellow warning triangle, that’s actually progress. It means Windows sees the hardware but the driver still isn’t fully matched or the drive needs initializing.
Slot Sharing and Bandwidth Conflicts
Many motherboards share PCIe lanes between M.2 slots and SATA ports, or between two M.2 slots. Installing a drive in a secondary M.2 slot can silently disable one or more SATA ports, or even the other NVMe slot, depending on the board’s lane layout.
Check your motherboard manual for a lane-sharing diagram, usually found in the M.2 or storage section. If you’ve got other drives that disappeared at the same time the new NVMe showed up, this is very likely the cause. Moving the new drive to a different slot often resolves it immediately.
Drive Shows in Disk Management But Not in File Explorer
If Disk Management sees the drive but File Explorer doesn’t, the drive itself is fine and recognized. It just isn’t set up in a way Windows can mount and display.
The Drive Says “Not Initialized”
Right-click the disk in Disk Management and choose “Initialize Disk.” You’ll be asked to choose between MBR and GPT. For any modern NVMe drive on Windows 11, choose GPT. MBR has a 2TB partition limit and doesn’t support the UEFI boot features Windows 11 relies on.
Initializing a disk itself is not destructive, but if the drive previously had data on it, verify it’s actually a blank/new drive before proceeding. Initializing a drive that already had a valid partition table can make existing data harder to recover.
The Space Shows as “Unallocated”
An unallocated drive needs a new volume created on it before Windows can use it. Right-click the unallocated space, select “New Simple Volume,” and follow the wizard through formatting (NTFS is the standard choice for a Windows data or boot drive) and assigning a drive letter.
No Drive Letter Assigned
Sometimes a drive has a valid partition and file system but simply lacks a drive letter, which keeps it invisible in File Explorer. Right-click the volume in Disk Management, choose “Change Drive Letter and Paths,” then “Add,” and assign any available letter. It should appear in File Explorer within a few seconds.
Drive Doesn’t Show Up in the Windows Installer
If you’re doing a clean install and the NVMe drive doesn’t appear on the “Where do you want to install Windows” screen, this is almost always a missing driver issue, not hardware failure.
Load Storage Drivers Manually
Click “Load Driver” on the install screen and point it to a USB drive containing the RST or VMD driver files downloaded from your motherboard manufacturer’s website (download them on a different PC first). This is required on many newer Intel boards with VMD enabled by default, and on some AMD boards using RAID mode.
Try Switching AHCI and RAID/VMD Modes
If loading a driver doesn’t help, go back into BIOS and try switching the storage mode to AHCI instead of RAID or VMD, assuming you don’t need RAID for another drive. AHCI is natively supported by Windows 11 without extra drivers, which eliminates this whole category of problem for a single-drive setup.
NVMe Drive Not Showing as a Boot Option

If Windows recognizes the drive fine once it’s booted from another disk, but it won’t show up in the boot menu as a startable device, the issue is usually with the boot configuration rather than the drive itself.
Check Secure Boot and CSM Settings
Windows 11 requires UEFI boot with Secure Boot enabled. If your NVMe drive was set up with an older MBR partition style or your system has Legacy/CSM boot mode enabled, it may not appear as a valid UEFI boot target. Switch CSM off and confirm the drive uses GPT.
Rebuild the Boot Files
If Windows is actually installed on the drive but it still won’t boot or show in the boot menu, you may need to repair the boot files using Windows Recovery. Boot from a Windows 11 installation USB, choose “Repair your computer,” then run Startup Repair, or manually use bootrec /fixboot and bootrec /rebuildbcd from the command prompt.
Drive Is a New Purchase and Still Won’t Show Up Anywhere
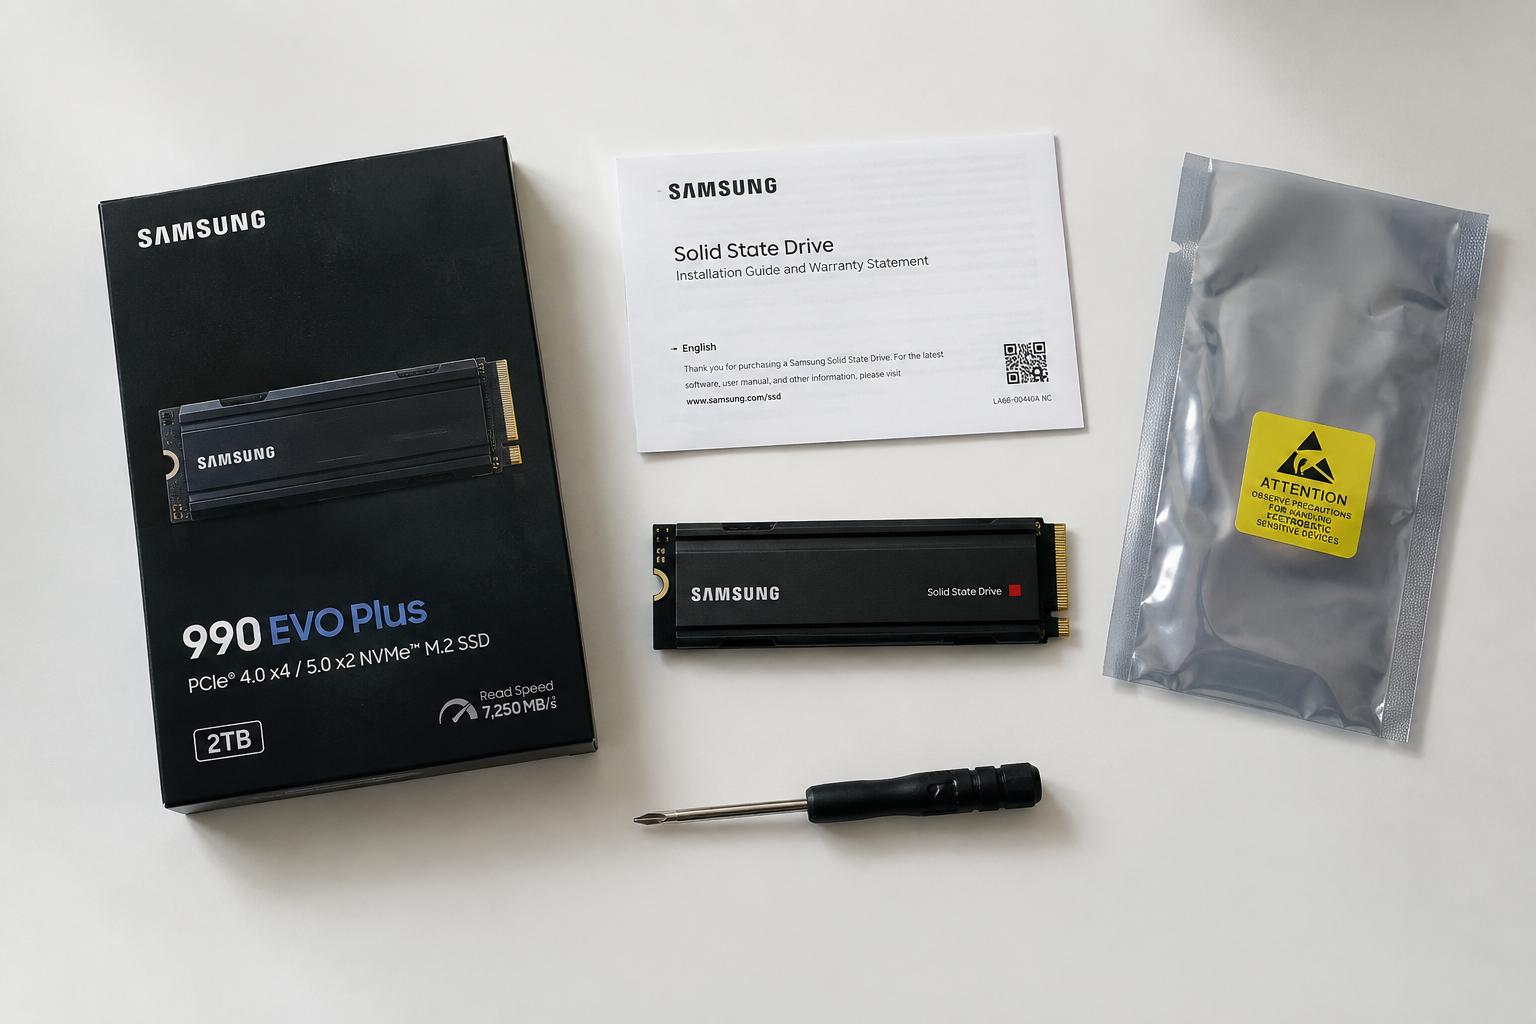
If you’ve gone through every step above and the drive still won’t appear in Disk Management at all (not even as “unknown” or “not initialized”), you’re likely dealing with a hardware or connection issue rather than a software one.
- Reseat the drive. Remove it completely, check the M.2 slot and gold contacts for debris, and reinstall it firmly at the correct angle before screwing it down.
- Try a different M.2 slot if your motherboard has more than one, to rule out a dead slot.
- Test in an external NVMe enclosure connected via USB to another PC. If it still doesn’t show up there, the drive itself may be defective and worth an RFA/warranty claim.
- Check for a firmware or BIOS update for your motherboard, since older BIOS versions sometimes don’t properly recognize newer NVMe drives.
If you’re shopping around for a replacement or a second drive, it helps to understand the actual performance differences between NVMe and SATA SSDs before you buy, since not every drive benefits equally from an NVMe slot in every use case.
Before You Try Anything Destructive
A few of the standard “fixes” people suggest online involve wiping the drive, and you should only reach for these after you’ve confirmed there’s no data you need on it.
Formatting, running “Clean” in Diskpart, performing a Secure Erase, or repartitioning a drive will permanently destroy any existing data. Only use these steps on a brand new drive or one you’ve already backed up.
If the drive was previously used in another PC, in a NAS, or as part of a RAID array, back up anything important first, ideally by connecting it externally, before initializing or formatting it in your current system.
Frequently Asked Questions
Why does my NVMe SSD show in BIOS but not in Windows 11 after a fresh install?
This almost always means Windows doesn’t have the correct storage driver loaded during setup, usually because your motherboard has RAID or VMD mode enabled. Load the RST or VMD driver manually during installation, or switch the controller mode to AHCI in BIOS if you don’t need RAID.
Do I need to initialize a new NVMe drive before Windows can see it?
Yes, brand new drives ship without a partition table, so Windows can’t display them in File Explorer until you initialize them in Disk Management and create a volume. This is normal and not a sign of a defective drive.
Can a bad M.2 slot cause the drive to show in BIOS but not Windows?
It’s less common, but a marginal connection or a slot with a lane-sharing conflict can cause exactly this behavior. If driver and BIOS mode fixes don’t work, reseat the drive and try a different M.2 slot before assuming the drive itself is faulty.
Should I use GPT or MBR when initializing an NVMe drive for Windows 11?
Use GPT. Windows 11 requires UEFI boot with GPT partitioning for boot drives, and GPT also removes the 2TB size limit that MBR imposes, which matters for larger NVMe drives.

James Kennedy is a writer and product researcher at Drives Hero with a background in IT administration and consulting. He has hands-on experience with storage, networking, and system performance, and regularly improves and optimizes his home networking setup.