M.2 SSD Not Showing in BIOS
You installed a brand new M.2 SSD, closed up the case, hit the power button, and nothing. No drive letter, no option to select it during Windows setup, not even a whisper of it in the BIOS. Before you assume the drive is dead, know that this is one of the most common issues with M.2 installs, and most of the time it’s fixable in a few minutes once you know where to look.
The trick to solving this fast is figuring out exactly where the drive is missing. A drive that’s invisible in BIOS has a different problem than one that shows up in BIOS but not in Windows. This guide walks through each scenario so you can skip straight to the fix that actually applies to you.
Step 1: Figure Out Exactly Where the Drive Is Missing
Before you touch a single setting, check these four places in order and note where the drive shows up and where it doesn’t:
- BIOS/UEFI: Boot into your BIOS and look under the storage or boot device list. Some boards list NVMe drives separately from SATA drives, so check both sections.
- Windows installer: If you’re doing a fresh install, does the drive appear on the “Where do you want to install Windows” screen?
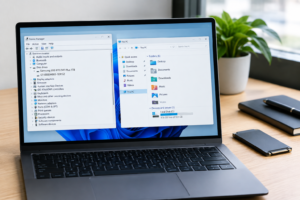
- Device Manager: In an existing Windows install, open Device Manager and check under “Disk drives.” A drive listed here but missing in File Explorer points to a partition or letter problem, not a hardware issue.
- Disk Management: Press Windows key + X and choose Disk Management. A drive that shows up here as “Unallocated” or “Offline” is being detected physically, but needs setup.
If the drive doesn’t appear in the BIOS at all, that’s a hardware or firmware-level problem. If it shows up in BIOS but nowhere in Windows, that’s almost always a software or configuration issue. These two situations need completely different fixes, so don’t skip this diagnostic step.
Drive Not Showing in BIOS at All
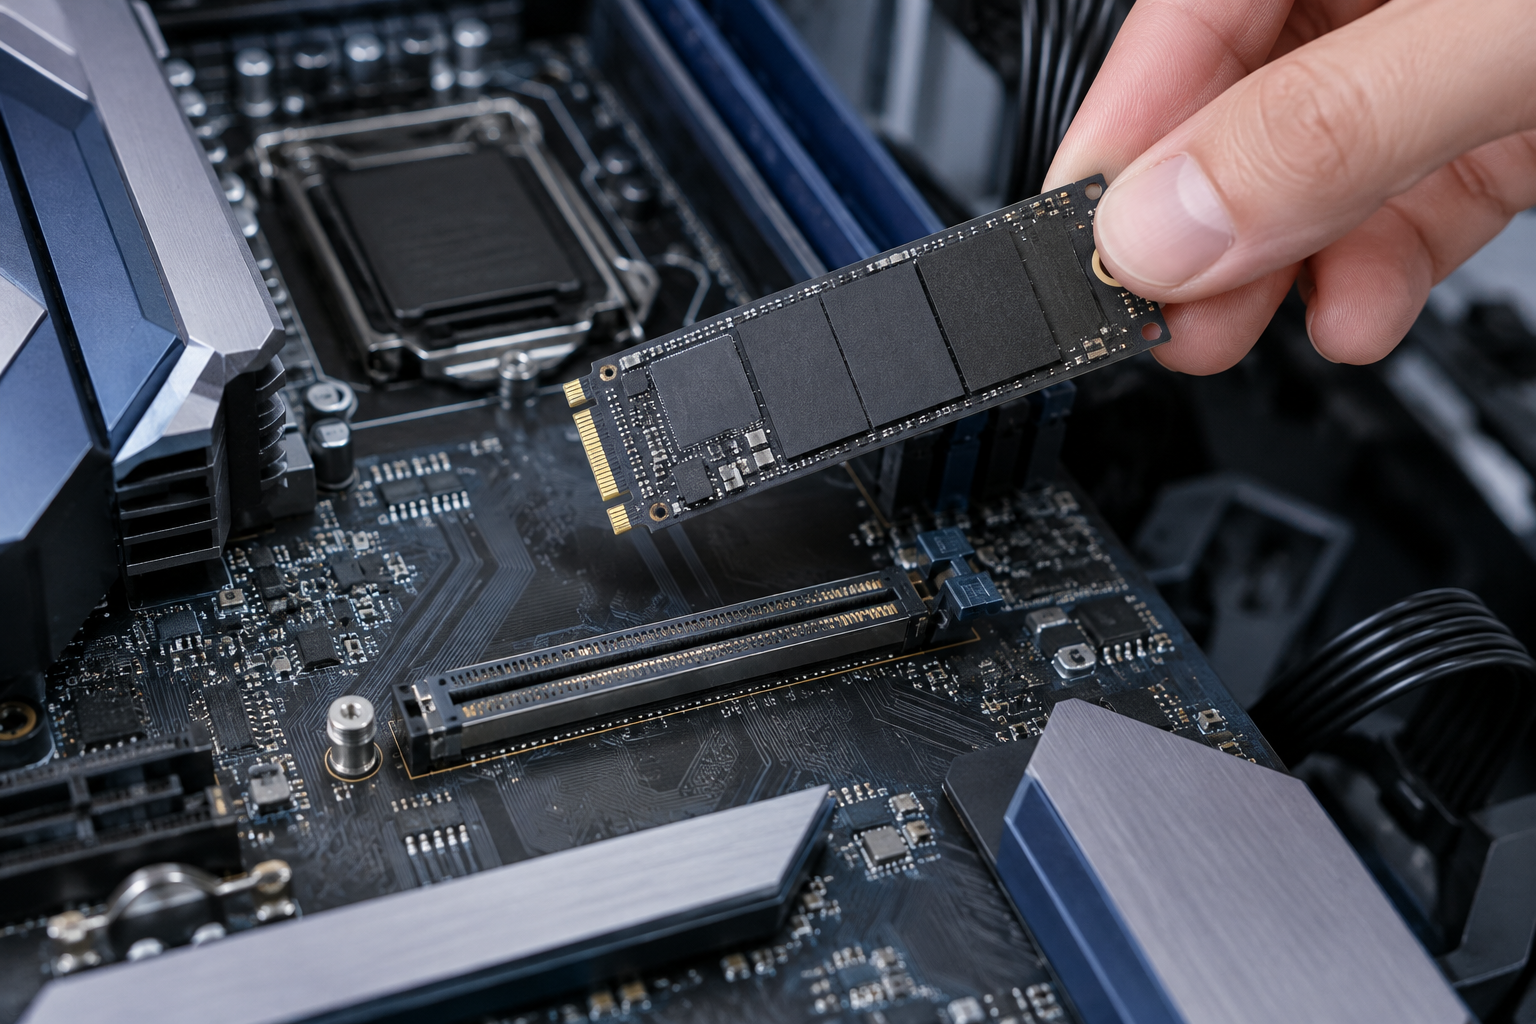
This is the scenario that scares people the most, but it’s rarely a dead drive. Work through these in order.
Reseat the Drive
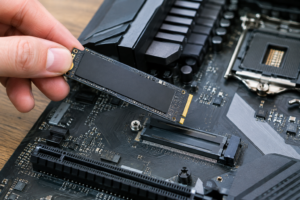
M.2 drives are notorious for looking seated when they’re not. Power down, remove the drive, check for bent pins or debris in the slot, and press it in at the correct angle before screwing it down. A drive that’s even slightly angled can fail to make contact.
Check for Slot Sharing
A lot of motherboards disable a SATA port or a second M.2 slot when you populate a specific M.2 slot. This is extremely common on mid-range boards. Check your motherboard manual for a “slot sharing” or “lane sharing” diagram, because installing your new SSD in the wrong slot can silently disable it or another drive.
Update Your BIOS
Older BIOS versions sometimes don’t recognize newer NVMe controllers, especially on boards that are a few years old paired with a recently released drive. Check your motherboard manufacturer’s site for a BIOS update and follow their flashing instructions exactly.
Enable the M.2 Slot Manually
Some boards ship with M.2 slots disabled by default or tied to a toggle in BIOS. Look for a setting labeled something like “M.2 PCIe Storage Remap” or “M.2_1 Configuration” and make sure it’s set to enabled.
Try a Different Slot or Cable
If your board has multiple M.2 slots, move the drive to another one. If you’re using an adapter card, test the drive in a different PCIe slot as well, since not all PCIe slots run at the same lane configuration.
Drive Shows in BIOS but Not in Windows Installer or Disk Management

If your BIOS sees the drive but Windows setup shows no drives available (or an error about missing drivers), the issue is almost always related to storage controller mode.
Check RAID/AHCI/VMD Mode
If your BIOS storage mode is set to RAID or Intel VMD (Volume Management Device) and you’re doing a fresh Windows install, the installer won’t see the drive without the matching driver loaded. You have two options: switch the BIOS setting to AHCI if you don’t need RAID, or download the Intel RST/VMD driver onto a USB stick and load it manually during setup by clicking “Load driver” on the installer screen.
This is one of the most frequent causes of an M.2 drive appearing in BIOS but vanishing during Windows installation, especially on newer Intel platforms where VMD is enabled by default.
Initialize the Drive
A brand new, unformatted SSD needs to be initialized before Windows can use it. Open Disk Management, right-click the drive, and choose “Initialize Disk.” Pick GPT unless you have a specific reason to use MBR (GPT is standard for anything over 2TB and required for Windows 11 boot drives).
Before you format, partition, or run a clean command on any drive, double-check you have the correct disk number selected. These operations erase everything on the drive permanently, and there’s no undo once it’s done.
Drive Shows in Disk Management but Not in File Explorer
If Disk Management sees the drive but File Explorer doesn’t, the drive almost certainly needs a partition and a drive letter.
- Right-click the unallocated space and choose “New Simple Volume.”
- Follow the wizard to assign a drive letter and format it, typically as NTFS for a Windows data drive.
- If the drive shows a letter already assigned but still won’t open in File Explorer, right-click it in Disk Management and choose “Change Drive Letter and Paths” to assign a different one, since letter conflicts do happen.
Once you can see and format the drive properly, it’s worth thinking about what you actually plan to use it for. If it’s replacing an aging hard drive, you’ll notice a massive jump in everyday speed, and it’s a good time to read up on the benefits of upgrading from HDD to SSD if you haven’t already made that leap elsewhere in your system.
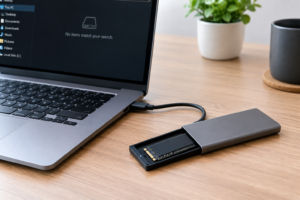
Drive Not Showing Up When Used in an External Enclosure
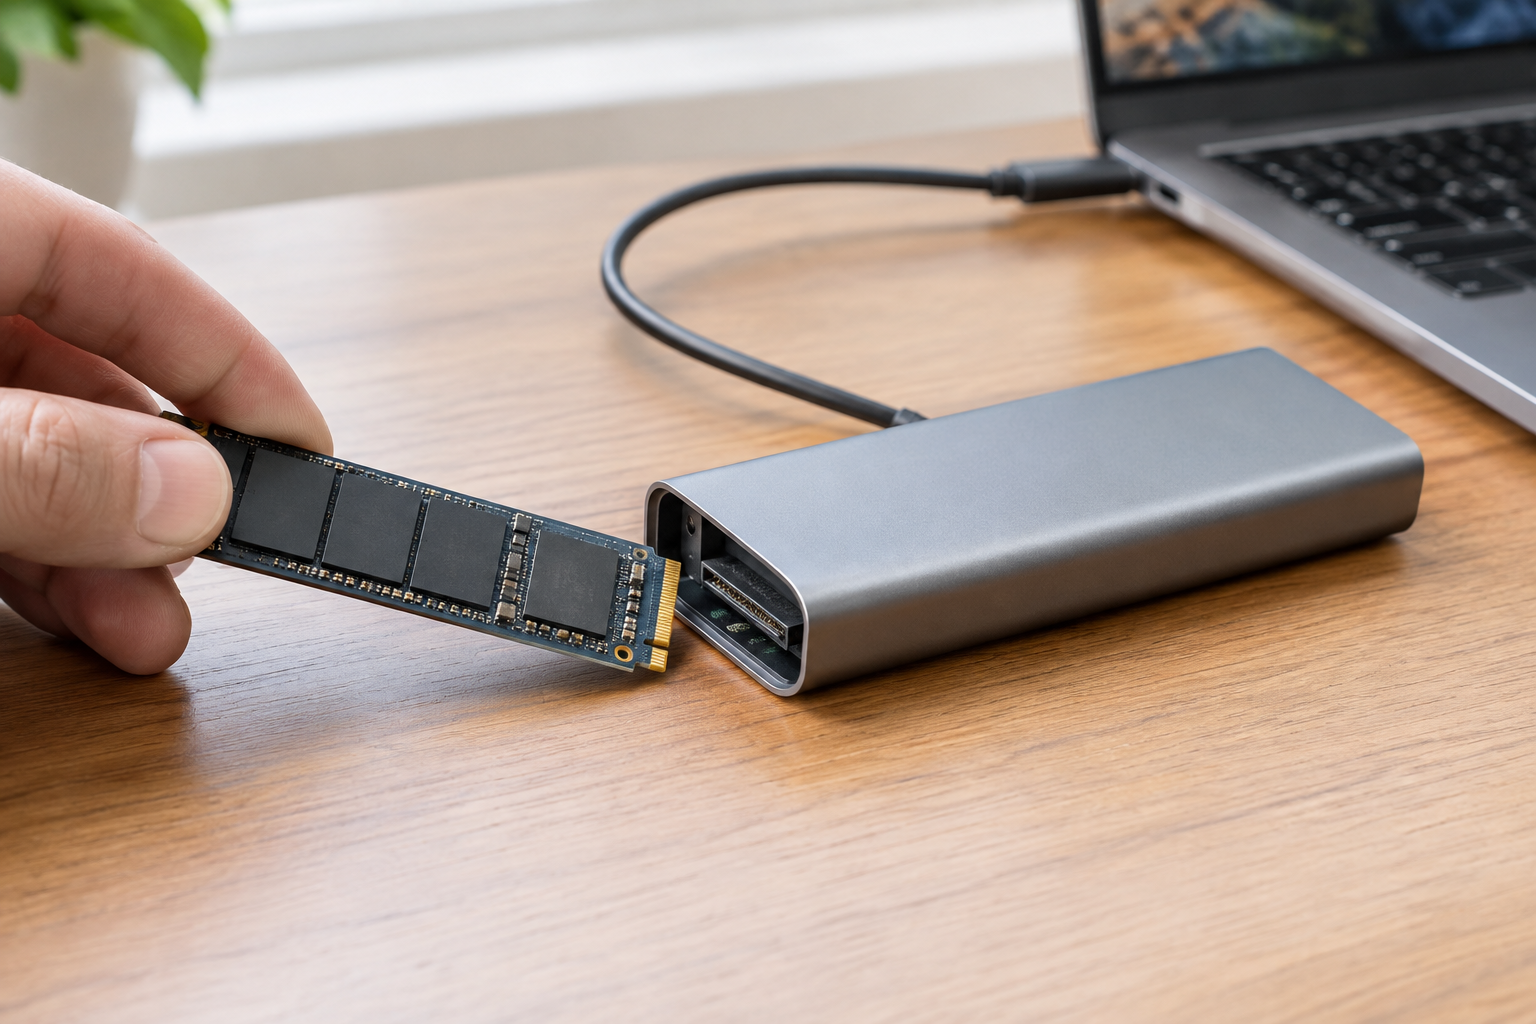
Plenty of people buy an M.2 NVMe enclosure to turn a spare drive into external storage, and this introduces its own set of problems.
Confirm NVMe vs SATA Compatibility
M.2 drives come in both NVMe and SATA variants, and they are not interchangeable with the wrong enclosure. An NVMe-only enclosure will not recognize a SATA-based M.2 SSD, and vice versa. Check your drive’s spec sheet and match it exactly to the enclosure’s supported protocol.
Test the Cable and Port
USB-C cables and ports vary wildly in what they actually support. Try a different cable, plug directly into a rear motherboard USB port instead of a front panel header, and avoid USB hubs when testing.
Check Power Delivery
Some NVMe enclosures draw more power than a USB port can reliably supply, especially on laptops. If the drive shows up intermittently or disconnects under load, try a powered USB hub or a different port before assuming the drive itself is faulty.
If you’re building out external storage specifically to speed up an existing laptop, it’s worth reading whether an external SSD will actually make your laptop faster before you invest in an enclosure, since the answer depends a lot on your current setup.
Understanding What You’re Working With
A quick gut check before you troubleshoot further: know exactly what kind of drive you’re dealing with. Not every M.2 slot supports NVMe speeds, and not every M.2 drive is NVMe.
If you’re unsure whether your drive is even the right type for your system, it helps to understand the difference between NVMe and other SSD types and what NVMe drives are actually built for. This matters because an NVMe drive plugged into a SATA-only M.2 slot simply won’t be detected, no matter how many BIOS settings you change.
Frequently Asked Questions
Why does my M.2 SSD show up in BIOS but not during Windows installation?
This almost always comes down to your storage controller mode. If your BIOS is set to RAID or Intel VMD, the Windows installer needs a matching driver to see the drive. Switch to AHCI mode if you don’t need RAID, or load the correct driver manually during setup.
Can a faulty M.2 slot cause the drive to not show up at all?
Yes, and it’s more common than people expect on boards with shared lanes. Populating certain M.2 slots can disable others, or a slot can simply fail over time. Try a different M.2 slot on the same board before assuming the drive itself is bad.
Is it safe to initialize or format a drive that’s not showing up?
It’s safe as long as you’re certain you’ve selected the correct disk in Disk Management. Initializing and formatting erase all data on that drive permanently, so double-check the disk number, size, and any existing partitions before confirming.

James Kennedy is a writer and product researcher at Drives Hero with a background in IT administration and consulting. He has hands-on experience with storage, networking, and system performance, and regularly improves and optimizes his home networking setup.