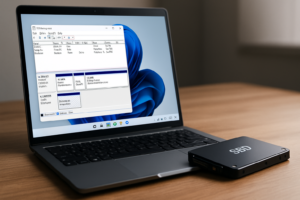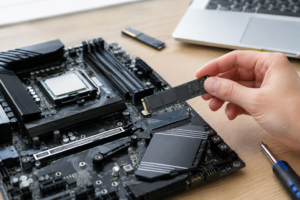
How to Clone Windows 11 to a New NVMe SSD
Cloning Windows 11 to a new NVMe SSD is one of those upgrades that sounds intimidating until you actually do it. In reality, it’s one of the safer ways to upgrade your PC because your original drive stays untouched until you’re ready to remove it. If your laptop or desktop feels sluggish or your current drive is running out of room, moving to a faster, larger NVMe drive can breathe new life into an aging system without the hassle of a fresh Windows install.
This guide walks you through the entire process, including the parts most tutorials skip: what happens to your data, whether your PC will still boot afterward, and what to check before you wipe your old drive for good.
Before You Start: What Gets Preserved, What Doesn’t
Cloning copies everything from your old drive, including Windows, installed programs, personal files, and settings, onto the new drive. Unlike a fresh install, you won’t need to reinstall anything or dig up old product keys. Your source drive is only read from during the process, not modified, so if something goes wrong you can simply try again.
The new drive is a different story. Cloning software will erase whatever is currently on your destination NVMe SSD to make room for the clone. Back up any files on the new drive first if it’s not brand new out of the box.
A few things to check before you begin:
- Capacity matters. Your new NVMe SSD needs enough space to hold all the data currently used on your old drive, not just its total size. Most cloning tools won’t let you clone to a smaller drive unless you shrink partitions first.
- BitLocker or device encryption. If Windows 11 encrypted your drive (common on many OEM laptops by default), you may need to suspend BitLocker before cloning. Go to Control Panel, search “BitLocker,” and suspend protection on the source drive. Re-enable it after the clone completes and boots successfully.
- EFI and recovery partitions. Windows drives include a small EFI system partition and sometimes a recovery partition alongside your main Windows partition. A proper cloning tool copies all of these automatically. If you only copy the main partition, your new drive won’t boot.
If you’re not sure how much of this matters for your specific setup, our guide on upgrading your SSD without losing data covers the backup fundamentals in more detail.
What You’ll Need
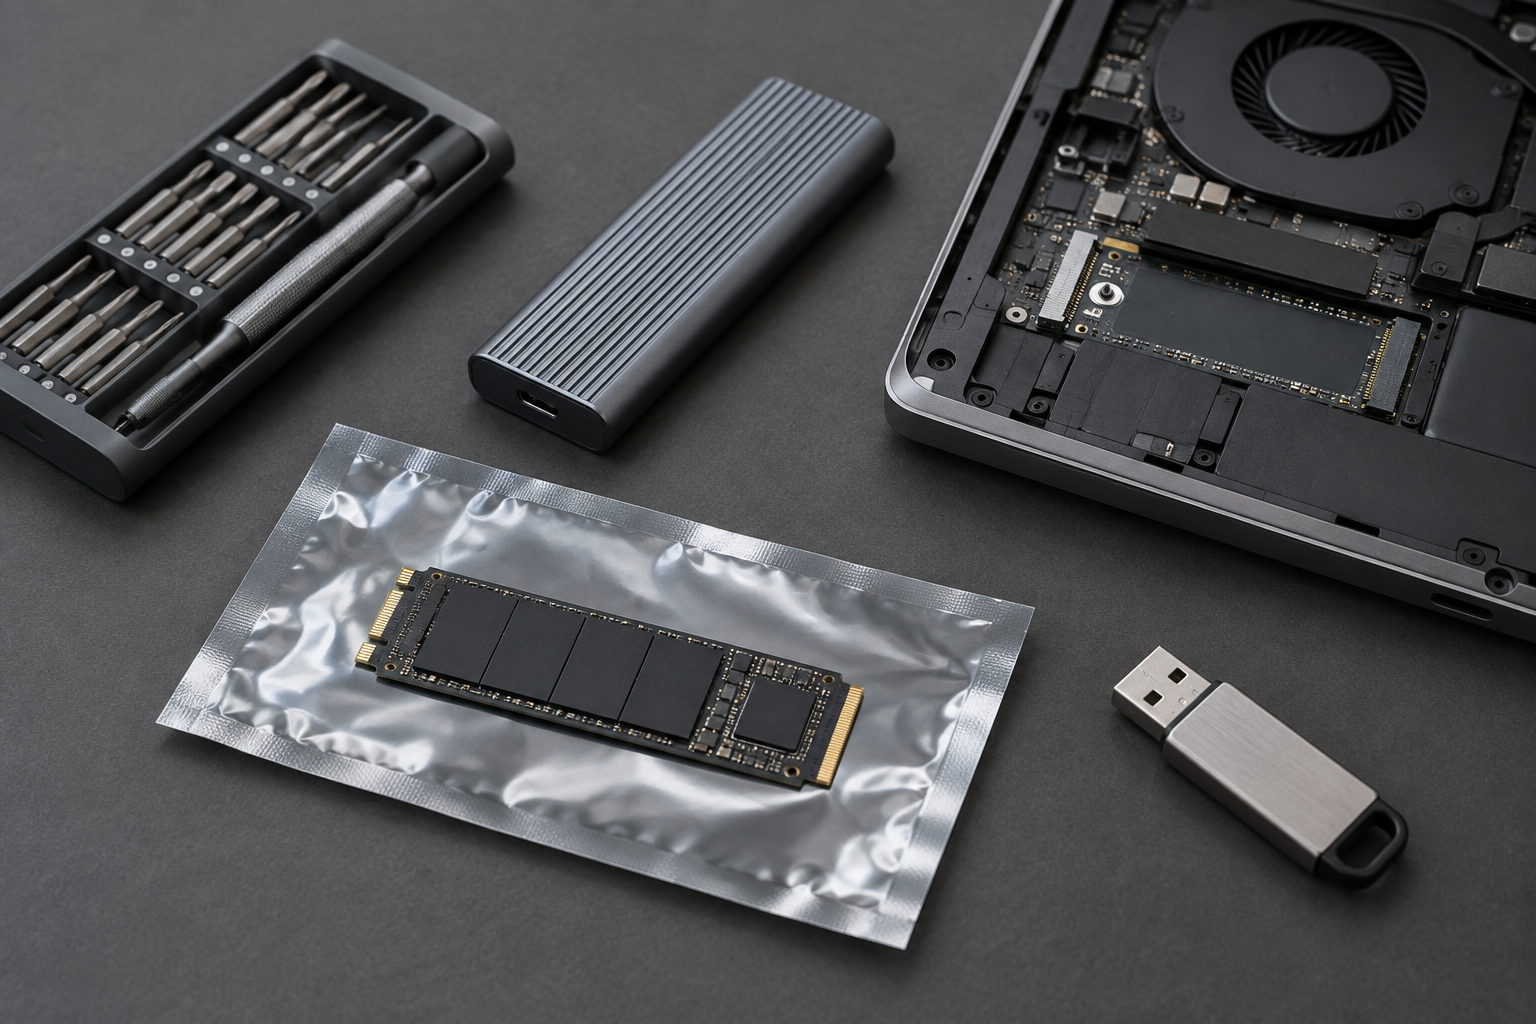
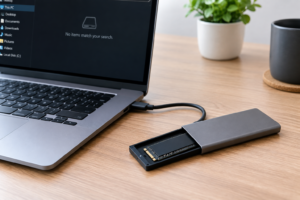
Cloning to an internal NVMe drive on a desktop is simple if you have a free M.2 slot. On a laptop with only one M.2 slot, you’ll need a way to connect the new drive externally first, then swap it in after cloning.
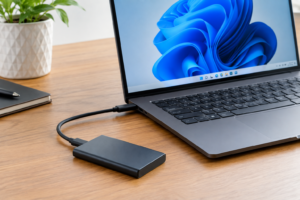
A USB NVMe enclosure solves this problem. You install the new SSD into the enclosure, plug it into a USB port, clone to it while it’s external, then open up your laptop and swap drives once the clone is verified.
Sabrent USB 3.2 NVMe Enclosure
A reliable, affordable way to connect your new NVMe SSD externally for cloning before installing it internally.
You’ll also need free cloning software. Tools like Macrium Reflect Free, EaseUS Todo Backup Free, or the manufacturer’s own utility (Samsung Magician for Samsung drives, WD Discovery for Western Digital) all handle full-disk cloning including the EFI partition. If you’re deciding between drive brands for this upgrade, our comparison of WD Black vs Samsung SSDs can help you pick.
How to Clone Windows 11 Step by Step
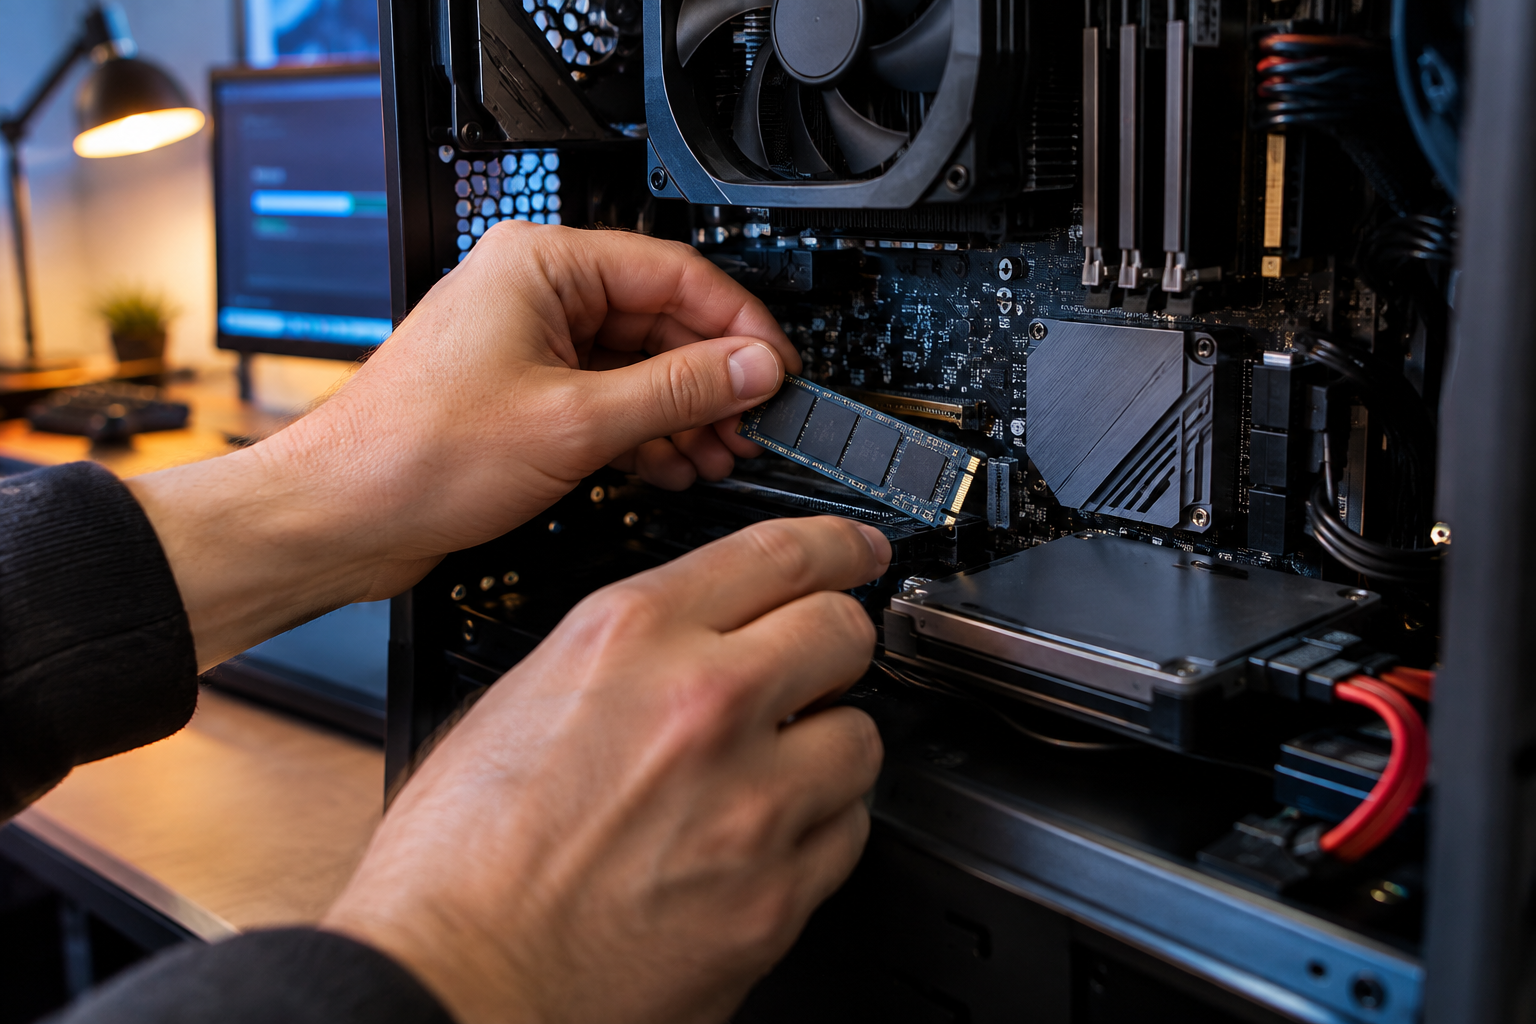
- Connect the new NVMe drive. Use your USB enclosure for laptops, or install it directly into a free M.2 slot on a desktop motherboard.
- Suspend BitLocker on the source drive if it’s enabled.
- Open your cloning software and select “Clone Disk” or the equivalent option. Choose your current Windows drive as the source and the new NVMe SSD as the destination.
- Review the partition layout the software proposes. Confirm it’s copying the EFI partition, not just the main Windows partition.
- Start the clone. Depending on how much data you have, this can take anywhere from 15 minutes to a couple of hours.
- Shut down and swap drives if you cloned externally. Install the new NVMe SSD into the internal slot where your old drive was, or into a secondary slot if you have one.
- Enter your BIOS/UEFI settings (usually by pressing F2, Del, or Esc during boot) and check the boot order. Make sure the new NVMe drive is set as the primary boot device.
- Boot into Windows and confirm everything loads correctly, your files are present, and programs open normally.
One BIOS detail worth flagging: some older motherboards or laptops don’t fully support NVMe boot in Legacy/CSM mode. If your system boots in UEFI mode already (most Windows 11 PCs do, since it’s a requirement), you shouldn’t run into issues. But if your new drive doesn’t show up as bootable, check that UEFI mode is enabled and CSM/Legacy boot is disabled in BIOS settings.
Verify Before You Wipe the Old Drive
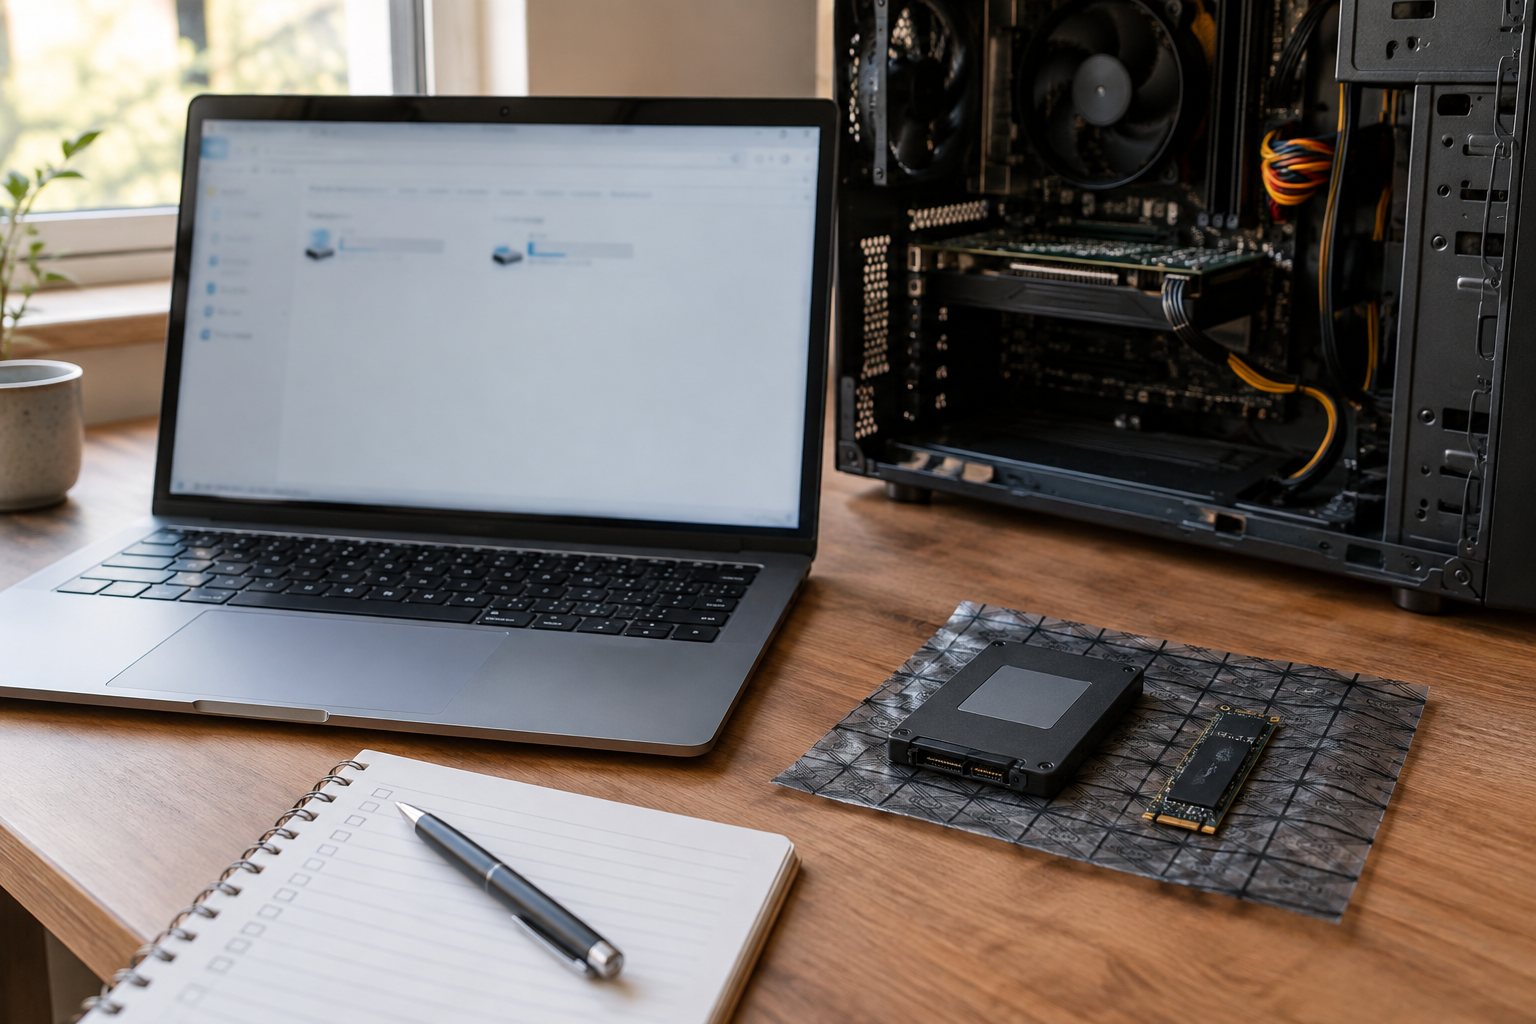
Don’t erase or reformat your old drive the moment the new one boots. Use the new NVMe drive as your only boot device for at least a few days. Open your important applications, check that your files are intact, and confirm Windows updates and drivers are working normally.
Once you’re confident everything transferred correctly, you can wipe the old drive and repurpose it as extra storage, or keep it as a cold backup for a few more weeks just in case. If you’re weighing whether this whole upgrade is worth it compared to other options, our article on the benefits of upgrading to an SSD lays out the performance gains clearly, and if you’re curious how much faster NVMe really is over SATA, check out is NVMe really faster than SATA SSDs.
Frequently Asked Questions
Will cloning erase my old drive?
No. Cloning only reads from your old drive and writes to the new one. Your original Windows installation remains fully intact until you manually erase or repurpose that drive later.
Do I need to reactivate Windows after cloning?
Usually not. Windows 11 activation is tied to your hardware and Microsoft account or digital license, not the specific drive. As long as you’re cloning within the same PC, activation should carry over automatically once you boot from the new drive.
This article contains affiliate links. We may earn a small commission at no extra cost to you.

James Kennedy is a writer and product researcher at Drives Hero with a background in IT administration and consulting. He has hands-on experience with storage, networking, and system performance, and regularly improves and optimizes his home networking setup.