How to Format an SSD for Windows and Mac
Why You Might Need to Format an SSD
Formatting an SSD sounds like a simple task until you actually sit down to do it and realize there are several ways to mess it up. Maybe you just bought a new external drive and it needs to be set up before your computer will even recognize it properly. Maybe you’re repurposing an old internal drive, wiping a used SSD you bought secondhand, or preparing a fresh drive before a clean install of Windows or macOS.
Whatever the reason, formatting erases the file system on a drive and rebuilds it from scratch, and in most cases that means every file on it disappears. This guide walks through the process on both Windows and Mac, tells you exactly when your data is at risk, and covers the BIOS/UEFI and bootability details that trip people up.
Before You Format: Read This First
Formatting is destructive. Once you format a drive, recovering the old data is difficult and often impossible without specialized software or a professional recovery service. Back up anything important before you touch a formatting tool, even if you’re “pretty sure” the drive is empty.
Double check which drive you’re about to format. Windows and Mac both list drives by size and label, and it’s easy to click the wrong one if you have multiple SSDs or external drives connected. Formatting the wrong disk is one of the most common (and preventable) data loss mistakes people make.
If a drive contains your operating system, formatting it while your computer is running from that same drive isn’t possible through normal tools. You’d need to boot from external media instead. Never assume you can format your active boot drive from within its own running OS.
If you’re setting up a brand new SSD as your main drive rather than reformatting an old one, it’s worth reading up on how much of a difference an SSD actually makes in a laptop before you commit to a specific drive size or type.
Formatting an SSD on Windows
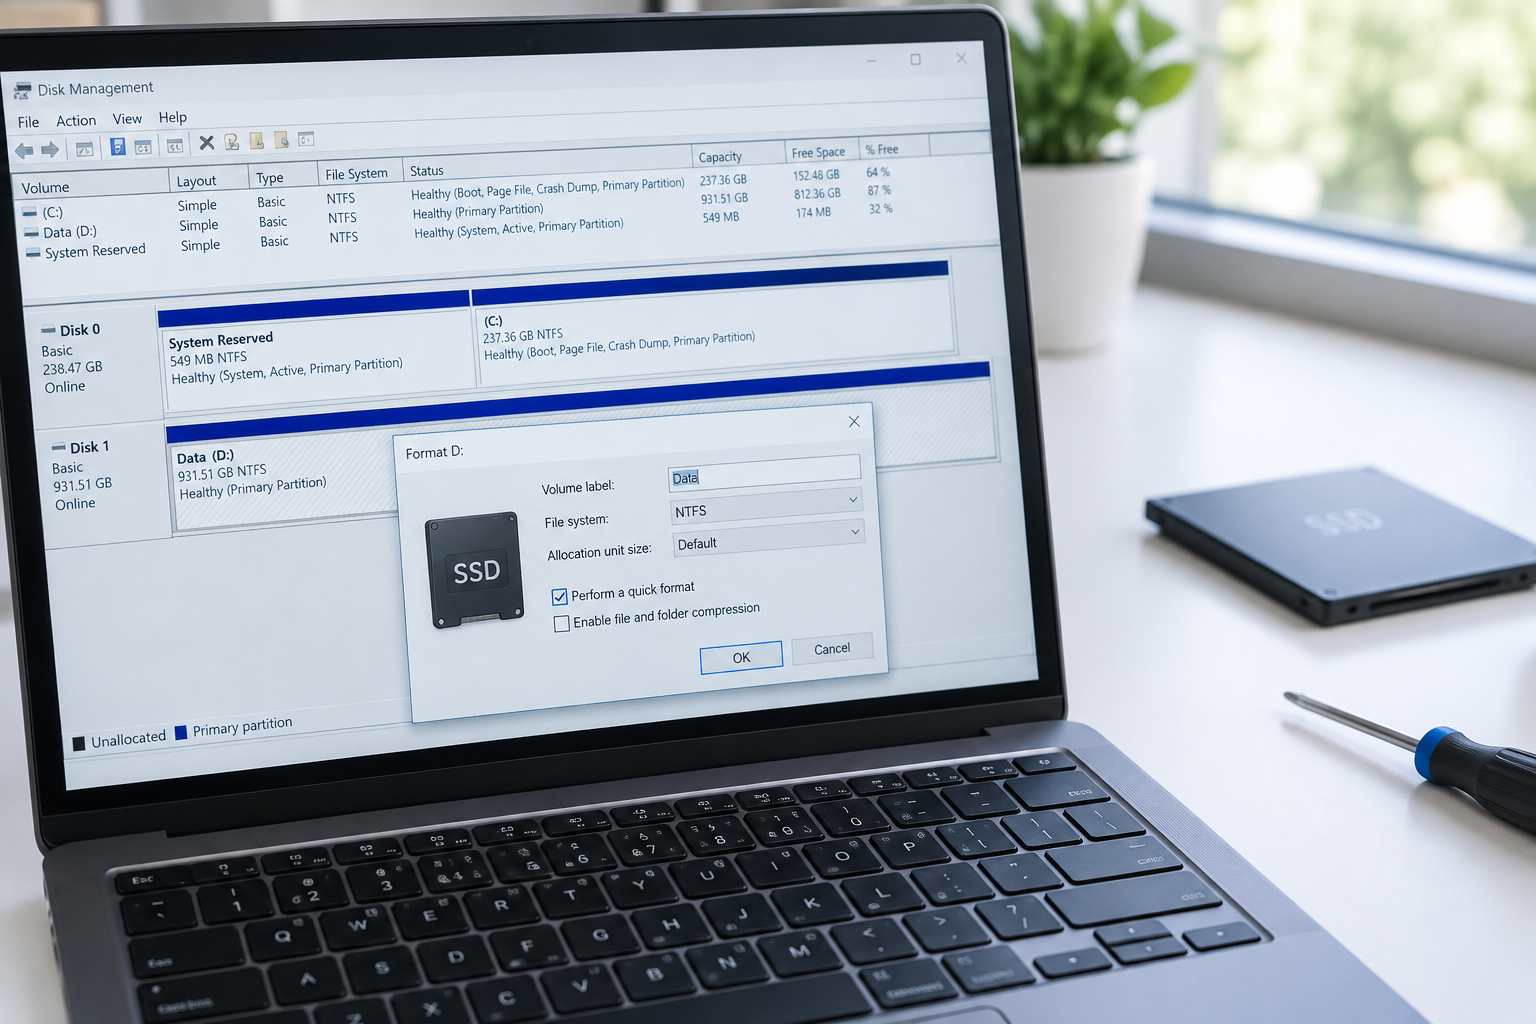
Windows gives you two main tools for this: File Explorer’s quick format option and the more capable Disk Management utility. Disk Management is the better choice because it lets you see all connected drives, create or delete partitions, and choose your file system in one place.
Step-by-Step: Disk Management
- Right-click the Start button and select Disk Management.
- Locate the SSD in the list at the bottom of the window. Confirm it by checking the drive size against what you expect.
- Right-click the partition on that drive and choose Format (or Delete Volume first if you want to repartition from scratch).
- Choose a file system (NTFS is the default for Windows-only use), set an allocation unit size if needed, and give it a volume label.
- Check or uncheck Perform a quick format. A quick format is fine for a healthy SSD. A full format takes longer and scans for bad sectors, which is rarely necessary on solid state drives.
- Click OK and confirm the warning. This is the point of no return, so make sure you backed up anything you need.
If the drive doesn’t show up at all, or shows as “Unallocated,” you may need to right-click and select New Simple Volume to create a partition before you can format it. This is normal for brand new SSDs straight out of the box.
Does This Affect Bootability?
Formatting a data or storage drive has no effect on your system’s ability to boot, since it’s separate from your Windows installation drive. But if you’re formatting a drive that currently holds Windows, you’ll need to boot from a USB installer or recovery media first, since Windows can’t format the disk it’s actively running from. Any BitLocker encryption on that drive will be wiped along with the data, so make sure you have your recovery key saved somewhere else if you might need it later.
Formatting an SSD on Mac
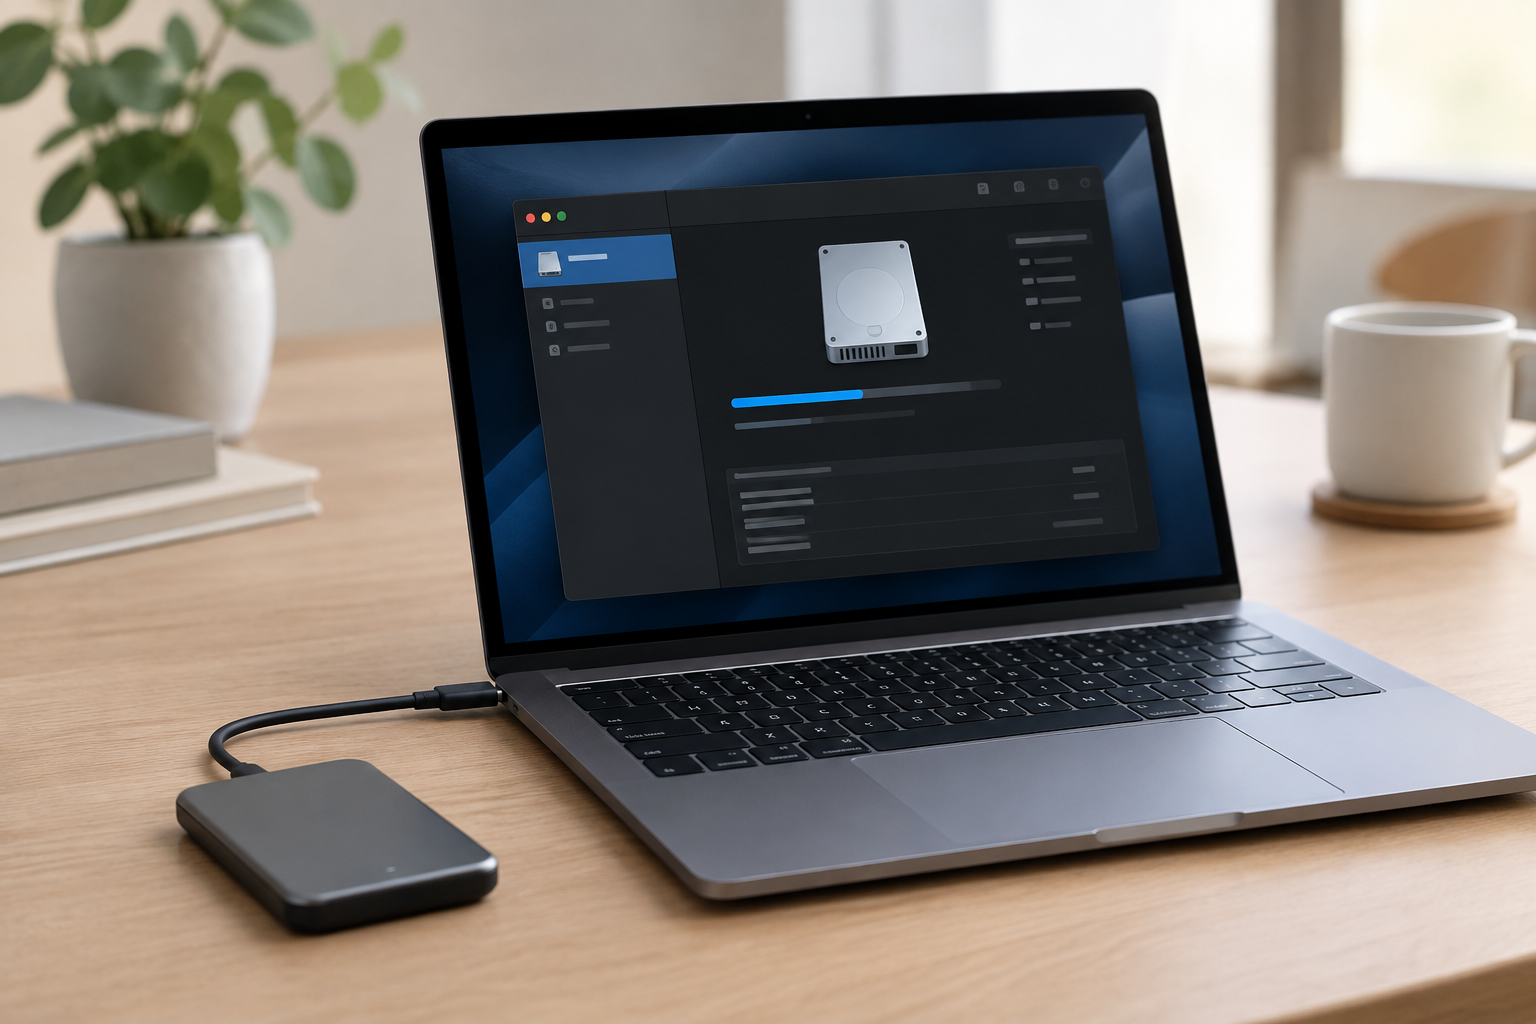
On macOS, the tool you want is Disk Utility, and it works similarly to Windows Disk Management but with Apple’s own file system options front and center.
Step-by-Step: Disk Utility
- Open Disk Utility from Applications > Utilities, or search for it with Spotlight.
- Click View in the toolbar and select Show All Devices so you can see the physical drive and not just its partition.
- Select the SSD from the sidebar. Confirm it’s the right drive by checking its capacity.
- Click Erase at the top of the window.
- Choose a name, a file system format, and (if working with the whole physical device) a partition scheme.
- Click Erase again to confirm. Apple Silicon Macs may prompt for your login password since Disk Utility needs authorization to modify storage.
File System and Partition Scheme Choices on Mac
For a Mac-only external drive, choose APFS with the GUID Partition Map scheme. APFS is optimized for SSDs specifically and handles things like snapshots and encryption more efficiently than the older Mac OS Extended (HFS+) format.
If this SSD is your Mac’s internal boot drive and you’re reformatting it for a clean macOS install, you’ll need to boot into macOS Recovery (hold Command+R during startup, or use the power button on Apple Silicon Macs) since you can’t erase the drive your Mac is currently running from. This doesn’t touch any BIOS settings the way Windows might, since Macs use their own firmware and Secure Boot policies instead of a traditional UEFI menu.
Choosing the Right File System
The file system you pick determines what kind of computers can read and write to the drive, and it matters more than most people realize.
- NTFS: Native to Windows. Mac can read NTFS drives but can’t write to them without third-party software.
- APFS: Native to modern macOS. Windows can’t read APFS at all without extra tools.
- exFAT: Readable and writable by both Windows and Mac, no extra software needed. This is the best choice for an external SSD you plan to move between both operating systems.
- FAT32: Also cross-platform, but limited to individual file sizes under 4GB, which makes it a poor choice for modern video files or large backups.
If you’re setting up an external SSD as a portable drive for backups or transferring project files between a Windows PC and a Mac, exFAT is almost always the right call. It’s what most external SSD manufacturers use as the factory default for exactly this reason.
Samsung T7 Shield Portable SSD
A durable, fast portable SSD that comes pre-formatted in exFAT, making it easy to use across Windows and Mac without reformatting.
If you’re shopping for a new drive rather than reformatting an existing one, it helps to understand whether an external SSD will actually speed up your laptop before you buy, since not every use case benefits equally from external storage.
BIOS/UEFI Considerations for Internal SSDs
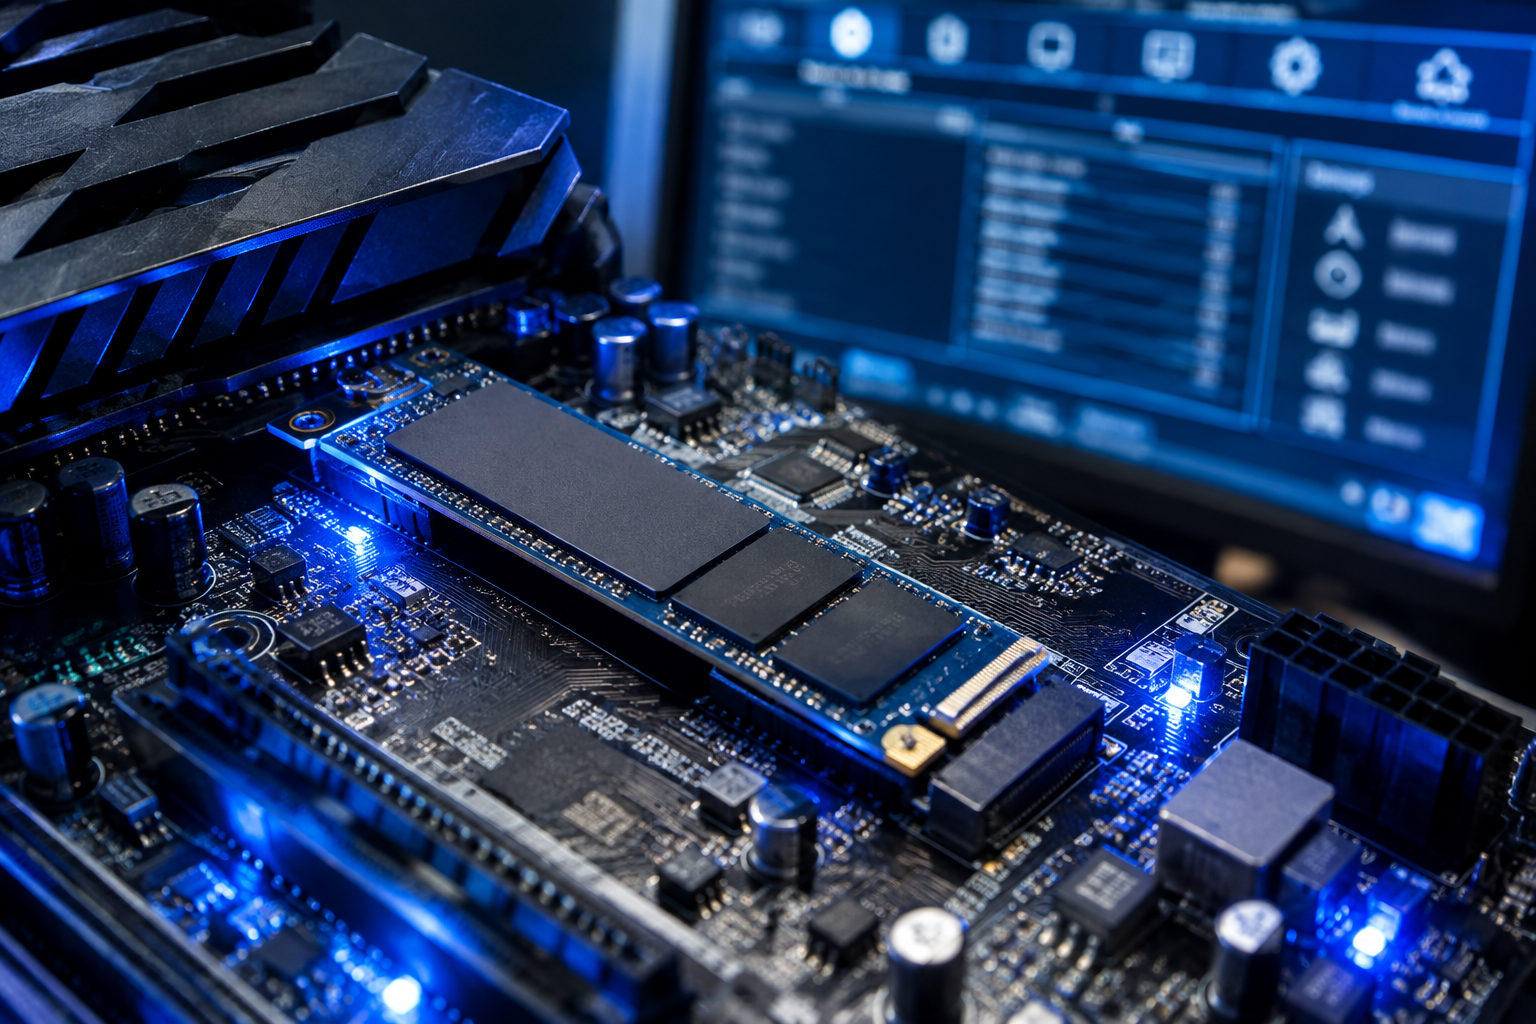
If you’re formatting and setting up a new internal SSD as a boot drive, there are a few firmware-level things to check before you start.
Make sure your BIOS or UEFI is set to AHCI mode rather than legacy IDE mode for SATA SSDs, since AHCI unlocks proper SSD performance features like NCQ (Native Command Queuing). For NVMe drives, confirm that the M.2 slot you’re using is wired for NVMe and not just SATA, since some laptops have M.2 slots that only support one or the other.
If you want the new SSD to boot Windows, you’ll also need Secure Boot and the partition scheme (GPT vs MBR) to match how Windows was installed. GPT with UEFI is the modern standard, and it supports drives larger than 2TB, which MBR can’t handle. Most fresh Windows 11 installs will set this up automatically if UEFI mode is enabled in your BIOS.
For deeper background on how NVMe drives differ from older SATA SSDs at the firmware and interface level, this comparison of NVMe SSD vs Intel SSD options is a useful read before you buy new internal storage.
Cloning and Migrating Instead of Formatting
Sometimes what you actually want isn’t to format a blank drive, but to move your existing Windows or Mac setup onto a new, larger SSD without starting over. This is cloning, and it’s a different process with its own risks.
Before cloning, confirm the destination SSD has enough capacity to hold everything on the source drive, including free space for future files. Cloning software usually won’t let you clone onto a smaller drive if the source is more full than the destination’s total capacity, even if the actual used space would technically fit.
Pay attention to the EFI system partition (on Windows) or the recovery partition (on Mac). These small partitions handle boot files and system recovery tools, and a bad clone that skips or corrupts them can leave you with a drive that won’t boot even though all your personal files transferred fine. Most modern cloning tools (like Macrium Reflect or the software bundled with drives from Samsung and Crucial) handle this automatically, but it’s worth checking the clone completed with all partitions intact before you go further.
If your source drive uses BitLocker (Windows) or FileVault (Mac), decrypt it before cloning or make sure you have the recovery key saved, since encrypted drives can behave unpredictably with some cloning tools. Once the clone is done, boot from the new SSD and actually use the computer for a few days, checking that your files, programs, and settings all came over correctly, before wiping or reformatting the old drive. Skipping this verification step is how people end up losing data they thought was safely migrated.
For a full walkthrough of this process, check out our guide on how to upgrade your SSD without losing data, and if you’re specifically trying to avoid reinstalling Windows from scratch, this guide covers that process in detail.
Crucial X9 Pro Portable SSD
A solid, compact external SSD that works well as a cloning destination or a cross-platform backup drive.
Mac owners specifically upgrading internal storage should also look at our guides on whether you can upgrade a Mac’s SSD at all, since Apple has locked storage on several newer models, making external SSDs the only real upgrade path for many recent Macs.
Frequently Asked Questions
Will formatting my SSD slow it down or reduce its lifespan?
No. A quick format has essentially no impact on an SSD’s lifespan. SSDs are rated for total data written over their lifetime, and a format writes a tiny amount of data compared to normal daily use. You don’t need to avoid formatting out of concern for wear.
Can I format an SSD without losing data?
Not through a standard format. Formatting rebuilds the file system table, and any file recovery afterward depends on the old data not being overwritten, which isn’t guaranteed. If you need to keep your data, back it up first or clone to a new drive instead of formatting.
Do I need to format a new external SSD before using it?
Usually not. Most external SSDs, including ones you’d find by browsing external SSD options on Amazon, ship pre-formatted in exFAT so they work on both Windows and Mac right out of the box. You only need to reformat if you want a different file system or run into a compatibility issue.
Why won’t my SSD show up when I try to format it?
This usually means the drive hasn’t been initialized yet, has no partition, or there’s a connection issue. On Windows, check Disk Management for an “Unallocated” or “Not Initialized” status. On Mac, make sure Disk Utility is set to show all devices, not just partitions. If neither works, try a different cable or port before assuming the drive itself is faulty.
This article contains affiliate links. We may earn a small commission at no extra cost to you.

James Kennedy is a writer and product researcher at Drives Hero with a background in IT administration and consulting. He has hands-on experience with storage, networking, and system performance, and regularly improves and optimizes his home networking setup.