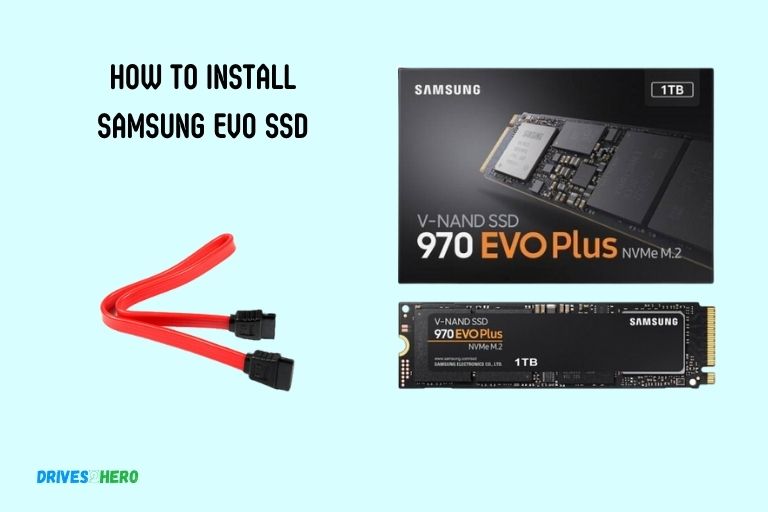
How to Install Samsung Evo Ssd? 8 Steps!
Installing a Samsung Evo SSD requires several steps including backing up your data, physically installing the SSD, formatting the SSD, and transferring your data.
Boost your system’s speed and storage with this straightforward, step-by-step walkthrough. From gathering tools to securing the SSD in place, this concise tutorial ensures a smooth installation process.
Key Takeaway
Installing Samsung EVO SSD: A Step-by-Step Guide
Step 1: Gather Tools
Collect the Samsung EVO SSD, a SATA cable, a power cable, and a screwdriver.
Step 2: Power Off and Open Case
Turn off your computer and open the case using the screwdriver.
Step 3: Locate SATA Ports
Identify SATA ports on your motherboard. Connect one end of the SATA cable to an available port.
Step 4: Connect Power Cable
Attach the other end of the SATA cable to the Samsung EVO SSD. Use a SATA power cable to provide power.
Step 5: Secure SSD in Drive Bay
Place the SSD in a vacant drive bay and secure it with screws.
Step 6: Close Case and Power On
Close the case, tighten screws, reconnect power, and turn on your computer.
Step 7: Check SSD Recognition
Go to BIOS/UEFI settings to ensure the Samsung EVO SSD is recognized.
Step 8: Install Samsung Magician (Optional)
For optimization, download and install Samsung Magician software from the official website.
Follow these simple steps to install your Samsung EVO SSD, upgrading your system’s speed and storage effortlessly.
Preparing For The Installation
Preparing for the installation of the Samsung Evo SSD is crucial for a successful setup. Follow these steps to ensure a smooth and efficient process.
Before diving into the installation process of your Samsung Evo SSD, it’s essential to make sure you’re well-prepared.
Required Tools And Equipment:
To successfully install your Samsung Evo SSD, gather the following tools and equipment:
- Phillips screwdriver: This will be used to remove screws holding your computer’s case together.
- SATA data cable: Ensure you have a spare SATA cable to connect the SSD to your computer’s motherboard.
- SATA power cable: You’ll need an extra SATA power cable to supply power to the newly installed SSD.
- Mounting bracket (if necessary): Depending on your computer’s configuration, you may require a mounting bracket to secure the SSD properly.
- Antistatic wrist strap (optional): While not mandatory, wearing an antistatic wrist strap can prevent static electricity from damaging sensitive components.
Backing Up Your Data Before The Installation:
Before proceeding with the installation, it’s crucial to back up your data to avoid any potential loss.
Follow these steps to ensure your files are safe:
- External storage device: Connect an external hard drive or USB flash drive to your computer.
- Data backup software: Use a reliable data backup software, such as Acronis True Image or EaseUS Todo Backup, to create a full backup of your system.
- Selective files backup: If you prefer, manually copy important files to the external storage device as an additional precaution.
Remember, backing up your data is an essential step to safeguard your files and minimize the risk of data loss during the installation process.
Understanding The Installation Process:
To ensure a successful installation, it’s crucial to understand the steps involved.
Here’s a brief overview:
- Power off your computer: Shut down your computer and disconnect the power cable from the wall outlet.
- Open the computer case: Use your Phillips screwdriver to remove the screws securing the case. Carefully remove the case to expose the internals.
- Locate an available drive bay: Identify an empty drive bay where you’ll install the Samsung Evo SSD. Take note of any mounting brackets required for proper installation.
- Connect the SSD: Attach one end of the SATA data cable to the SSD and the other end to an available SATA port on the computer’s motherboard. Next, connect the SATA power cable to the SSD.
- Secure the SSD: If necessary, use a mounting bracket to secure the SSD in the allocated drive bay.
- Close the computer case: Place the case back on and secure it with the screws you initially removed.
- Power on your computer: Reconnect the power cable, and power on your computer. The newly installed Samsung Evo SSD should now be recognized.
- Verify the installation: Access your computer’s BIOS or check the device manager to verify the presence of the SSD.
By familiarizing yourself with the required tools and equipment, backing up your data, and understanding the installation process, you’ll be well-prepared to begin installing your Samsung Evo SSD with confidence.
Optimizing The Samsung Evo Ssd Performance
Learn how to optimize the performance of your Samsung Evo SSD by following our step-by-step guide on installing the SSD, maximizing its capabilities, and enhancing your overall system speed.
The performance of your Samsung Evo SSD can be further enhanced by following a few optimization steps.
Enabling Trim Support For Optimal Performance:
Enabling TRIM support is crucial for maintaining top-notch performance on your Samsung Evo SSD. TRIM helps to optimize the way the SSD manages data, improving both read and write speeds.
Here’s how you can enable TRIM support:
- Open the Start menu and search for “Command Prompt.”
- Right-click on “Command Prompt” and select “Run as administrator.”
In the Command Prompt window, type the following command:
Fsutil behavior set DisableDeleteNotify 0
- Press Enter to execute the command.
- Restart your computer to apply the changes.
By enabling TRIM support, you’ll ensure that your Samsung Evo SSD operates at its peak performance.
Updating The Firmware For The Samsung Evo Ssd:
Updating the firmware of your Samsung Evo SSD not only improves performance but also addresses potential issues and enhances compatibility.
To update the firmware, follow these steps:
- Visit the Samsung website and navigate to the support section.
- Look for the SSD product page and download the latest firmware update for your specific model.
- Run the downloaded firmware update file and follow the on-screen instructions to complete the installation process.
- Restart your system to finalize the firmware update.
Regularly updating the firmware ensures that your Samsung Evo SSD is equipped with the latest enhancements and improvements.
Configuring The Samsung Magician Software For Advanced Features:
Samsung Magician software provides a range of advanced features to maximize the performance of your Samsung Evo SSD. By configuring it effectively, you can gain access to valuable tools and insights.
Here are the steps to configure the Samsung Magician software:
- Install the Samsung Magician software on your computer.
- Launch the software and select your Samsung Evo SSD from the list of connected drives.
- Explore the various sections and menus within the software to identify features that can enhance your SSD’s performance.
- Customize settings such as Over-Provisioning, Rapid Mode, and Performance Optimization based on your specific requirements.
- Take advantage of the benchmarking and performance monitoring features to assess the impact of your adjustments.
Optimizing the Samsung Evo SSD using the Samsung Magician software can significantly boost its overall performance and prolong its lifespan.
By enabling TRIM support, updating the firmware, and configuring the Samsung Magician software, you can unlock the full potential of your Samsung Evo SSD, ensuring optimal performance and longevity.
Troubleshooting Common Installation Issues
Have trouble installing your Samsung Evo SSD? This guide troubleshoots common installation issues, providing step-by-step instructions to ensure a smooth installation process for your SSD.
Confirm that you have all the necessary tools and follow the guidelines carefully for a successful installation.
Troubleshooting Tips For Cloning Errors:
- Use a reliable and compatible cloning software like Samsung Data Migration or Macrium Reflect. Outdated or incompatible software can lead to cloning errors.
- Make sure you have enough space on the target drive to accommodate all the data being cloned.
- Check for any corrupt files or bad sectors on the source drive. Running a disk check utility can help identify and fix any issues.
- Disable any disk encryption software before attempting to clone the drive. Encryption can interfere with the cloning process.
- If encountering errors during the cloning process, try using a different SATA cable or connecting the drives to different SATA ports on your motherboard.
Troubleshooting Tips For Unrecognized Samsung Evo Ssd:
- Ensure that the Samsung Evo SSD is securely connected to both the power and data cables. Try reseating the cables to ensure a proper connection.
- Check if the SATA port is enabled in the BIOS. Sometimes, a disabled port can prevent the SSD from being recognized.
- Try connecting the Samsung Evo SSD to a different SATA port on your motherboard. Faulty ports can cause recognition issues.
- Update the SSD firmware to the latest version. Samsung provides firmware updates on their website, which can resolve compatibility issues and improve performance.
- If all else fails, test the SSD on a different computer to determine if it’s a hardware or software-related issue. If it works on another system, the problem may be with your computer’s configuration.
These troubleshooting tips can help you overcome common installation issues when installing the Samsung Evo SSD. Following these steps will ensure a smooth installation process and optimize the performance of your new SSD.
Conclusion
Installing a Samsung Evo SSD can greatly enhance the performance and speed of your computer. By following the step-by-step guide we’ve outlined, you’ll be able to successfully install the SSD and enjoy the benefits it brings.
Remember to back up your data before starting the installation process to prevent any loss of important files.
Once the Samsung Evo SSD is installed, you’ll notice faster boot times and improved loading speeds for your applications. With its reliable performance and durability, this SSD is a great investment for any computer user.

Harold Williams is a senior writer and technical editor at Drives Hero with 20+ years of experience in IT administration. He specializes in storage systems, SSD reviews, and performance testing, bringing real-world insight to every guide.