How to Initialize Samsung Ssd 860 Evo? 6 Steps!
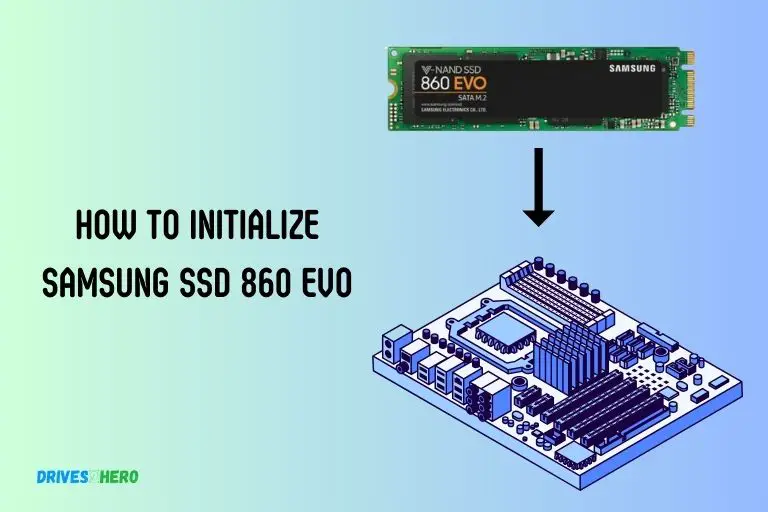
To initialize your Samsung SSD 860 Evo, you will need to connect the SSD to your computer, use the built-in Disk Management tool in Windows to initialize the drive, and then format the SSD for use.
Initializing your SSD is a crucial step to prepare it for use with your operating system. We’ll cover the essential steps to ensure a smooth initialization process.
From connecting the SSD to choosing the file system, follow along to get your Samsung SSD 860 EVO ready for optimal performance.
Key Takeaway
Initializing Samsung SSD 860 EVO: A Step-by-Step Guide
Step 1: Connect the SSD
Ensure your Samsung SSD 860 EVO is properly connected to your computer using the appropriate cables.
Step 2: Power On Your Computer
Turn on your computer and allow the operating system to detect the newly connected SSD.
Step 3: Open Disk Management (Windows) or Disk Utility (Mac)
- For Windows:
- Press
Windows + Xand select “Disk Management.” - Locate your Samsung SSD 860 EVO in the list of drives.
- Press
- For Mac:
- Open “Disk Utility” from the Applications > Utilities folder.
- Find your Samsung SSD 860 EVO in the list of drives on the left.
Step 4: Initialize the SSD
- For Windows:
- Right-click on the unallocated space of your SSD.
- Choose “New Simple Volume” and follow the on-screen instructions to initialize the SSD.
- For Mac:
- Click on the Samsung SSD 860 EVO in Disk Utility.
- Select “Erase” and follow the prompts to initialize the SSD.
Step 5: Choose File System and Format
- For Windows:
- Choose the file system (NTFS is recommended for Windows) and set a volume label.
- Click “Next” and then “Finish” to format the SSD.
- For Mac:
- Choose the file system (APFS is recommended for macOS) and set a name.
- Click “Erase” to format the SSD.
Step 6: Confirm Initialization
Ensure that the initialization process completes successfully, and the status of the SSD in Disk Management or Disk Utility changes to “Healthy” or “Mounted.”
By following these simple steps, you’ll successfully initialize your Samsung SSD 860 EVO, making it ready for use with your operating system.
Understanding The Initialization Process
The initialization process of the Samsung SSD 860 Evo involves a series of steps to set it up properly. By carefully following the manufacturer’s instructions, users can initialize the SSD and optimize its performance for their specific needs.
What Is Ssd Initialization And Why Is It Necessary?
- Initialization is the process of preparing your Samsung SSD 860 Evo for use by configuring it to function optimally with your system.
- It involves erasing all existing data on the drive, partitioning it, and preparing it for the installation of an operating system and other software.
- SSD initialization is necessary to ensure that the drive performs at its best, delivers consistent speed and reliability, and prevents any potential data compatibility issues.
Benefits Of Initializing Your Samsung Ssd 860 Evo
Initializing your Samsung SSD 860 Evo brings a range of benefits that enhance its overall performance and durability:
- Improved performance: Initialization allows the SSD to optimize its internal mechanisms, improving its read and write speeds and enhancing system responsiveness.
- Enhanced reliability: By initializing your SSD, you can minimize the risk of data corruption and improve the drive’s overall stability, ensuring the safety of your valuable files and documents.
- Efficient usage of storage space: Initialization helps in organizing the drive’s storage space efficiently, which leads to better performance when storing and retrieving data.
- Compatibility with operating systems: By initializing the SSD, you ensure that it is fully compatible with different operating systems, eliminating any potential compatibility errors.
Precautions To Take Before Initializing Your Ssd
Before proceeding with the initialization process, it is important to take certain precautions to safeguard your data and ensure a smooth transition.
Here are some key precautions to consider:
- Backup your data: Prior to initialization, make sure to back up all your important files and documents to an external storage device or cloud service.
- Verify compatibility: Check that your system’s BIOS settings and drivers are up to date and fully compatible with the Samsung SSD 860 Evo.
- Remove unnecessary data: Delete any unwanted or redundant files from your existing storage device to ensure a faster and smoother initialization process.
- Disconnect unnecessary peripherals: Temporarily disconnect any external devices or peripherals that are not necessary for the initialization process to avoid any interference.
By understanding the importance of initialization, its benefits, and the precautions to take, you can confidently proceed with initializing your Samsung SSD 860 Evo.
Troubleshooting Common Issues During Initialization
Initialize your Samsung SSD 860 EVO smoothly by troubleshooting common issues during initialization. Resolve any problems that may arise and enjoy the optimal performance of your SSD.
Ssd Not Appearing In Disk Management Tool:
- Check the physical connections: Ensure that the SSD is properly connected to your computer. Sometimes, loose connections can prevent the drive from being recognized.
- Restart your computer: A simple reboot can often solve this issue and refresh the system, allowing the SSD to be detected.
- Update drivers: Outdated or incompatible drivers can cause the SSD to not appear in the Disk Management tool. Visit the manufacturer’s website and download the latest drivers for your SSD to ensure compatibility with your system.
- Check compatibility: Verify that your SSD is compatible with your operating system. Some older systems may not support newer SSDs, so ensure that your system specifications are compatible.
- Try a different SATA port or cable: Faulty ports or cables can prevent the SSD from being recognized. Connect the SSD to a different SATA port or try using a different cable to eliminate the possibility of a hardware issue.
Error Messages During Initialization Process:
- Insufficient power supply: In some cases, the initialization process may fail due to insufficient power supply. Ensure that your power supply unit can handle the additional power requirements of the SSD.
- Firmware update: Outdated firmware can lead to errors during initialization. Visit the manufacturer’s website and download the latest firmware for your SSD model. Follow the instructions provided to update the firmware and resolve any compatibility issues.
- BIOS settings: Incorrect BIOS settings may cause errors during the initialization process. Access your computer’s BIOS settings and ensure that the SATA mode (AHCI or RAID) is correctly configured for your SSD.
Incorrect Formatting Or Partitioning Of The Ssd:
- Formatting the SSD: If the SSD is not formatted, it may not be recognized by the operating system. Open the Disk Management tool, locate the SSD, and format it to the desired file system (e.g., NTFS) before initializing it.
- Partitioning the SSD: Partitioning allows you to divide the SSD into separate sections. Open the Disk Management tool, locate the SSD, and create partitions according to your needs. Ensure that the partitions are properly formatted before initializing the SSD.
Now that we’ve discussed common initialization issues and their troubleshooting steps, you should be well-equipped to overcome any hurdles you may encounter during the initialization process.
Remember to double-check the connections, update drivers and firmware, and ensure proper formatting and partitioning of the SSD.
Conclusion
Initializing a Samsung SSD 860 EVO is a simple yet crucial step to optimize its performance and ensure its longevity.
By following the step-by-step guide provided in this blog post, you can easily initialize your SSD and set it up for smooth and efficient operation. Remember to always back up your data before undertaking any disk-related operations to avoid any data loss.
With its impressive read and write speeds, enhanced endurance, and advanced features, the Samsung SSD 860 EVO is a reliable choice for improving your computer’s performance.
So, whether you are a tech enthusiast, a gamer, or a professional, taking the time to initialize your SSD correctly will undoubtedly enhance your overall computing experience.

