How to Upgrade to Ssd Macbook Pro? 11 Steps!
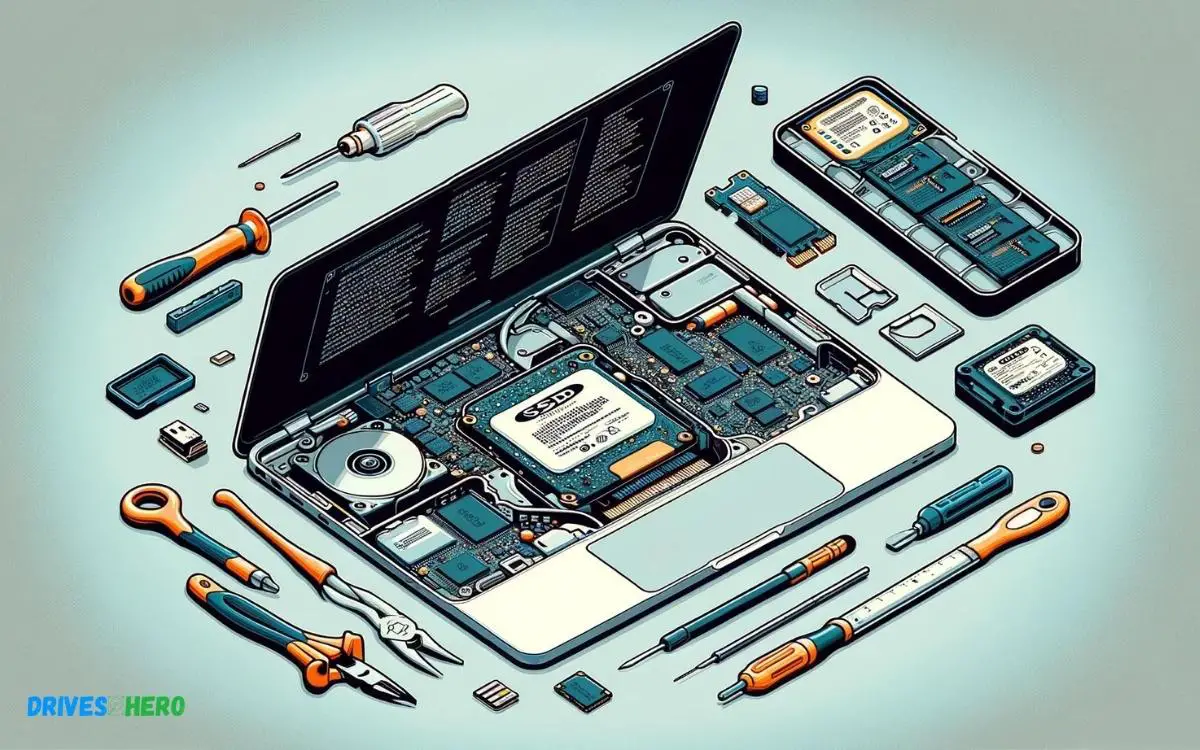
Unlocking the full potential of your MacBook Pro is as simple as upgrading to a Solid State Drive (SSD).
With faster boot times, improved application responsiveness, and increased durability, SSDs offer a significant performance boost over traditional hard drives. If you’re ready to take your MacBook Pro to the next level, this guide is for you.
We’ll walk you through the process of upgrading to an SSD, providing you with the tools and know-how to enhance your MacBook Pro’s speed, efficiency, and overall user experience.

Key Takeaway
Upgrading to SSD in MacBook Pro: Step-by-Step Guide
Step 1: Gather Necessary Tools and Equipment
- Purchase an SSD that is compatible with your MacBook Pro model.
- Gather a small Phillips screwdriver, a spudger tool, and an external enclosure for the old hard drive (if planning to use it as external storage).
Step 2: Back Up Your Data
- Before beginning the upgrade process, back up all important data on your MacBook Pro. This can be done using Time Machine or any other preferred backup method.
Step 3: Power Off and Unplug
- Power off your MacBook Pro and unplug any connected cables or peripherals.
Step 4: Remove the Back Cover
- Use a Phillips screwdriver to remove the screws securing the back cover of your MacBook Pro.
- Carefully lift off the back cover and set it aside.
Step 5: Disconnect the Battery
- Use a spudger tool to disconnect the battery connector from the logic board. This step is crucial to prevent any electrical mishaps during the upgrade process.
Step 6: Locate the Old Hard Drive
- Identify the location of the old hard drive in your MacBook Pro. It is typically located near the center of the device.
Step 7: Remove the Old Hard Drive
- Carefully disconnect the SATA cable or ribbon cable connecting the old hard drive to the logic board.
- Remove any screws securing the old hard drive in place.
- Gently lift the old hard drive out of its slot and set it aside.
Step 8: Install the SSD
- Take your new SSD and carefully insert it into the slot previously occupied by the old hard drive.
- Secure the SSD in place using the screws removed from the old hard drive.
Step 9: Reconnect Cables
- Reconnect the SATA cable or ribbon cable to the SSD.
- Ensure all connections are secure and properly seated.
Step 10: Replace the Back Cover
- Carefully position the back cover back onto your MacBook Pro.
- Secure it in place using the screws removed earlier.
Step 11: Power On and Initialize the SSD
- Power on your MacBook Pro and wait for it to boot up.
- Initialize the new SSD using Disk Utility.
- Restore your backed-up data onto the new SSD using Time Machine or your preferred backup method.
By following these steps, you can successfully upgrade the hard drive in your MacBook Pro to a faster and more efficient SSD, improving overall performance and storage capacity.
Choosing The Right SSD for Your Macbook Pro
Upgrading your MacBook Pro with a new SSD can give your aging laptop a new lease on life. It’s a significant upgrade that can enhance your device’s responsiveness, boot times, and overall performance.
This means understanding compatibility constraints, determining capacity requirements, and considering speed and performance.
Consider Compatibility
Before purchasing an SSD for your MacBook Pro, ensure compatibility with your specific model. Different MacBook Pro models may require different types of SSDs, such as SATA or NVMe, with varying form factors and connection interfaces.
Research your MacBook Pro model and check manufacturer specifications to determine the compatible SSD type and form factor.
Capacity Needs
Assess your storage requirements to determine the appropriate SSD capacity for your MacBook Pro. Consider factors such as the size of your current storage drive, the amount of data you need to store, and any future storage needs.
SSDs are available in various capacities ranging from 128GB to several terabytes. Choose a capacity that provides ample storage space for your files and applications without exceeding your budget.
Speed And Performance
- Evaluate the speed and performance characteristics of different SSDs to find one that meets your performance expectations.
- SSDs offer significant performance improvements over traditional hard disk drives (HDDs), with faster read and write speeds and lower latency.
- Look for SSDs with high sequential read and write speeds, as well as low random access times, to optimize your MacBook Pro’s performance.
- Consider whether your MacBook Pro supports PCIe NVMe SSDs, which offer even faster performance compared to SATA SSDs.
- PCIe NVMe SSDs utilize the PCIe interface for data transfer, enabling higher bandwidth and lower latency compared to SATA SSDs.
- If your MacBook Pro supports PCIe NVMe SSDs, consider investing in one for maximum performance benefits.
By considering compatibility constraints, capacity needs, and speed and performance characteristics, you can choose the right SSD to upgrade your MacBook Pro, unlocking its full potential and extending its lifespan.
Preparing Your Macbook Pro For Ssd Upgrade
Upgrading your MacBook Pro with a solid-state drive (SSD) can breathe new life into your older model, making it run faster and more efficiently.
Before you dive into the installation process, there are crucial steps to prepare your MacBook Pro for this substantial upgrade. Proper preparation ensures the upgrade process is smooth and your data remains secure and accessible.
Backup Your Data
- Connect an external hard drive to your MacBook Pro.
- Open “System Preferences” and select “Time Machine”.
- Choose your external drive as the backup disk and start the backup process.
Wait for the backup to complete before proceeding to the next step this can take some time depending on the amount of data you have.
Gather Necessary Tools And Components
To successfully perform an SSD upgrade on your MacBook Pro, the right tools and components are imperative.
- A compatible SSD
- A precision screwdriver set, specifically P5 and T5 Torx drivers
- An anti-static wrist strap to avoid damaging your MacBook Pro with static electricity
- If transferring data directly, an enclosure or adapter for your new SSD
Ensure the SSD is compatible with your specific MacBook Pro model. Cross-reference your model number with SSD specifications to avoid compatibility issues.
Create Bootable Installer
If you’re performing a clean installation of macOS or need to reformat the new SSD after installation, creating a bootable installer on a USB drive is a wise move.
Use these steps:
- Obtain a USB drive with at least 16GB of storage and format it as Mac OS Extended.
- Download the macOS installer from the App Store.
- Open “Terminal” and use the “createinstallmedia” command with appropriate parameters for your macOS version.
Optimizing Ssd Performance On Macbook Pro
Upgrading your MacBook Pro with an SSD can significantly boost its performance. Our comprehensive guide elucidates the seamless transition process, ensuring you enjoy quicker boot times and snappier application responses.
Enabling Trim Support
To maintain the top performance of your MacBook Pro’s SSD, enabling TRIM support is crucial.
TRIM is an advanced technology that helps the operating system understand which blocks of data are no longer in use, facilitating their reuse for fresh data. Without TRIM, the SSD’s speed and longevity could be compromised over time.
Here is how to enable it:
- Open Terminal from Applications > Utilities or via Spotlight Search.
- Type in the command
sudo trimforce enable. - Enter your administrator password when prompted.
- A warning message will appear; proceed by typing Y to enable TRIM.
Managing Storage And Files
- Apple Menu > About This Mac > Storage: Provides an overview of your SSD’s storage allocation and offers recommendations for optimization.
- Optimize Storage: This feature will remove Apple TV shows and movies you’ve already watched and keep only recent email attachments on your Mac when space is needed.
- Reduce Clutter: Review and delete old files, large items, and downloads you no longer need.
Maintaining at least 10-15% of free space on your SSD will typically ensure optimal performance.
Monitoring Ssd Health And Performance
Just like any other component of your MacBook Pro, the SSD needs regular check-ups. Monitoring the health and performance of your SSD can alert you to potential issues before they become serious problems.
Here are key strategies to keep an eye on your SSD:
- Use macOS Disk Utility to verify and, if necessary, repair your SSD.
- Consider third-party SSD health monitoring tools that offer more detailed information about the condition and performance of your SSD.
- Keep an eye on the write cycles, a finite number that can give you an estimate of your SSD’s lifespan.
Consistently keeping tabs on your SSD health ensures your MacBook Pro remains efficient, reliable, and ready for any task.
How to install an SSD drive in MacBook Pro?
Installing an SSD in a MacBook Pro can significantly boost its performance.
Here’s a general guide to help you through the process:
- Gather the necessary tools: You’ll need a compatible SSD, a screwdriver set (often a Phillips #00 or a Torx T5 screwdriver), and optionally, an external enclosure to clone your existing drive if you’re transferring data.
- Backup your data: Before making any hardware changes, it’s crucial to back up your data. You can use Time Machine or any other backup software you prefer.
- Prepare your MacBook Pro: Shut down your MacBook Pro and disconnect any cables. Place it on a soft, static-free surface.
- Remove the bottom case: Unscrew the screws securing the bottom case of your MacBook Pro. Keep track of the screws and their placements as they may vary in size.
- Locate the existing drive: Depending on the MacBook Pro model, the SSD may be in different locations. It’s typically near the battery or under a heat sink.
- Remove the old SSD: Gently disconnect any cables attached to the SSD. Unscrew any screws holding the SSD in place. Carefully remove the old SSD.
- Install the new SSD: Place the new SSD into the slot, ensuring it’s properly aligned. Secure it with screws if necessary. Reconnect any cables you disconnected.
- Replace the bottom case: Once the new SSD is installed, carefully put the bottom case back on and screw it in place.
- Boot up and initialize the new SSD: Turn on your MacBook Pro. If you’ve cloned your old drive, the system should boot up normally. If you’re starting fresh, you may need to initialize the new SSD using Disk Utility and reinstall macOS.
- Restore your data: If you’ve cloned your old drive, you should have all your data and settings intact. If not, you can restore from your backup using Time Machine or migrate your data manually.
- Optional steps: After installing the SSD, you may want to enable TRIM support for better performance and longevity. You can do this using third-party software or through Terminal commands.
- Dispose of the old SSD: If your old SSD is still functional, you may consider repurposing it or securely erasing it before disposal to protect your data.
Remember to consult your MacBook Pro’s user manual or look for specific guides online that match your model, as the exact steps and locations may vary.
If you’re uncomfortable performing the upgrade yourself, you can always seek assistance from a professional technician.
Conclusion
Upgrading your MacBook Pro with an SSD can breathe new life into your device. With faster boot times and zippier application launches, the benefits are clear.
Remember, picking a compatible SSD and following a trusted installation guide are keys to success.


