Can You Upgrade a Macbook Pro Ssd? Yes!
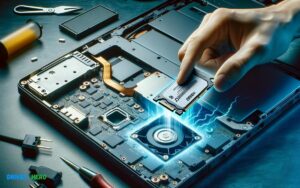
Yes, you can upgrade a MacBook Pro SSD, but the ability to do so varies greatly by the model. Earlier MacBook Pros (up to mid-2012 non-Retina models) allow for relatively easy SSD upgrades.
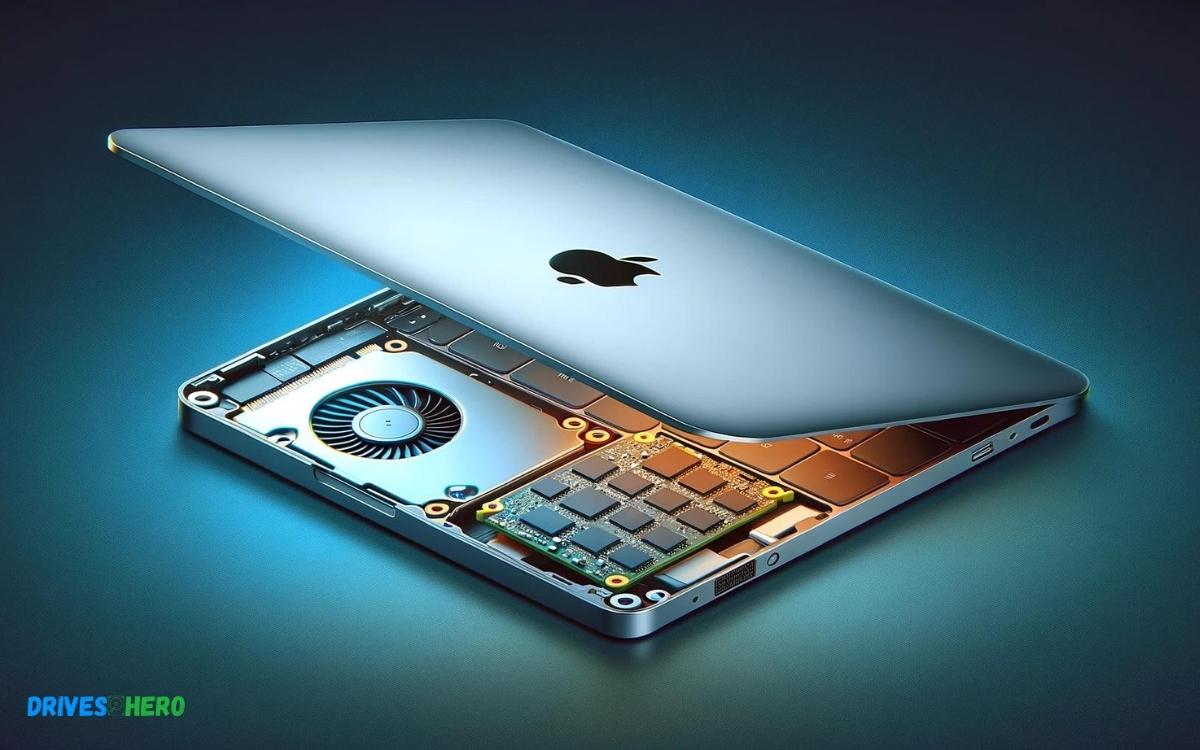
Models from late 2012 to 2015 (Retina) are upgradeable but more challenging due to proprietary connectors. However, MacBook Pros from 2016 onwards have SSDs soldered to the motherboard, making upgrades by users virtually impossible.
When considering an SSD upgrade for a MacBook Pro, it’s crucial to identify the model year and specifications. For earlier models, upgrading the SSD is as simple as purchasing a compatible drive and swapping it out using basic tools.
Key considerations include:
For later models with soldered SSDs, professional upgrade services can sometimes transfer the core components to a new logic board with a larger SSD, but this is costly and not guaranteed.
Upgrading your MacBook Pro’s SSD can breathe new life into your machine, offering faster performance and more storage but check compatibility before attempting.
Key Takeaway
Introduction To SSD Upgrades For Macbook Pro
Understanding Ssds And Their Importance
Solid State Drives (SSDs) have become a game-changer in the realm of computing storage solutions.
Unlike traditional hard drives, SSDs contain no moving parts and offer exceptional read-write speeds, which means faster performance and decreased loading times for users. The importance of SSDs in modern MacBooks cannot be overstated.
They provide:
- Quick access to data and applications,
- Enhanced durability due to lack of mechanical parts,
- Lower power consumption which can extend battery life,
- Quieter operation, creating a more focused work environment.
With an SSD, your MacBook Pro can achieve its full potential, making it more adept at handling advanced computing tasks and multitasking with ease.
Factors To Consider Before Upgrading Your Macbook Pro Ssd
Before taking the plunge, weigh these factors to ensure a smooth transition:
| Factor | Details | Recommendations |
|---|---|---|
| Compatibility | Ensuring the SSD is compatible with your MacBook Pro model | Check Apple’s official specifications for your model |
| Storage Needs | Assessing how much storage space you require | Opt for an SSD that meets your current and future needs |
| Data Migration | Moving your existing data to the new SSD | Use reliable data migration tools or services |
| Cost | Investment involved in purchasing a new SSD | Balance budget with performance benefits |
| Installation | Installing the SSD correctly in your MacBook Pro | Follow a detailed guide or seek professional installation |
Keep in mind that upgrading internal components may affect your warranty status. It is crucial to consider the potential impact on the existing support for your MacBook Pro.
Compatibility And Choices For Macbook Pro Ssd Upgrades
Upgrading the SSD on a MacBook Pro can breathe new life into your device, boosting speed and storage capacity. Yet, the myriad of choices and compatibility considerations can be bewildering.
Determining The Compatibility Of Ssds With Different Macbook Pro Models
Before considering an SSD upgrade, it’s crucial to check the compatibility of potential SSD options with your MacBook Pro model.
Apple’s design architecture varies across different releases, affecting which SSDs will fit or function correctly. You’ll want to verify your MacBook Pro’s model year and whether it has a Retina display, as these factors determine the type of SSD interface.
For pre-2013 models, standard 2.5-inch drives will typically suffice, but for later models, especially those with Retina displays, you may require a specialized SSD.
To ensure compatibility, visit Apple’s official support page or consult your MacBook Pro’s technical specifications. Note the interface type (such as SATA or PCIe), physical dimensions, and maximal storage capacity supported.
Exploring Third-party Ssds Versus Apple’s Proprietary Options
Apple’s proprietary SSDs are designed to guarantee compatibility and optimal performance. Unfortunately, they often come with a premium price tag.
Third-party SSDs, on the other hand, can offer a more affordable upgrade while still providing considerable improvements in performance and capacity.
When selecting a third-party SSD, review the warranty and support that accompanies the product, as this can mitigate potential risks involved with non-Apple upgrades.
When browsing third-party options, consider the reputation of the manufacturer and read reviews to gauge user experiences. Pay special attention to reported speeds, reliability, and any issues with installation or macOS compatibility.
Reviewing Top Ssds Compatible With Macbook Pro
Selecting the best SSD for your MacBook Pro involves balancing cost, capacity, and performance.
Here’s a rundown of highly-regarded SSDs, tailored for MacBook Pro users:
- OWC Aura Pro X2: Renowned for high speeds and easy installation, suitable for MacBook Pros ranging from 2013 to 2017.
- Samsung 970 EVO Plus: A popular NVMe option for performance enthusiasts with a suitable adapter (check compatibility).
- Crucial MX500: A great choice for older MacBook Pros (pre-2013), known for its strong performance and reliability.
Consider storage size options, balancing your need for space with your budget. Most users find a 512GB or 1TB drive strikes a good balance.
For a clearer view, here’s a comparison table:
| SSD Model | Compatibility | Speed | Storage Options |
|---|---|---|---|
| OWC Aura Pro X2 | MacBook Pro 2013-2017 | Up to 2989MB/s | 240GB – 2TB |
| Samsung 970 EVO Plus | Varies (adapter required) | Up to 3500MB/s | 250GB – 2TB |
| Crucial MX500 | MacBook Pro pre-2013 | Up to 560MB/s | 250GB – 2TB |
With the right SSD, your MacBook Pro upgrade can significantly enhance your computing experience. Ensure you take a compatible, well-reviewed, and reliable SSD route to maximize the benefits of your investment.
Step-by-step Guide To Upgrading Your Macbook Pro Ssd
Improving the performance of your MacBook Pro can often be as simple as upgrading the Solid State Drive (SSD).
Whether you’re in search of more storage or faster speeds, this guide walks you through the necessary steps to upgrade your SSD, ensuring a smooth and effective enhancement to your Mac.
Tools And Preparations For Ssd Upgrade
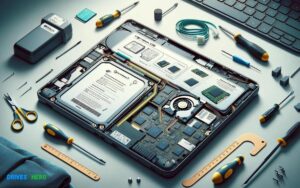
Before diving into the upgrade, gather the following tools:
- P5 Pentalobe screwdriver – For opening the case of most MacBook Pro models
- T5 Torx screwdriver – For removing the SSD
- Compatible SSD replacement – Ensure it’s the right specification for your MacBook Pro model
- External enclosure (optional) – If you plan to clone your current SSD to the new one
- Anti-static wrist strap (recommended) – To prevent static electricity from damaging internal components
Preparations should also include researching your specific MacBook Pro model’s upgrade requirements and compatibility. Check for the maximum supported SSD size and be sure your chosen SSD complies with these specs.
Backing Up Your Mac’s Data
Safeguarding your data is critical.
Use Time Machine or a similar backup solution to create a complete backup of your current SSD:
- Connect an external drive with sufficient space for your backup.
- Open “System Preferences” and then “Time Machine”.
- Select “Backup Disk” and choose your external drive.
- Click “Turn On” to start the backup process.
Once fully backed up, verify the data on the external drive before proceeding with the replacement to ensure no data is lost.
The Physical Ssd Replacement Process
With your MacBook Pro turned off and disconnected from power, follow these steps:
- Using the P5 Pentalobe screwdriver, remove the screws from the back cover.
- Gently lift the cover and set it aside.
- Detach the battery connector to prevent any electrical damage during the upgrade.
- Unscrew the SSD using the T5 Torx screwdriver.
- Remove the old SSD by gently pulling it out of its slot.
- Insert the new SSD carefully, ensuring it’s fully seated.
- Screw the new SSD into place and reconnect the battery.
- Replace the back cover and its screws.
This completes the physical replacement of the MacBook Pro SSD. The computer can now be powered on, but configuration of the new SSD is necessary.
Software Configuration After Installing A New Ssd
Post-installation, the new SSD will need to be formatted and the macOS reinstalled:
- Boot your MacBook Pro while holding down the Command + R keys to enter Recovery Mode.
- Select “Disk Utility” and choose the new SSD.
- Click “Erase” and format the SSD to APFS or Mac OS Extended (Journaled), based on your macOS version.
- After formatting, exit Disk Utility and choose “Reinstall macOS” from the recovery screen.
- Follow the prompts to install macOS onto your new SSD.
If you’ve made a Time Machine backup, you can now restore it to transfer all your previous data back onto your MacBook Pro. Simply select “Restore from Time Machine Backup” in the Recovery Mode and follow the steps.
Potential Challenges And How To Overcome Them
Encountering potential challenges is part and parcel of upgrading the SSD on a MacBook Pro. Yet, savvy tech enthusiasts and prepared users can overcome these hurdles. Knowing what issues might arise and how to handle them will make the transition smoother and faster.
Troubleshooting Common Ssd Upgrade Issues
After upgrading an SSD, users may face issues like non-detection of the drive or booting problems.
Here’s how to tackle them:
- Ensure proper installation: Double-check the physical connection. The SSD should fit securely in the slot with no loose ends.
- Reset the NVRAM: Hold Option + Command + P + R on startup. This can resolve booting issues related to recent hardware changes.
- Check Disk Utility: Boot into Recovery Mode (Command + R) and use Disk Utility to verify the SSD is recognized.
Understanding Firmware And Driver Compatibility
Compatibility is crucial for a seamless upgrade.
MacBook Pro models each have firmware specifics, so:
- Identify your MacBook Pro model and check compatible SSDs and their firmware requirements.
- Download and install any necessary updates from the SSD manufacturer’s website.
- If issues persist, consider third-party software to bridge compatibility gaps.
Dealing With Data Migration And Mac’s Recovery Mode
Migrating your data successfully is essential.
Utilize Mac’s built-in tools for a smooth process:
- Time Machine: Back up your current data. Restoring from Time Machine post-upgrade retrieves your environment exactly as it was.
- Disk Utility’s Restore Feature: Create a clone of your current drive onto the new SSD, ensuring no data loss.
- Entering Recovery Mode: Hold down Command + R during boot-up to access utilities for restoring and troubleshooting.
Maximizing Macbook Pro Performance Post-ssd Upgrade
Upgrading your MacBook Pro with a new SSD is like giving it a new lease on life. But the journey to peak performance doesn’t end there.
Fine-tuning your MacBook Pro’s settings and maintaining your new SSD can elevate your computing experience to new heights.
Implementing the right adjustments ensures your MacBook Pro runs quickly, efficiently, and maintains its top condition for as long as possible.
Optimizing Macos Settings For New Ssd
After installing a new SSD, optimizing macOS settings can greatly benefit your system’s performance.
Start with these steps:
- Enable TRIM – This command helps macOS manage the space on your SSD more effectively, which is crucial for both speed and longevity. You can enable it by using the command
sudo trimforce enablein the Terminal. - Adjust Energy Saver settings – Navigate to System Preferences > Energy Saver to ensure your SSD doesn’t enter standby mode too often.
- Review startup programs – Go to System Preferences > Users & Groups > Login Items and remove unnecessary applications that slow down your boot time.
- Reset SMC and PRAM/NVRAM – Sometimes, resetting your system’s management controller and PRAM/NVRAM can resolve any latent compatibility issues post-upgrade.
Maintaining Ssd Health And Performance Over Time
Longevity and relentless performance of your SSD depend on how well you maintain it:
- Keep your MacOS updated – Regular software updates can include improvements for SSD performance and management.
- Monitor SSD’s health – Use applications such as Disk Utility to keep an eye on your SSD’s health and to repair disk permissions.
- Maintain at least 10-15% free space – SSDs perform better with free space available, so aim to keep your drive clean and uncluttered.
- Be cautious with write operations – Excessive writing to an SSD can reduce its lifespan, so avoid unnecessary disk-intensive tasks.
The Impact Of Ssd Upgrade On Mac’s Overall Speed And Efficiency
The benefits of an SSD upgrade extend to every aspect of your MacBook Pro’s operations:
| Before SSD Upgrade | After SSD Upgrade |
|---|---|
| Longer boot times | Significantly faster boot up |
| Delayed application launch | Instant application responsiveness |
| Sluggish data transfer rates | High-speed data access |
| More frequent system lags | Smooth multi-tasking experience |
An SSD upgrade not only speeds up boot times and data transfers but also revitalizes the system’s responsiveness during demanding tasks, providing a seamless user experience that matches modern computing standards.
Is Upgrading Your Macbook Pro Ssd Worth It?
Deciding whether to upgrade the SSD on your MacBook Pro is a crucial consideration for enhancing performance and extending the life of your device. As we wrap up the discussion, let’s focus on the important aspects that come into play when pondering the worthiness of such an upgrade.
Weighing The Cost-benefit Of Ssd Upgrades
Investing in an SSD upgrade for your MacBook Pro involves evaluating the initial cost against potential gains.
Here are the key points to consider:
- Performance boost: An SSD can drastically reduce boot times and speed up application launches, translating to a smoother user experience.
- Data transfer speed: Faster read/write speeds mean more efficient file transfers.
- Reliability: SSDs contain no moving parts and are less prone to mechanical failures.
The cost of SSDs has dramatically decreased over the years, making them more accessible. However, it’s essential to compare the price of the upgrade versus the cost of a new MacBook Pro with an already installed SSD.
The Long-term Value Of Upgrading To An Ssd
Considering an SSD upgrade is not just about the immediate payoff; it’s also about the long-term benefits:
- Future-proofing your MacBook Pro: An SSD can help keep your MacBook Pro relevant and efficient as software demands evolve.
- Energy efficiency: SSDs consume less power, which can lead to improved battery life.
- Increased lifespan: By reducing wear and strain on the device, an SSD can extend the serviceable life of your MacBook Pro.
The value gained from these benefits often far exceeds the initial cost, especially when considering the potential increased resale value of an upgraded MacBook Pro.
Final Thoughts On Upgrading Macbook Pro SSD
Deliberating over an SSD upgrade for your MacBook Pro requires a thorough understanding of both short-term enhancements and long-term value.
- An SSD upgrade transforms the overall performance, making your MacBook Pro fast and responsive.
- The upgrade typically leads to a more enjoyable and efficient computing experience.
- The longevity and relevance of your MacBook Pro are significantly improved with an SSD, offering a satisfactory usage span before considering the next upgrade or a new purchase.
In essence, an SSD upgrade for a MacBook Pro is often a wise investment. Whether it’s worth it for you specifically hinges on your individual needs and the current condition of your MacBook Pro.
Consider these aspects carefully to make an informed decision that best suits your requirements.
Conclusion
Upgrading your MacBook Pro’s SSD is an achievable task. With the right tools and a bit of patience, you can boost your machine’s performance significantly.
Remember, a compatible SSD and careful installation are the keys to a successful upgrade. Embrace the potential speed and storage benefits and breathe new life into your MacBook Pro.

Harold Williams is a senior writer and technical editor at Drives Hero with 20+ years of experience in IT administration. He specializes in storage systems, SSD reviews, and performance testing, bringing real-world insight to every guide.