How to Upgrade Chromebook Ssd
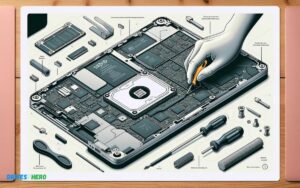
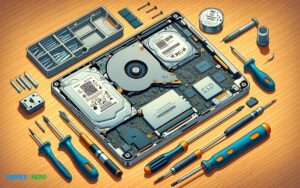
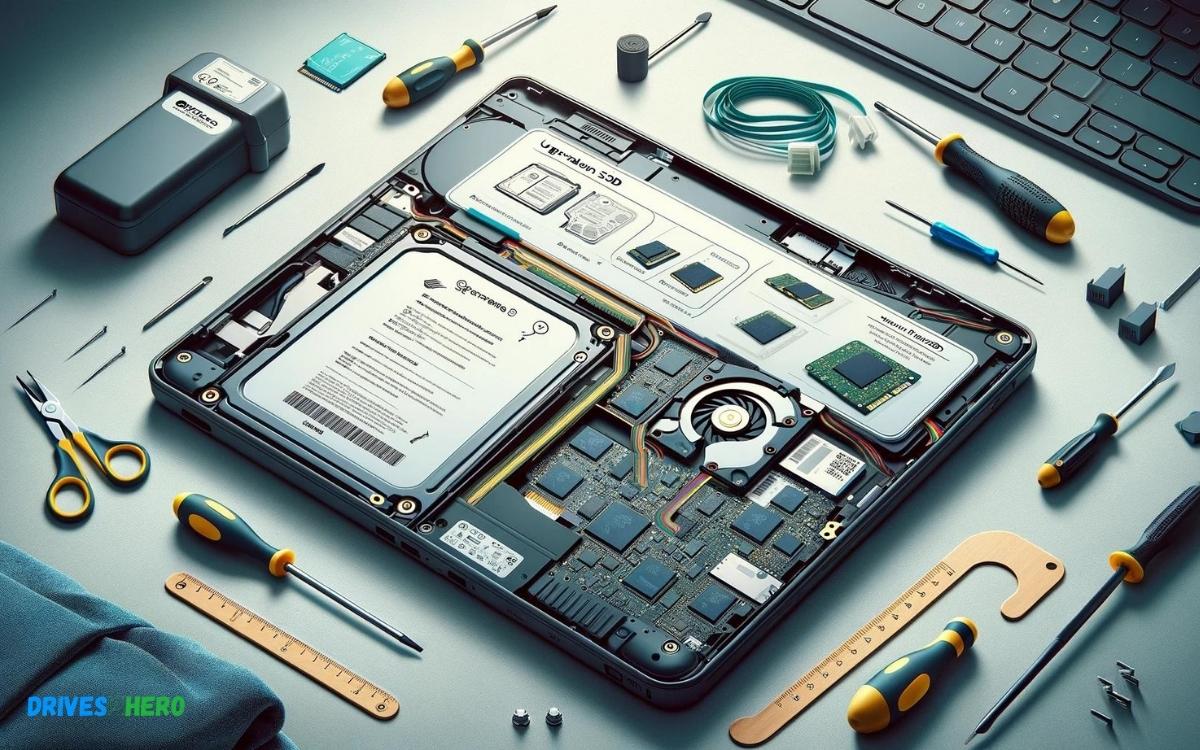
To upgrade a Chromebook SSD, first ensure your device has a replaceable storage module. Open the back panel of the Chromebook to access and replace the SSD.
Are you looking to enhance your Chromebook’s performance with an SSD upgrade? Upgrading the solid-state drive (SSD) in your Chromebook can significantly boost its speed and storage capacity, providing a more efficient computing experience. Most Chromebooks, however, come with eMMC storage, which is soldered to the motherboard and not upgradable.
Nevertheless, a few Chromebook models do have an upgradeable SSD. For those, the process will involve some technical steps like removing screws, panels, and sometimes additional components. Remember, not all units are built for upgrades, so review your model’s specifications and warranty conditions before proceeding. This tweak is perfect for users seeking more local storage or the feel of a new device without the cost of a complete replacement.
Key Takeaway
Introduction To Chromebook Ssd Upgrades
Welcome to the world of Chromebook SSD upgrades! A solid-state drive (SSD) can breathe new life into your Chromebook, offering faster boot times, quicker file access, and overall snappier performance. But before diving into the upgrade process, it’s crucial to understand the role of SSDs in Chromebooks, the benefits of upgrading, and the considerations to keep in mind. This informative guide will walk you through each step, ensuring your upgrade goes smoothly and enhances your Chromebook experience.
Understanding Ssds And Their Role In Chromebooks
At the heart of every Chromebook lies its storage component, the SSD. Unlike traditional hard drives, SSDs contain no moving parts and thus provide:
- Speed: Swift data retrieval that significantly improves load times.
- Reliability: Fewer mechanical failures due to the absence of moving parts.
- Energy Efficiency: Lower power consumption, extending battery life.
With a clear understanding of SSDs, users can make informed decisions about potential upgrades to enhance their Chromebook’s performance.
Benefits Of Upgrading Your Chromebook Ssd
Why consider an SSD upgrade? The benefits are manifold, including:
- Increased Storage: Store more applications, documents, and multimedia.
- Enhanced Speed: Experience faster system boot-up and data access.
- Improved Performance: Multitask with ease and run demanding applications without lag.
Upgrading the SSD can transform an aging Chromebook into a nimble machine, ready for both work and play.
Pre-upgrade Considerations: Compatibility And Warranty Implications
It’s essential to address a few key points before proceeding with an SSD upgrade:
| Consideration | Action |
|---|---|
| Compatibility Check | Verify that the desired SSD is compatible with your Chromebook model. |
| Warranty Status | Understand that opening your Chromebook may void the manufacturer’s warranty. |
| Data Backup | Ensure all important data is backed up before starting the upgrade process. |
By paying close attention to the compatibility of SSDs and the potential impact on your Chromebook’s warranty, you can approach the upgrade process with confidence and security.
Preparation For Ssd Upgrade
Upgrading the SSD in a Chromebook can be a game-changer for users looking to boost performance and increase storage capacity. However, thorough preparation is crucial to ensure the process goes smoothly and to minimize the risk of data loss. This guide will walk you through the preparatory steps, from gathering the necessary tools and materials to backing up your data and selecting the right SSD for your Chromebook model.
Tools And Materials Needed For The Upgrade
Before embarking on the SSD upgrade journey, assembling the right set of tools and materials is essential. Ensure you have the following items on hand:
- Screwdriver – compatible with your Chromebook’s screws
- Anti-static wrist strap – to prevent electrostatic discharge
- Plastic prying tools – to safely open the Chromebook
- Replacement SSD – specific to your Chromebook model
- External USB drive or cloud storage access – for data backup
Backing Up Your Chromebook: Ensuring Data Safety
As with any significant hardware change, backing up your Chromebook’s data is a non-negotiable step to protect your files. Follow these steps to secure your data:
- Sync your files with Google Drive for easy cloud storage.
- Use an external USB flash drive to copy local data.
- Create a recovery image using a separate USB drive for Chrome OS installation if needed.
Identifying The Right Ssd For Your Chromebook Model
Finding the compatible SSD is a pivotal step that requires careful attention:
| Chromebook Model | Required SSD Type | Storage Capacity Options |
|---|---|---|
| Model A | m.2 SATA | 128GB, 256GB |
| Model B | 2.5″ SATA III | 500GB, 1TB |
Consult your Chromebook’s manual or reach out to the manufacturer’s support to ensure compatibility. This will help prevent potential issues during and after the installation.
Step-by-step Upgrade Process
Is your Chromebook running out of space or in need of a speed boost? Upgrading the SSD (Solid-State Drive) in your Chromebook might be just the solution. Follow this comprehensive guide for a smooth and successful SSD upgrade, enhancing your Chromebook’s performance and storage capabilities.
Disassembling Your Chromebook Safely
Before you begin, ensure you have the necessary tools on hand—a small screwdriver set and, ideally, an anti-static wrist strap to prevent any electrical damage to your Chromebook internals. Power off your Chromebook, unplug all cables, and place it on a clean, flat surface. To safely open the case:
- Remove the screws from the back cover.
- Gently pry open the case starting from one corner and working your way around.
- Be mindful of any ribbon cables that connect the keyboard and trackpad to the motherboard to avoid accidental damage.
Removing The Existing Ssd And Preparing The New One
Upon accessing the internal components, locate the existing SSD. Look for a small, rectangular chip that’s attached to the motherboard with one or multiple screws. To remove it:
- Detach the screw(s) holding the SSD in place.
- Carefully lift the SSD at a slight angle and slide it out of the connector.
Now, prepare your new SSD by gently wiping its contacts with a static-free cloth to ensure a clean connection when installed.
Installing The New Ssd In The Chromebook
With the old SSD removed, it’s time to install the new one. Align the notches on the SSD with the corresponding ridges in the connector, then:
- Insert the SSD at the same slight angle.
- Press down softly until it lies flat against the motherboard.
- Secure it with the previously removed screw(s).
Reassembling The Chromebook After The Upgrade
To complete the upgrade, simply reverse the disassembly steps:
- Ensure all cables and components are connected and seated properly.
- Gently snap the back cover back into place.
- Replace and tighten the screws without over-torquing to avoid stripping the threads.
Once reassembled, power on your Chromebook. If the new SSD is not recognized immediately, you may need to reinstall the Chrome OS using a recovery drive.
Post-upgrade Setup
After carefully upgrading your Chromebook’s SSD, the next steps are crucial to getting your system back to its optimal state. The Post-Upgrade Setup involves installing Chrome OS onto your new drive, restoring your data and user settings, and evaluating the performance improvements. Let’s dive into each of these steps to ensure a smooth transition to your upgraded hardware.
Installing Chrome Os On The New Ssd
Once your new SSD is securely installed in your Chromebook, the first task is to install Chrome OS. Begin by creating a Chrome OS recovery image using another computer. For this, you will need a USB drive with sufficient space. Follow these steps:
- Download the Chromebook Recovery Utility from the Chrome Web Store.
- Insert your USB drive into the computer and run the Recovery Utility.
- Follow the on-screen instructions to create a recovery image tailored to your specific Chromebook model.
- After the recovery image is created, eject the USB drive.
- Insert the USB drive into your Chromebook and turn it on. The Chromebook should automatically boot from the USB drive and begin the Chrome OS installation process.
Note: Check the manufacturer’s website for specific instructions related to your Chromebook model.
Restoring Data And User Settings
With Chrome OS successfully installed, focus shifts to restoring personal data and user settings. If you’ve previously synced your Chromebook with your Google account, your settings, extensions, and apps will automatically be re-downloaded once you log in. However, local data on the old SSD won’t transfer automatically:
- Transfer any local files you backed up before the upgrade to your new SSD.
- Reconnect to your favorite networks and re-enter saved network passwords.
- Review Chrome OS settings to ensure everything is configured to your preferences.
Keep in mind that this process may take a while depending on your internet connection and the size of the data.
Evaluating The Upgrade: Performance And Storage Improvements
After the installation and restoration processes, it’s time to evaluate the performance and storage improvements of your Chromebook.
| Aspect | Before Upgrade | After Upgrade |
|---|---|---|
| Boot Time | Measure prior | Compare now |
| App Loading Speed | Track old speed | Assess current |
| Storage Capacity | Check earlier | Verify increase |
Run speed tests and compare the boot times. Notice the reduced loading time for applications and enjoy the expanded space to store files and download resources. The actual results will substantiate the worthiness of your SSD upgrade decision.
Troubleshooting And Maintenance
Once you’ve successfully upgraded your Chromebook’s SSD, the focus shifts to troubleshooting any issues that may crop up post-installation and maintaining your new SSD to ensure it operates at peak performance for as long as possible. Upgrading hardware can often be followed by the need for some fine-tuning, so understanding common issues and how to address them is essential. Equally crucial is maintaining your new investment so it continues to enhance your Chromebook’s functionality without hiccups.
Common Issues After A Ssd Upgrade And How To Solve Them
It’s not uncommon to face challenges after installing a new SSD in your Chromebook. Here are a few problems you might encounter and quick solutions:
- Unrecognized SSD: If your Chromebook doesn’t recognize the new SSD, try reseating the drive to ensure a proper connection.
- Slow Performance: Should your device lag post-upgrade, check for the latest firmware updates for your new SSD.
- Boot Failures: If the Chromebook fails to boot, it might be necessary to perform a powerwash or a full recovery.
- Data Migration Issues: Troubles with transferring data could mean you need to format the new SSD correctly or update your migration software.
Resolving these common post-upgrade problems often involves simple fixes like checking connections, updating software, or rebooting your system.
Maintaining Your New Ssd For Longevity And Performance
To keep your new SSD in top shape, regular maintenance is key:
- Regularly update your Chromebook’s operating system and firmware.
- Clean up unnecessary files and optimize storage with built-in Chrome OS tools.
- Be mindful of your Chromebook’s storage capacity—avoid filling the SSD to its limit.
- Consider using cloud storage for additional space and file backup.
Consistent upkeep helps prevent common SSD issues like slow performance and ensures your Chromebook runs efficiently.
When To Seek Professional Help: Tech Support For Your Chromebook
While many SSD issues can be managed at home, some scenarios may require an expert’s touch:
- Continuous Boot Failures: If your Chromebook still won’t boot after troubleshooting, you might need professional repair or replacement.
- Complex Firmware Issues: Sometimes, firmware problems are too intricate for a simple update and need a technician’s assistance.
- Physical Damage to SSD: If you suspect physical damage to the SSD, refrain from further attempts to fix it on your own to avoid worsening the situation.
If you’re regularly experiencing inexplicable slowdowns or other issues that can’t be resolved with basic troubleshooting, it’s a sign to seek professional support, whether from your Chromebook manufacturer or a certified technician.
Conclusion
Upgrading your Chromebook’s SSD doesn’t have to be daunting. With the right tools and a bit of patience, a performance boost is within reach. Remember, always back up important files before starting. Embrace this change, and enjoy a faster, more efficient Chromebook experience.
Ready, set, upgrade!

Harold Williams is a senior writer and technical editor at Drives Hero with 20+ years of experience in IT administration. He specializes in storage systems, SSD reviews, and performance testing, bringing real-world insight to every guide.