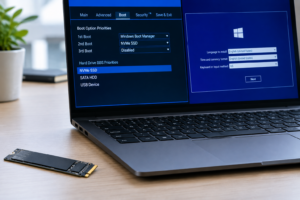
NVMe SSD Not Detected in USB Enclosure
You just dropped a fast NVMe drive into a USB enclosure expecting instant plug-and-play access, and instead you’re staring at nothing. No drive letter, no popup, maybe not even a sound when you plug it in. This is one of the most common frustrations with external NVMe setups, and the fix depends entirely on where in the chain the drive disappears.
Before you try anything else, figure out exactly where the drive shows up and where it doesn’t. Is it visible in BIOS but not Windows? Does Device Manager see it but File Explorer doesn’t? That single detail tells you whether you’re dealing with a hardware problem, a driver issue, or something as simple as a missing drive letter. This guide walks through each scenario so you’re not wasting time on fixes that don’t apply to your situation.
Step One: Identify Exactly Where the Drive Disappears
Check these locations in order and note where the drive stops appearing:
- BIOS/UEFI: Restart and enter your BIOS setup. Some enclosures show up here as a bootable USB device, others won’t unless you’re specifically looking for a boot option.
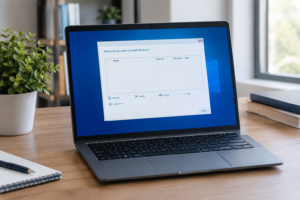
- Windows installer: If you’re trying to install Windows to the external NVMe drive, check the “Where do you want to install Windows” screen.
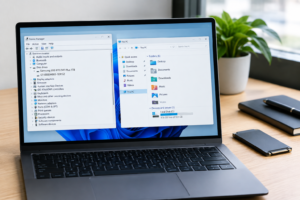
- Device Manager: Look under “Disk drives” and “Universal Serial Bus controllers.” A yellow warning icon or an “Unknown Device” entry means Windows sees hardware but can’t communicate with it properly.
- Disk Management: Press Windows key + X and select Disk Management. The drive might show up here as “Unallocated” or “Offline” even if it’s invisible in File Explorer.
- File Explorer: This is the last stop. A drive can be fully recognized by Windows and still not show here if it lacks a drive letter or a valid partition.
- Boot menu: If you’re trying to boot from the enclosure, check whether it appears as a boot option at all (usually accessed via F12, F11, or Esc during startup).
Once you know where the trail goes cold, skip ahead to the relevant section below. There’s no point reinstalling drivers if the problem is actually a bad cable.
Drive Is Missing From BIOS/UEFI Entirely
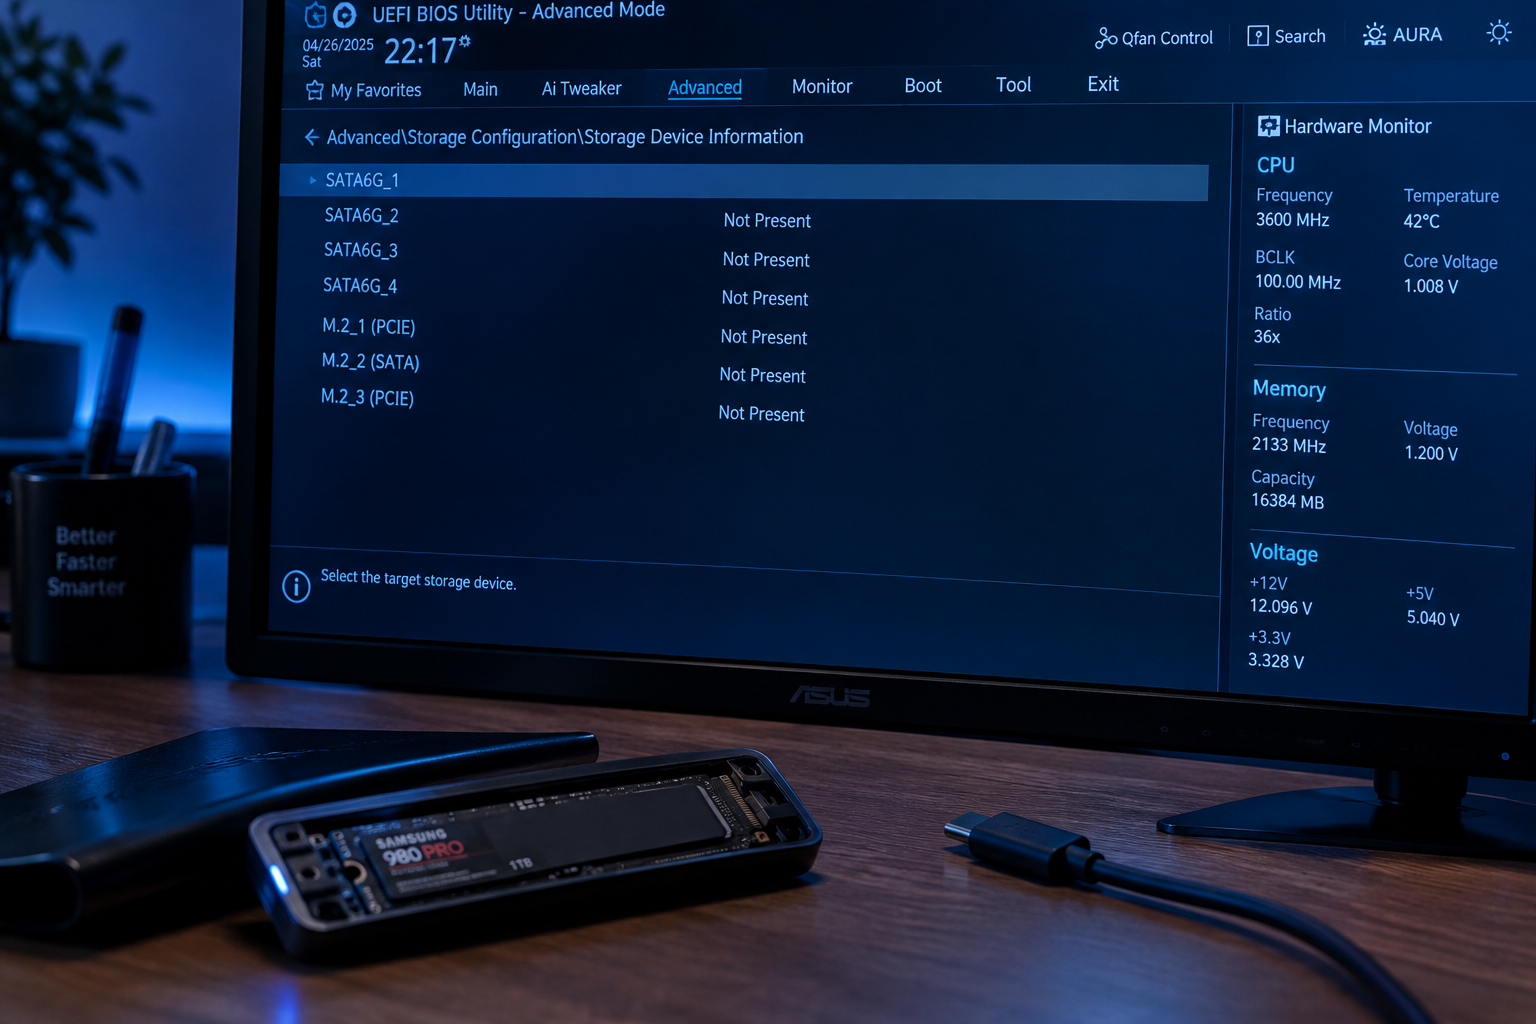
If the enclosure doesn’t show up in BIOS at all, you’re likely dealing with a hardware or power issue rather than a software one.
- Try a different USB port. USB-C ports wired for Thunderbolt sometimes behave differently than standard USB-C data ports. Also try a USB-A port with an adapter cable if your enclosure supports it.
- Test the cable separately. A lot of NVMe enclosures ship with cheap cables that fail under sustained power draw. Swap in a known-good USB-C cable rated for data, not just charging.
- Check enclosure compatibility with your drive. Not every enclosure supports every NVMe drive. Some only support 2280-size M.2 drives, others don’t support PCIe 4.0 controllers properly, and some are SATA M.2 only despite looking identical to NVMe enclosures. Double check your drive’s key type (M or B+M) matches the enclosure’s slot.
- Verify the drive is seated correctly. Open the enclosure and reseat the NVMe stick. It should click firmly into the connector with no visible gap.
- Test the enclosure with a different drive, or test your NVMe drive in a different enclosure if you have access to one. This isolates whether the enclosure or the drive is at fault.
If you’re shopping for a replacement enclosure, look for one with a good controller chip like ASMedia or Realtek’s newer models, since budget enclosures with unbranded controllers are the most common cause of detection failures. Browse current NVMe USB enclosures on Amazon and check reviews specifically for compatibility complaints before buying.
ORICO NVMe USB Enclosure
Reliable controller chipset and broad NVMe compatibility, a safe pick if your current enclosure won’t detect your drive.
If you’re building an external setup from scratch, it also helps to understand what you’re actually gaining from NVMe speeds over USB. Our breakdown of whether NVMe is really faster than SATA SSDs explains why the interface bottleneck matters just as much as the drive itself.
Visible in BIOS or Device Manager, But Not in Windows Installer
This is a classic Windows installation problem, especially on newer Intel systems with RAID enabled by default.
- Check RAID/AHCI/VMD mode in BIOS. If your motherboard has Intel Rapid Storage Technology (RST) or VMD enabled, the Windows installer often can’t see NVMe drives without loading a specific driver during setup. Switching the storage controller mode to AHCI (if supported) can resolve this instantly.
- Load VMD/RST drivers manually. If you need VMD mode enabled (common with RAID configurations), download the Intel VMD driver onto a separate USB stick and load it during the “Where do you want to install Windows” screen using the “Load driver” button.
- Confirm you’re not trying to install Windows to a USB-connected drive at all. Microsoft blocks Windows installation to drives it detects as removable USB media in many cases, even NVMe drives in enclosures. This is a Windows Setup restriction, not a hardware fault.
Visible in Device Manager, But Missing From Disk Management or File Explorer
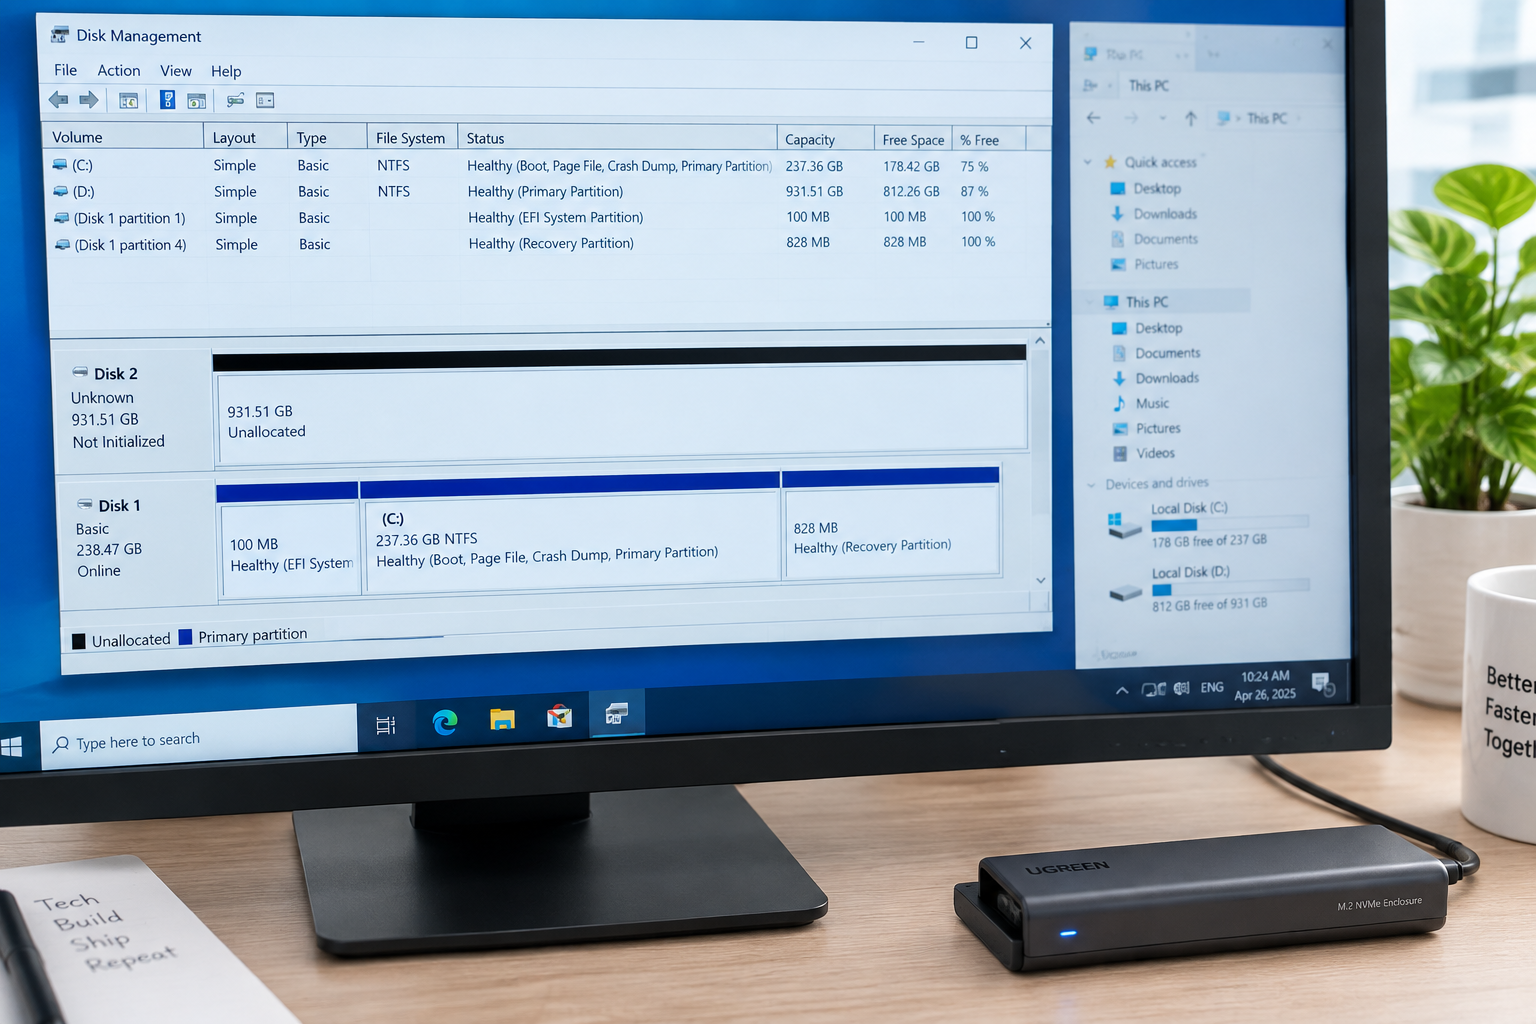
If Windows acknowledges the hardware exists but won’t let you access it, the fix usually lives in Disk Management.
Drive Shows as “Not Initialized”
A brand new NVMe drive, or one previously used in a different system, may need to be initialized before Windows can use it. Right-click the disk in Disk Management and choose “Initialize Disk.” Pick GPT for modern systems unless you specifically need MBR for legacy compatibility.
Initializing a disk is not usually destructive on a truly blank drive, but if the drive previously had data on it, double check you’re not about to wipe something you need. If you’re unsure, clone or back up the data first before proceeding.
Drive Has No Drive Letter Assigned
Sometimes a drive is fully partitioned and healthy but just doesn’t have a letter assigned, so it never appears in File Explorer. Right-click the volume in Disk Management and choose “Change Drive Letter and Paths,” then assign one manually.
Drive Shows as Unallocated Space
If the entire disk shows as one block of “Unallocated” space, it needs a new partition and file system before Windows will recognize it as usable storage. Right-click the unallocated space and choose “New Simple Volume,” then format it as NTFS or exFAT depending on your use case.
Warning: Creating a new volume, formatting, or running a clean command through diskpart will erase any existing data on the drive. If this enclosure previously held files you care about, stop here and try data recovery software first, or consult a data recovery service before touching partitioning tools.
If you’re weighing whether to repartition an old internal drive to reuse in an enclosure like this, our guide on the benefits of upgrading HDD to SSD covers some of the planning considerations worth thinking through first.
Drive Appears Intermittently or Disconnects Randomly
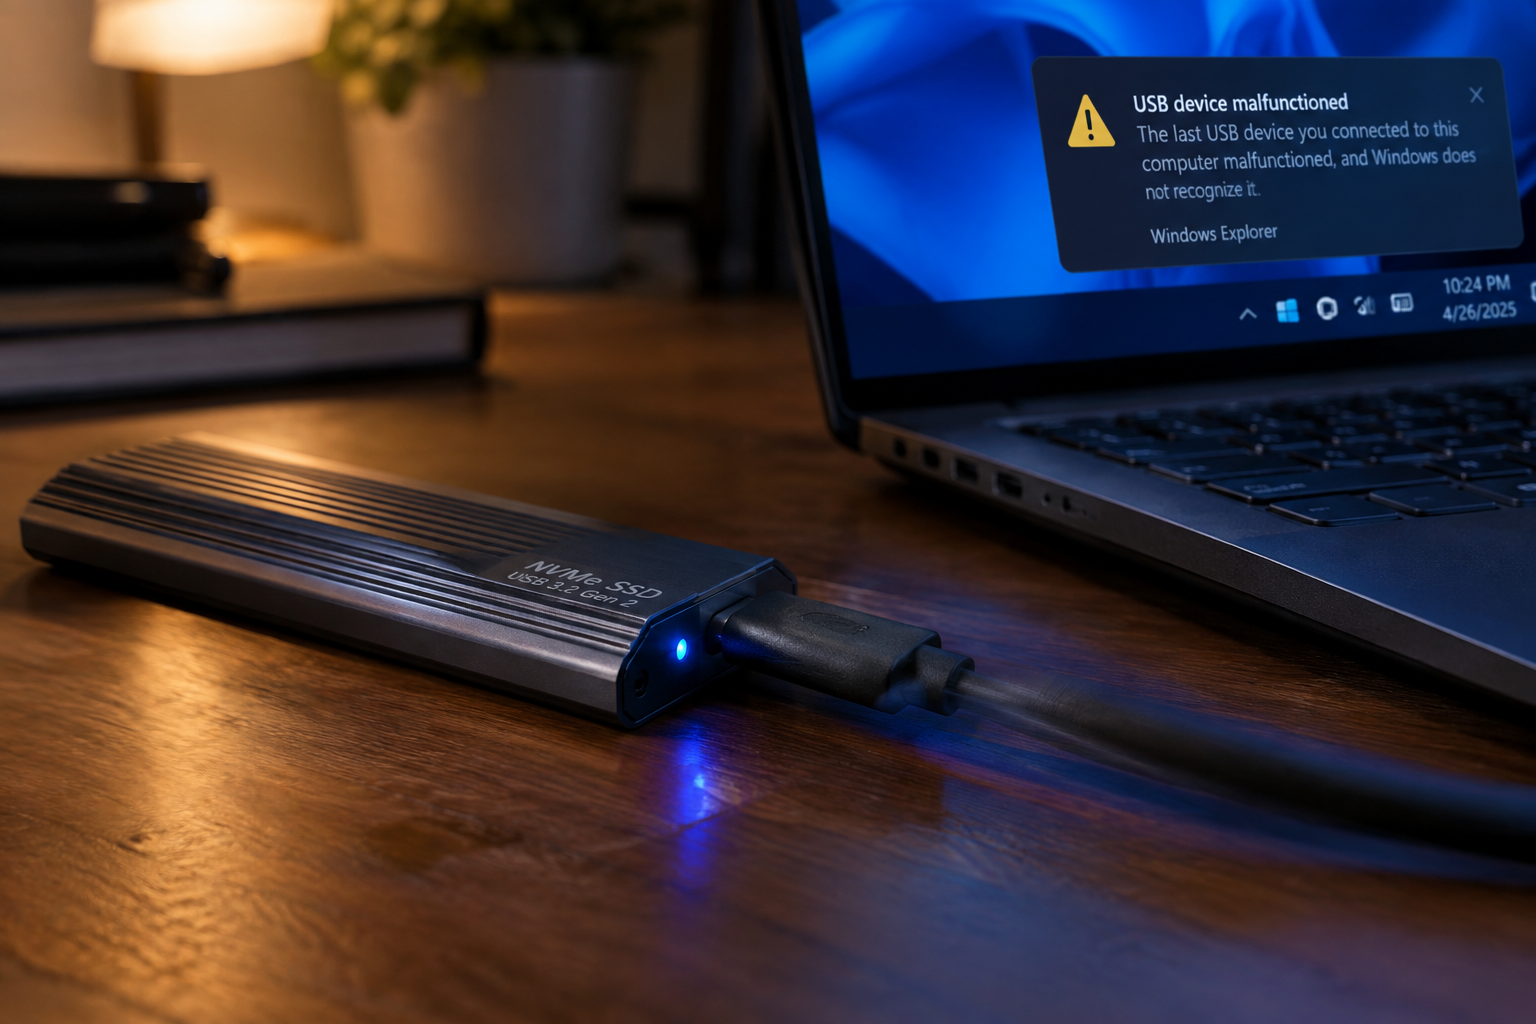
If the NVMe drive shows up, works for a while, then drops off or disappears under load, this is almost always a power or bandwidth issue rather than a software fault.
- Avoid USB hubs. Plug the enclosure directly into a port on your motherboard or laptop. Hubs, especially unpowered ones, often can’t supply enough current for NVMe drives under sustained read/write loads.
- Check for port sharing on laptops. Some laptops share bandwidth between USB-C ports and other components like Thunderbolt docks or eGPUs. Try a different port entirely.
- Watch for thermal throttling disconnects. Cheap enclosures without any heat dissipation can overheat NVMe drives to the point they drop off the bus entirely, especially with PCIe 4.0 drives pushed hard.
Sabrent NVMe USB Enclosure
Better thermal design than most budget options, which helps prevent random disconnects during sustained transfers.
If you’re using this enclosure for gaming or heavy transfer work, it’s worth reading about how much speed you’re actually losing through USB compared to an internal slot in our SATA vs NVMe SSD gaming comparison.
Drive Doesn’t Appear as a Boot Option
If you’re trying to boot an operating system from the external NVMe enclosure and it’s not showing up in the boot menu, check these settings:
- Secure Boot and Legacy/UEFI mode. Some systems only boot external USB drives in Legacy mode, others need UEFI. Try toggling this setting in BIOS.
- Confirm the drive actually has a valid boot record. If Windows was cloned onto the drive rather than freshly installed, the boot partition may not have transferred correctly.
- Not every enclosure supports booting at all. Some USB-to-NVMe bridge chips simply don’t support being treated as a boot device, regardless of BIOS settings. Check your enclosure’s specs or manufacturer documentation for boot support before assuming it’s a settings problem.
Frequently Asked Questions
Why does my NVMe SSD work fine internally but not in a USB enclosure?
This almost always points to the enclosure itself, either an incompatible controller chip, insufficient power delivery, or a bridge chip that doesn’t fully support your drive’s PCIe generation. Test the same drive in a different enclosure if possible to confirm the enclosure is the problem before returning or replacing the drive.
Can I use an NVMe enclosure to boot Windows on another computer?
Yes, but it depends on both the enclosure’s boot support and the target system’s BIOS settings. Not all enclosures are designed for booting, and performance over USB will be noticeably slower than a native NVMe slot even when it works.
Is it safe to initialize or format a drive I bought used or inherited?
Only after you’ve confirmed there’s no data on it you need. If it’s a used drive with unknown contents, run data recovery software first or have the data professionally checked before formatting, since initializing and partitioning will make prior data much harder to recover.
This article contains affiliate links. We may earn a small commission at no extra cost to you.

James Kennedy is a writer and product researcher at Drives Hero with a background in IT administration and consulting. He has hands-on experience with storage, networking, and system performance, and regularly improves and optimizes his home networking setup.