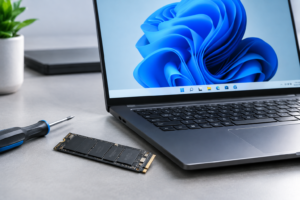
How to Initialize a New SSD in Windows 11
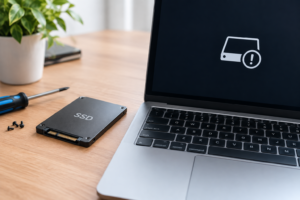
Plugging in a new SSD and having Windows 11 completely ignore it is one of the most common upgrade headaches out there. Your drive shows up in Device Manager, it might even spin up in your BIOS, but File Explorer acts like it doesn’t exist. That’s because a brand new SSD needs to be initialized before Windows can format it and assign it a drive letter. It’s a quick process, but there are a few steps where you can accidentally wipe the wrong drive if you’re not paying attention.
This guide walks you through initializing a new SSD in Windows 11 using Disk Management, covers the difference between MBR and GPT, and explains when data gets erased versus preserved. If you’d rather watch the process in action before jumping in, check out this walkthrough:
Before You Start: What Initializing Actually Does
Initializing a disk writes a partition table to it, either MBR (Master Boot Record) or GPT (GUID Partition Table). This is different from formatting. A brand new, unused SSD has no partition table at all, which is why it doesn’t show up as a usable drive even though Windows can technically detect the hardware.
If you’re initializing a truly new SSD (one you just pulled out of the box), there’s no data to lose because there’s nothing on it yet. The warnings in this article really matter when you’re reusing a drive that previously had data on it, or when you’ve got multiple drives connected and could accidentally select the wrong one in Disk Management.
Always double check the disk number, size, and label in Disk Management before you click anything that says “Initialize” or “Delete Volume.” A 2TB drive and a 500GB drive look identical in a menu if you’re not paying attention.
GPT vs MBR: Which Should You Pick
For any modern Windows 11 PC, choose GPT. GPT supports drives larger than 2TB, allows more than four partitions, and is required if you want the drive to work as a UEFI boot drive. MBR is legacy and really only makes sense if you’re using an ancient BIOS-only system or need compatibility with very old hardware.
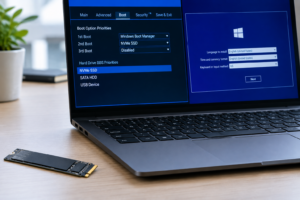
One important caveat: if you’re initializing the SSD as a secondary data drive alongside an existing boot drive, GPT vs MBR compatibility with your motherboard doesn’t matter much since it’s not the boot device. But if this new SSD will eventually hold your Windows installation, it needs to be GPT, and your system needs to be running in UEFI mode (not Legacy BIOS) for Windows 11 to boot from it at all. Windows 11 actually requires UEFI with Secure Boot for a fresh install, so check your BIOS settings if you’re building a new boot drive.
Step-by-Step: Initializing a New SSD in Disk Management
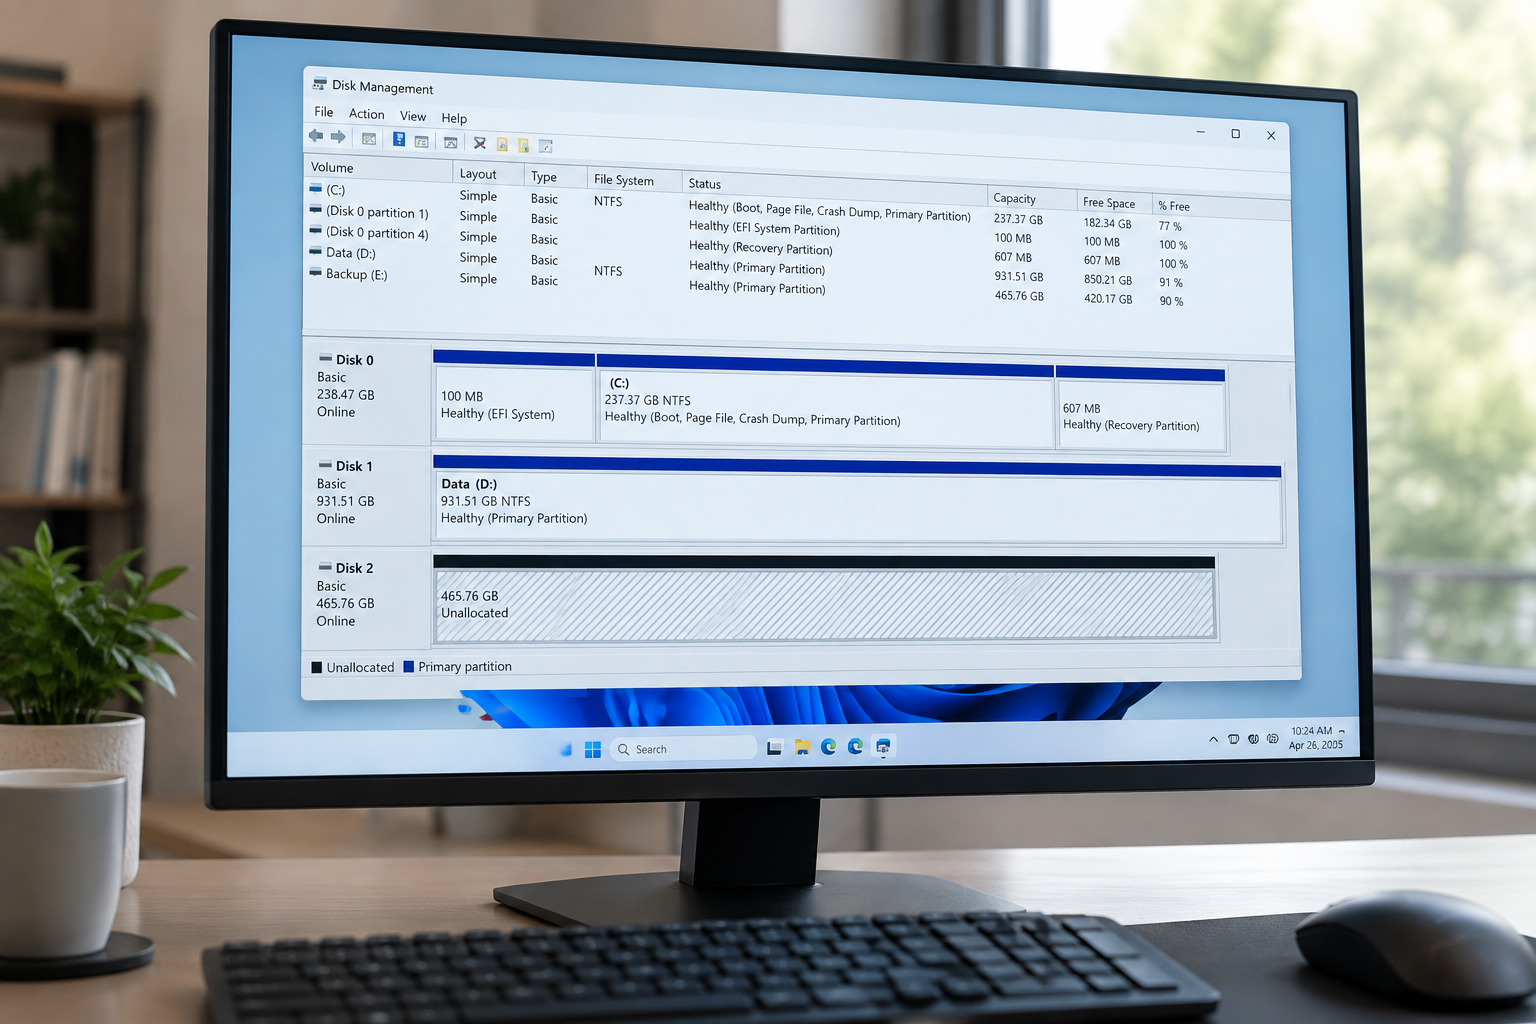
- Right-click the Start button and select Disk Management (or search “Create and format hard disk partitions” in the Start menu).
- If the SSD is truly new, Windows will pop up an “Initialize Disk” window automatically. Select GPT (recommended for modern systems) and click OK.
- If that window doesn’t appear, look for a disk listed as “Not Initialized” with a black bar labeled “Unallocated.” Right-click the disk name (on the left side, where it says “Disk 1” or similar, not the graph itself) and choose Initialize Disk.
- Once initialized, right-click the unallocated space and select New Simple Volume.
- Follow the wizard: assign a drive letter, choose NTFS as the file system (exFAT if you need cross-platform compatibility), and leave the allocation unit size at default unless you have a specific reason to change it.
- Click Finish. The drive will now appear in File Explorer, ready to use.
This whole process takes maybe two or three minutes. No data is erased during initialization on a new drive because there was never any data to begin with.
Using a New SSD as Your Boot Drive Instead
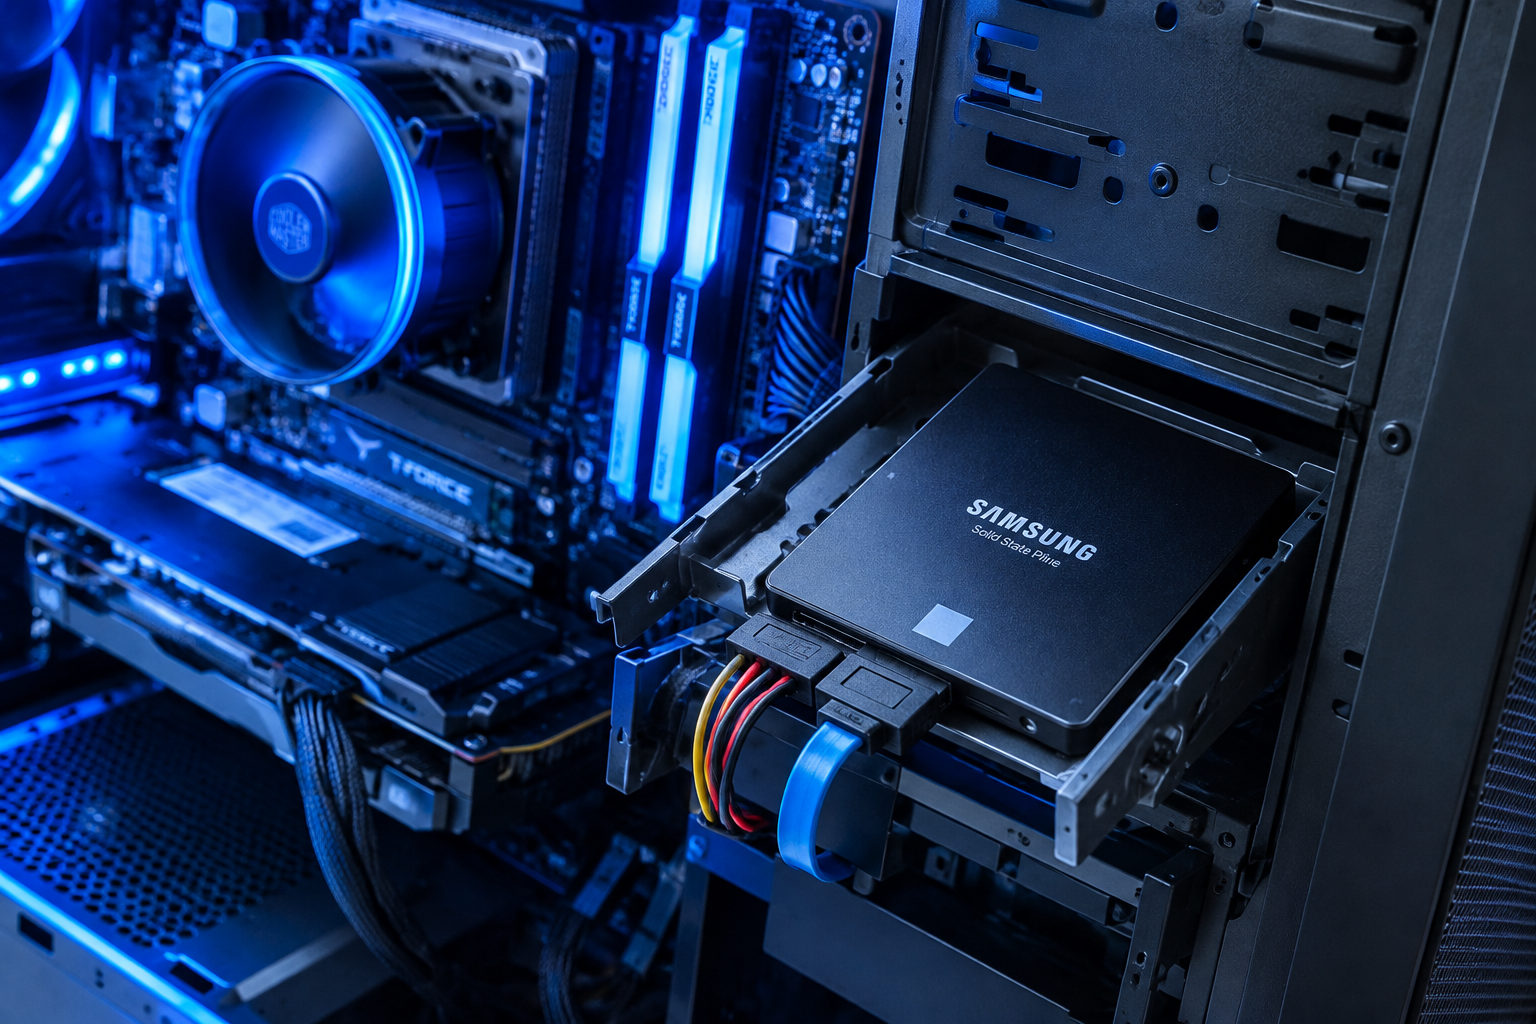
If your goal is to replace your current boot drive with the new SSD rather than just adding storage, initializing it in Disk Management isn’t the right approach. You’d instead do a fresh Windows 11 install directly onto the new drive, or clone your existing system drive over to it.
For a clean install, boot from a Windows 11 installation USB, and when you reach the partition screen, select the new SSD and let the installer create the necessary partitions automatically, including the EFI system partition and recovery partition. This is the simplest path and guarantees a properly configured GPT boot drive.
If you’d rather keep your current setup, apps, and files exactly as they are, cloning is the better option. We cover this in more detail in our guide on how to upgrade an SSD without reinstalling Windows, and if you’re just trying to move to more storage without starting from scratch, our post on how to upgrade to a larger SSD walks through the capacity planning side of things.
Cloning Considerations You Can’t Skip
Before cloning your old drive to the new SSD, confirm the destination drive has enough capacity to hold everything on the source, including free space for the clone software to work with. Cloning software generally won’t let you clone a 500GB drive that’s 80% full onto a 256GB SSD, so check your used space first.
Also verify whether your current drive uses BitLocker or Windows device encryption. Cloning an encrypted drive can sometimes cause boot issues on the new SSD if the TPM binding doesn’t carry over cleanly, so it’s often safer to suspend BitLocker before cloning and re-enable it afterward.
Pay attention to the EFI system partition during cloning too. Good cloning software (like Macrium Reflect or the tool bundled with your SSD manufacturer’s utility) copies this automatically, but if you use basic disk imaging tools, you might end up with a drive that has your files but won’t actually boot because the EFI partition wasn’t recreated correctly.
Once the clone finishes, boot from the new SSD and actually use it for a day or two, checking that your files, programs, and settings are all intact, before you wipe or repurpose the old drive. This verification step feels like an extra hassle, but it’s the only way to be sure you have a working backup if something goes wrong.
Connecting the New SSD for Initialization
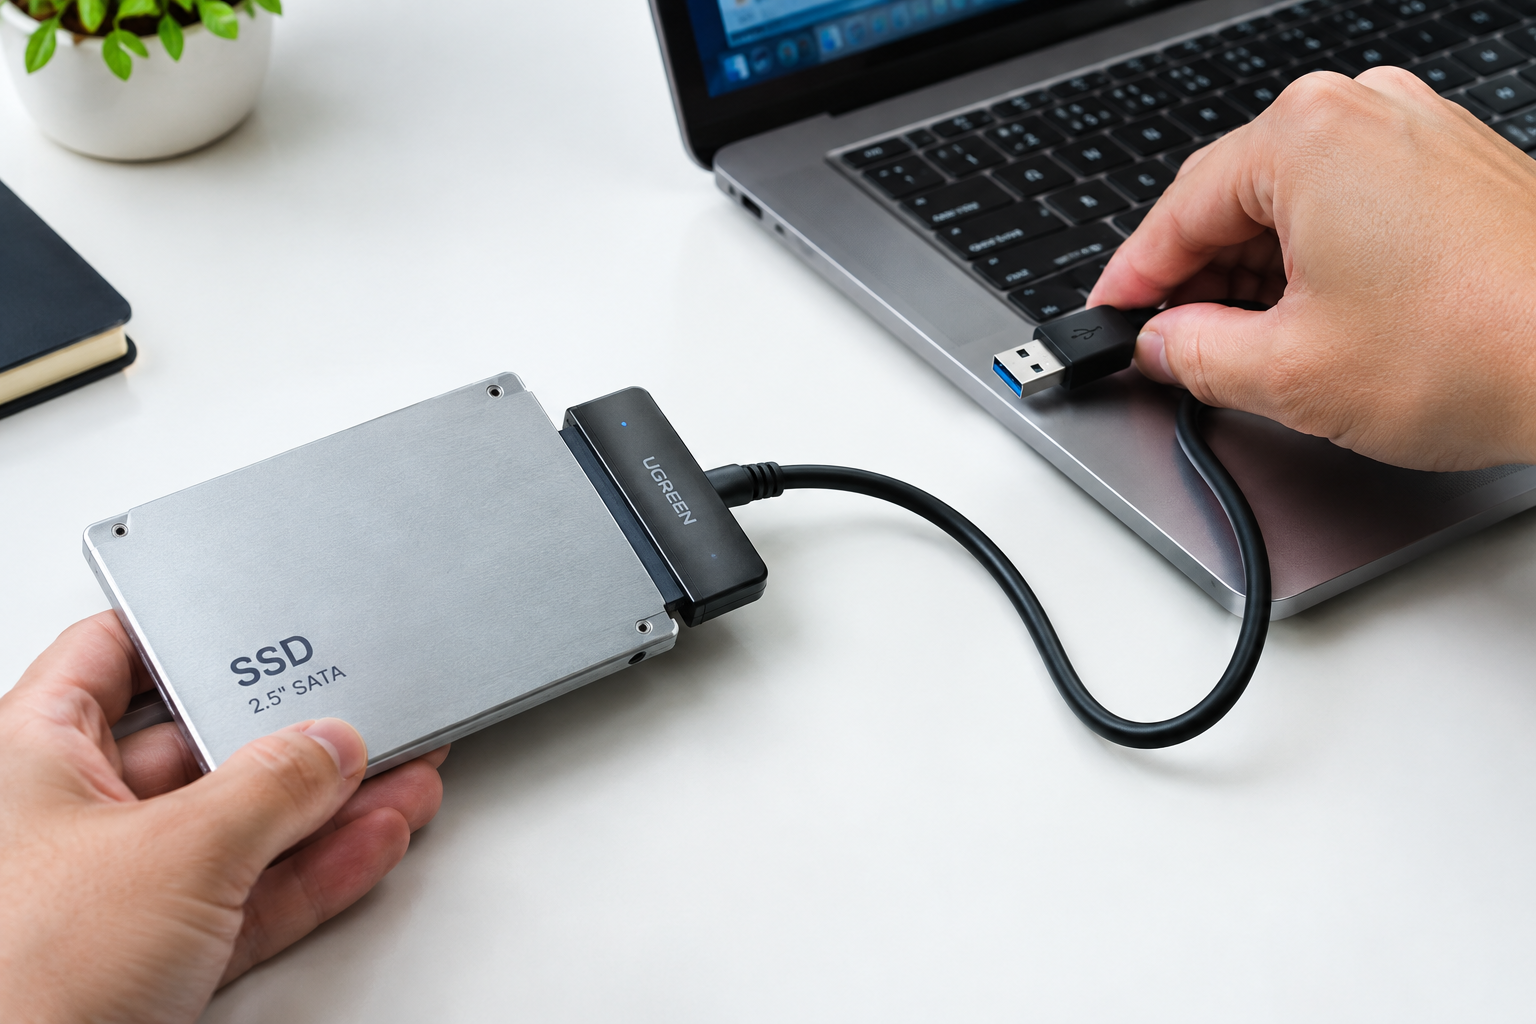
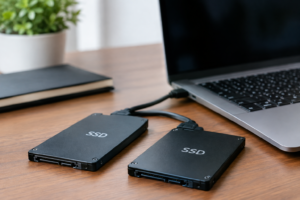
If you’re initializing an SSD before installing it internally, or you want to clone to it while it’s still external, you’ll need a way to connect it to your PC via USB. This is especially common with NVMe M.2 drives, which need an enclosure since they don’t have a SATA or USB interface built in.
Sabrent USB 3.2 NVMe Enclosure
A reliable, well-reviewed NVMe enclosure that makes external initialization and cloning easy before installing the drive internally.
For SATA SSDs, a simple SATA to USB adapter does the job just fine and is one of the cheapest tools you can own if you regularly work with drives. If you’re not sure whether your new drive is SATA or NVMe, our explainer on the difference between NVMe and SATA SSDs breaks down the physical and performance differences.
Once the drive is connected externally, Windows Disk Management treats it the same way it treats an internal drive, so all the initialization steps above still apply.
Frequently Asked Questions
Will initializing my SSD delete existing data?
Only if the drive already has a partition table and data on it. On a genuinely new, unused SSD, there’s nothing to lose. If you’re reinitializing a used drive, everything on it will be gone, so back up anything important first.
Do I need to change anything in BIOS to use a new SSD?
For a secondary data drive, usually not, Windows will detect it automatically once initialized. If you’re making it your boot drive, make sure your BIOS is set to UEFI mode rather than Legacy/CSM, since GPT boot drives require UEFI to work with Windows 11.
Why doesn’t my new SSD show up in Disk Management at all?
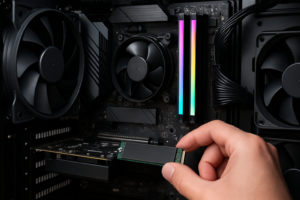
Check your physical connections first, a loose SATA or power cable is the most common cause. For NVMe drives, confirm the M.2 slot you used supports NVMe and not just SATA M.2 (some laptop and motherboard slots are picky about this). If the drive shows up in BIOS but not Windows, it likely still needs initializing, so revisit Disk Management and look for “Not Initialized” or “Unallocated” labels.
This article contains affiliate links. We may earn a small commission at no extra cost to you.

James Kennedy is a writer and product researcher at Drives Hero with a background in IT administration and consulting. He has hands-on experience with storage, networking, and system performance, and regularly improves and optimizes his home networking setup.