How to Clone Pcie NVME SSD? 7 Easy Steps!
Upgrading to a faster PCIe NVMe solid-state drive can greatly improve your computer’s performance. However, reinstalling the operating system and programs on a new blank drive can be tedious.
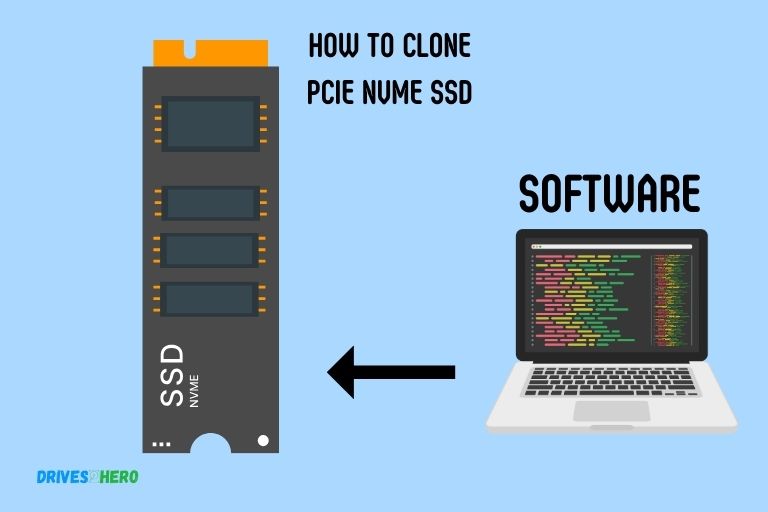
Cloning your existing drive allows you to easily migrate your system over to the new NVMe SSD without reinstallation.
Step-by-Step PCIe NVMe SSD Cloning Guide
Prerequisites
- Source PCIe NVMe SSD that you want to clone
- Destination PCIe NVMe SSD that is equal or larger capacity than source
- PCIe NVMe SSD cloning software or disk cloning software that supports NVMe drives
- Computer with a spare PCIe M.2 slot and M.2 NVMe support
- Phillips screwdriver
Step 1. Install the Source NVMe SSD
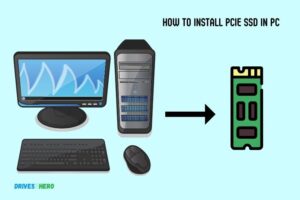
First, install the source PCIe NVMe SSD into the spare M.2 slot on your computer. Be sure to secure it in place with the small screw.
Step 2. Install Cloning Software
Install and open the PCIe NVMe SSD cloning software on your computer. Some options include Macrium Reflect, Clonezilla, and AOMEI Backupper.
Step 3. Install Destination NVMe SSD
Power down your computer and install the destination PCIe NVMe SSD using the same M.2 slot. Secure it in place with the screw.
Step 4. Boot into Cloning Software
Boot your computer into the cloning software. For bootable software like Clonezilla, you’ll need to select the cloning software USB drive in the boot menu.
Step 5. Select Source and Destination Drive
In the cloning software, select the source PCIe NVMe SSD as the source drive and the destination PCIe NVMe SSD as the target drive.
Step 6. Clone the PCIe NVMe SSD
Follow the on-screen instructions to clone the source NVMe SSD over to the destination drive. This process can take 10-30 minutes usually.
Step 7. Shutdown and Replace SSDs
After cloning is complete, shut down your computer. Uninstall the source PCIe NVMe SSD and boot up with only the destination drive installed.
The destination PCIe NVMe SSD is now a cloned copy of the original source SSD. You can reuse the old SSD for storage or other purposes.
Understanding Pcie Nvme Ssd Cloning
Discover the ins and outs of PCIe NVMe SSD cloning, and learn the step-by-step process of how to clone your own PCIe NVMe SSD. Effortlessly transfer all your data to a new drive without any hassle.
PCIe NVMe SSD cloning is a process of duplicating or replicating data from one NVMe SSD (Non-Volatile Memory Express Solid State Drive) to another. This method is commonly used when upgrading to a new NVMe SSD or in situations where data backup and migration are required.
Benefits Of Pcie Nvme Ssd Cloning:
Cloning a PCIe NVMe SSD offers several advantages, making it an attractive option for users looking to transfer their data seamlessly.
Here are some key benefits:
- Time-saving: Cloning eliminates the need to manually reinstall the operating system, applications, and settings, resulting in significant time savings.
- Data Preservation: Cloning allows for the preservation of all existing files, data, and configurations, reducing the risk of data loss or corruption.
- Easier Upgrade: Upgrading to a new PCIe NVMe SSD becomes more convenient as cloning simplifies the process by transferring all existing data and settings effortlessly.
- Seamless Migration: When migrating to a new computer or device, cloning ensures a smooth transition by transferring all data without the need for manual copy and setup.
Can I Clone a 1TB PCIe NVMe M.2 SSD Using the 7 Easy Steps mentioned?
Cloning a 1TB PCIe NVMe M.2 SSD is possible by following the 7 easy steps mentioned. The pcie nvme m.2 ssd features allow for fast data transfer speeds and efficient storage capabilities. With cloning, you can easily duplicate the contents of your original drive onto the new one, ensuring a seamless transition without the need for manual file transfers.
Best Practices And Tips For Successful Cloning
Discover the best practices and tips for successfully cloning PCIe NVMe SSDs. Learn how to clone these high-performance storage devices with ease and efficiency, ensuring smooth and efficient data migration. Master the process and enhance your cloning skills today.
To ensure a smooth and successful cloning process, consider the following tips and best practices:
Tips For A Smooth Cloning Process:
- Make sure to have a compatible cloning software installed on your system.
- Back up all your important data before starting the cloning process.
- Verify that your target PCIe NVMe SSD has enough storage space to accommodate the cloned data.
- Before initiating the cloning, disconnect any other storage devices to avoid mistakenly overwriting the wrong drive.
- Ensure that both the source and target drives are properly connected to your computer.
- Disable any anti-virus software temporarily to prevent any interference during the cloning process.
- Optimize the source drive by cleaning up unnecessary files and defragmenting it before cloning.
- Double-check the cloning software settings to make sure you’ve selected the correct source and target drives.
- Let the cloning process complete uninterrupted without shutting down your computer or disconnecting any drives.
- After the cloning process is finished, verify that the cloned drive is functioning properly by restarting your computer and checking for any errors.
By following these best practices and tips, you can ensure a smooth and successful cloning process for your PCIe NVMe SSD. Remember to always double-check your choices, back up your data, and use compatible cloning software.
Conclusion
To clone a PCIe NVMe SSD, follow the simple steps outlined in this guide. Remember to back up your data before proceeding with any cloning process. Start by obtaining a cloning software that supports PCIe NVMe SSDs and connecting the new drive to your computer.
Run the cloning software and select the source and target drives. Choose the desired cloning options, such as sector-by-sector or intelligent cloning.
Start the cloning process and wait for it to complete. Once done, disconnect the original drive and connect the cloned drive. Verify that the cloned drive is functioning properly by booting your computer from it.

