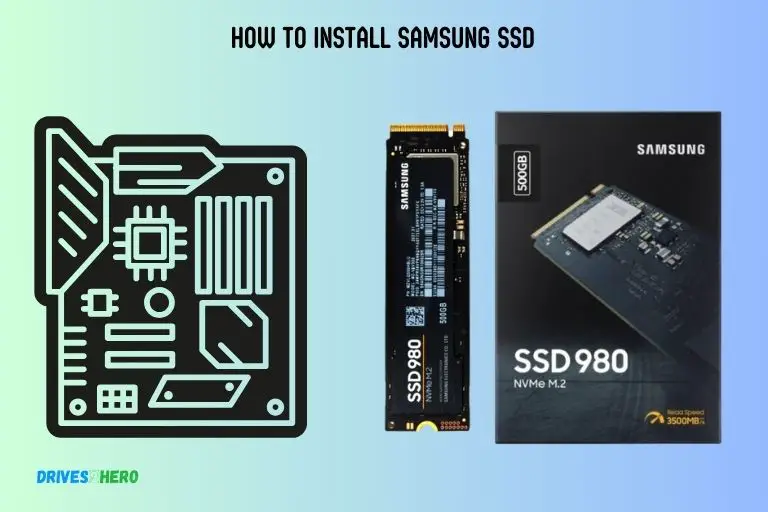
How to Install Samsung SSD? 9 Easy Steps!
Embarking on the journey of upgrading your computer’s storage with a Samsung SSD is a step towards enhanced performance and faster data access.
Whether you’re a seasoned tech enthusiast or a novice user, the installation process for a Samsung SSD is designed to be straightforward. We will guide you through the steps on how to install a Samsung SSD, ensuring a seamless integration into your system.
From hardware connections to software configurations, let’s explore the key elements of the installation process, empowering you to unlock the full potential of your Samsung SSD and elevate your computing experience.

Key Takeaway
Installing Samsung SSD: A Step-by-Step Guide
Installing a Samsung SSD (Solid State Drive) in your computer can significantly improve its performance and speed.
Here are the general steps to install a Samsung SSD:
Step 1: Gather Your Tools
Before you begin, make sure you have the following tools and items ready:
Tools and Materials:
- Samsung SSD
- Screwdriver (usually Phillips-head)
- SATA cable (if not included with your SSD)
- SATA power cable (if not included with your SSD)
- Mounting bracket (if your case requires it)
Step 2: Preparing Your System
Ensure your computer is powered off and unplugged from the electrical outlet. Open your computer case by removing the side panel.
Step 3: Locate an Empty Drive Bay
Identify an available drive bay where you can install your Samsung SSD. Most cases have dedicated slots for SSDs, but if not, you may need a mounting bracket to secure it in a 3.5-inch bay.
Step 4: Mount the SSD
If necessary, attach your SSD to the mounting bracket. Then, align the screw holes on the bracket (or SSD) with the holes in the drive bay. Use the screws to secure the SSD in place.
Step 5: Connect Data and Power Cables
Connect one end of the SATA cable to the SSD and the other end to an available SATA port on your motherboard. Next, connect the SATA power cable from your power supply to the SSD.
Step 6: Close Your Computer Case
Carefully put the side panel back on your computer case and secure it with the screws you removed earlier.
Step 7: Power On Your Computer
Plug in your computer and power it on. Your Samsung SSD should now be recognized by your system.
Step 8: Initialize and Format the SSD
You may need to initialize and format the SSD if it’s not automatically recognized. To do this, go to your computer’s Disk Management utility (on Windows) or Disk Utility (on macOS), find the new SSD, and follow the on-screen prompts to initialize and format it.
Step 9: Install the Operating System or Migrate the Data
Now that your Samsung SSD is installed and ready, you can either install your operating system on it or migrate data from your old drive if you’re upgrading.
You’ve successfully installed your Samsung SSD on your computer. Enjoy the improved performance and storage capacity.
Configuring The Samsung SSD
Easily configure your Samsung SSD by following our step-by-step guide on installing the Samsung SSD. Get seamless performance and enhance your storage capacity with a few simple steps.
To ensure optimal performance, it’s essential to configure the SSD correctly. We will guide you through the necessary steps to configure your Samsung SSD effectively.
Accessing The Bios Setup:
Accessing the BIOS setup is crucial to configure the Samsung SSD correctly.
Here’s how you can do it:
- Restart your computer and press the designated key (usually F2, F10, or Del) repeatedly to enter the BIOS setup.
- Navigate to the “Boot” or “Advanced” tab using the arrow keys.
- Look for the “Drive Configuration” or “SATA Configuration” option.
Configuring The Sata Mode:
Configuring the SATA mode ensures your Samsung SSD functions optimally.
Follow these steps:
- Select the SATA Mode option in the BIOS setup.
- Identify the available options (IDE, AHCI, or RAID).
- Choose “AHCI” mode for the best performance and compatibility with your Samsung SSD.
Verifying The Ssd Recognition:
Before proceeding further, it’s important to verify if your system recognizes the Samsung SSD.
Here’s what you need to do:
- Navigate to the “Main” or “System Information” tab in the BIOS setup.
- Locate the SSD-related information, such as name or capacity.
- Ensure that the Samsung SSD is properly detected by the system.
Setting The Ssd As The Boot Drive:
To take full advantage of the speed and performance of your Samsung SSD, make sure it is set as the boot drive.
Follow these steps:
- Go to the “Boot” or “Boot Options” tab in the BIOS setup.
- Look for the “Boot Order” or “Boot Priority” option.
- Move the Samsung SSD to the top of the list ensuring it is the first to boot.
- Save the changes and exit the BIOS setup.
Conclusion
Installing a Samsung SSD can greatly improve your computer’s speed and performance.
By following the provided installation guide or online tutorials, you can easily upgrade your computer’s storage.
Just remember to exercise caution, follow safety guidelines, and ensure compatibility with your hardware before starting the process. Installing a Samsung SSD is a cost-effective way to enhance your computing experience.


