M.2 Slot Not Detecting NVMe SSD
You just installed a brand new NVMe SSD, closed up the case, hit the power button, and nothing. No drive letter, no BIOS entry, no sign that your new drive exists at all. Before you assume the drive is dead or the slot is broken, it helps to know that M.2 detection issues are almost always caused by a handful of predictable problems, and most of them take five minutes to fix once you know where to look.
The key to solving this fast is figuring out exactly where the drive disappears. A drive that’s invisible in BIOS has a completely different problem than one that shows up in Disk Management but not in File Explorer. This guide walks through each failure point so you can skip straight to the fix that actually applies to you.
Step 1: Find Out Exactly Where the Drive Goes Missing
Don’t jump into fixes yet. Check these four spots in order and note where the drive stops appearing:
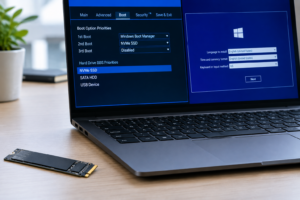
- BIOS/UEFI: Reboot and enter your BIOS setup (usually Del, F2, or F10 at startup). Look under Storage, NVMe Configuration, or M.2 Configuration for your drive’s model name.
- Windows installer: If you’re doing a fresh install and the drive isn’t listed as a target, note that too.
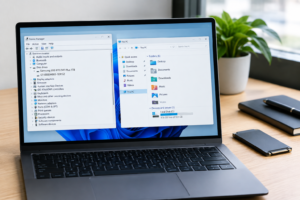
- Disk Management: Press Windows key + R, type diskmgmt.msc, and hit Enter. Look for the drive even if it has no letter or partition.
- File Explorer: Check if the drive has a letter but isn’t showing files, or isn’t visible at all.
If the drive is missing from BIOS, the problem is physical or firmware related. If BIOS sees it but Windows doesn’t, you’re dealing with a driver, mode, or initialization issue. That distinction changes everything about how you troubleshoot from here.
Problem: Not Detected in BIOS/UEFI at All
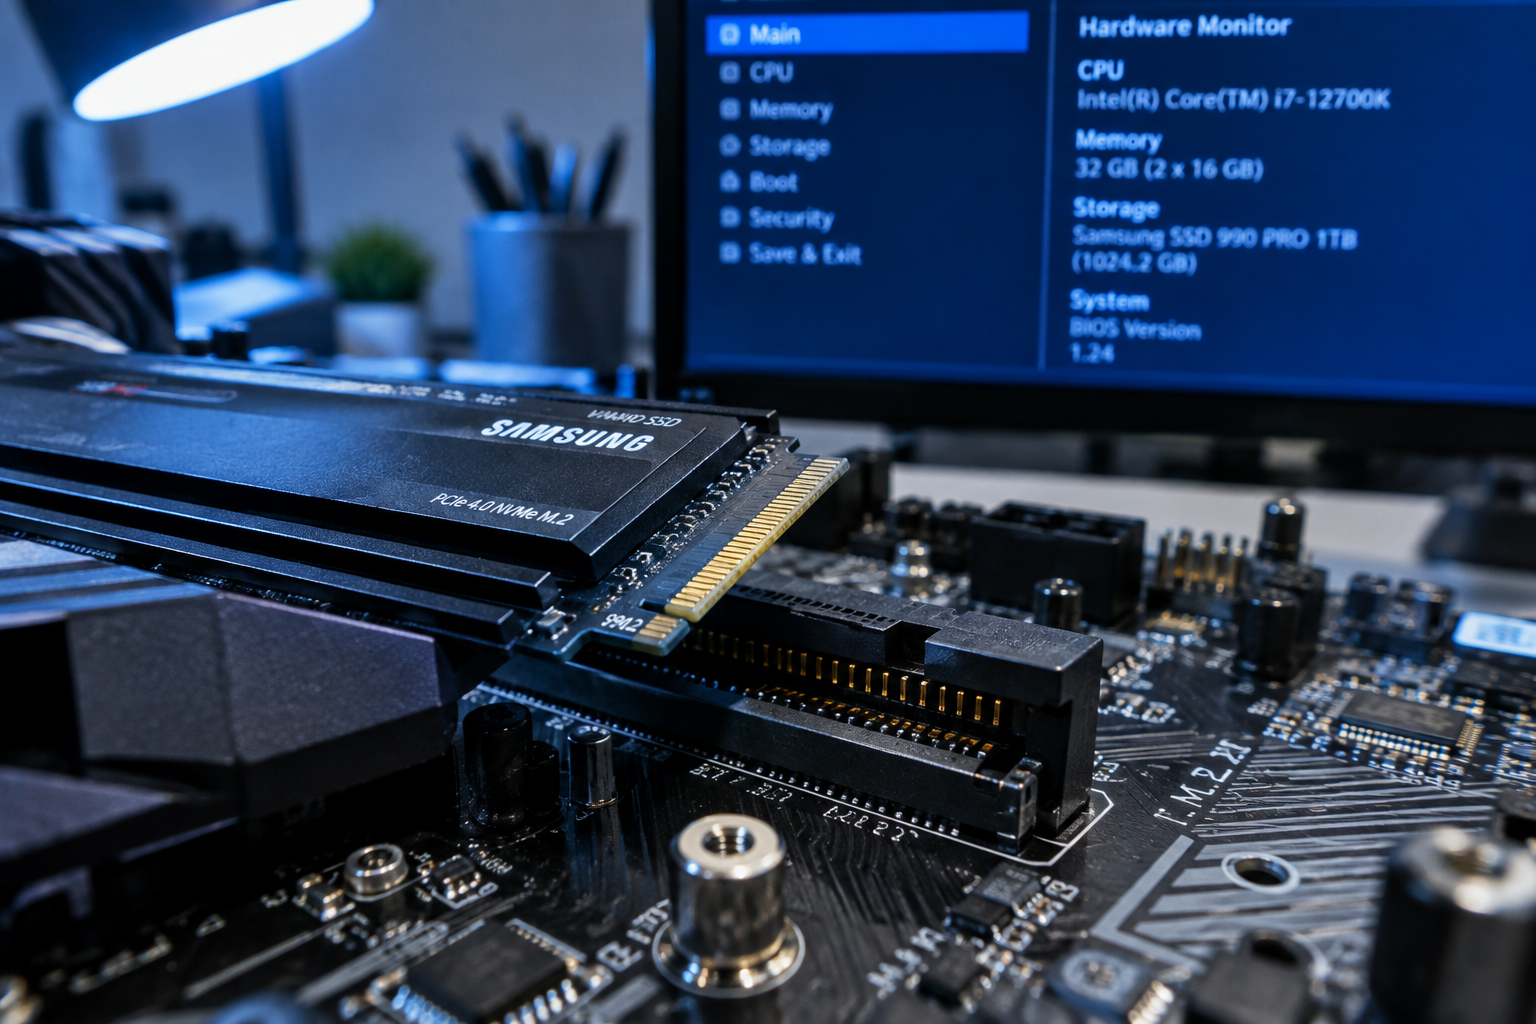
This is the most serious tier of the problem, but it’s rarely the drive itself. Work through these in order.
Reseat the Drive
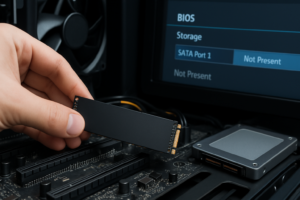
Power down completely, unplug the machine, and remove the M.2 SSD. Check the gold contacts for dust or debris, then reinsert it at the correct angle before screwing it back down. A drive that isn’t seated flush in the slot will never register, even if it looks connected.
Check for M.2 Slot Sharing
Many motherboards disable a SATA port or a second M.2 slot when you populate another one. Check your motherboard manual for a slot-sharing diagram. This is extremely common on budget and mid-range boards and it’s the single most overlooked cause of a “dead” M.2 slot.
Confirm the Slot Supports NVMe
Some M.2 slots are SATA-only or support both, but not every combination works with every drive. If your motherboard is older, the slot might physically fit an NVMe drive but not actually communicate with it over PCIe. Check the spec sheet for your exact board model.
Update the Motherboard BIOS
Older BIOS versions sometimes lack NVMe boot support entirely, especially on boards from before 2016. Check your manufacturer’s website for a newer BIOS version and update following their instructions exactly, since a failed BIOS flash can brick a board.
Test in Another System or Enclosure
If you have access to another PC or an NVMe enclosure, test the drive there. This tells you immediately whether the problem is the drive or the slot. If the drive shows up fine elsewhere, the issue is isolated to your motherboard’s slot, firmware, or cabling.
Problem: Visible in BIOS but Missing in Windows
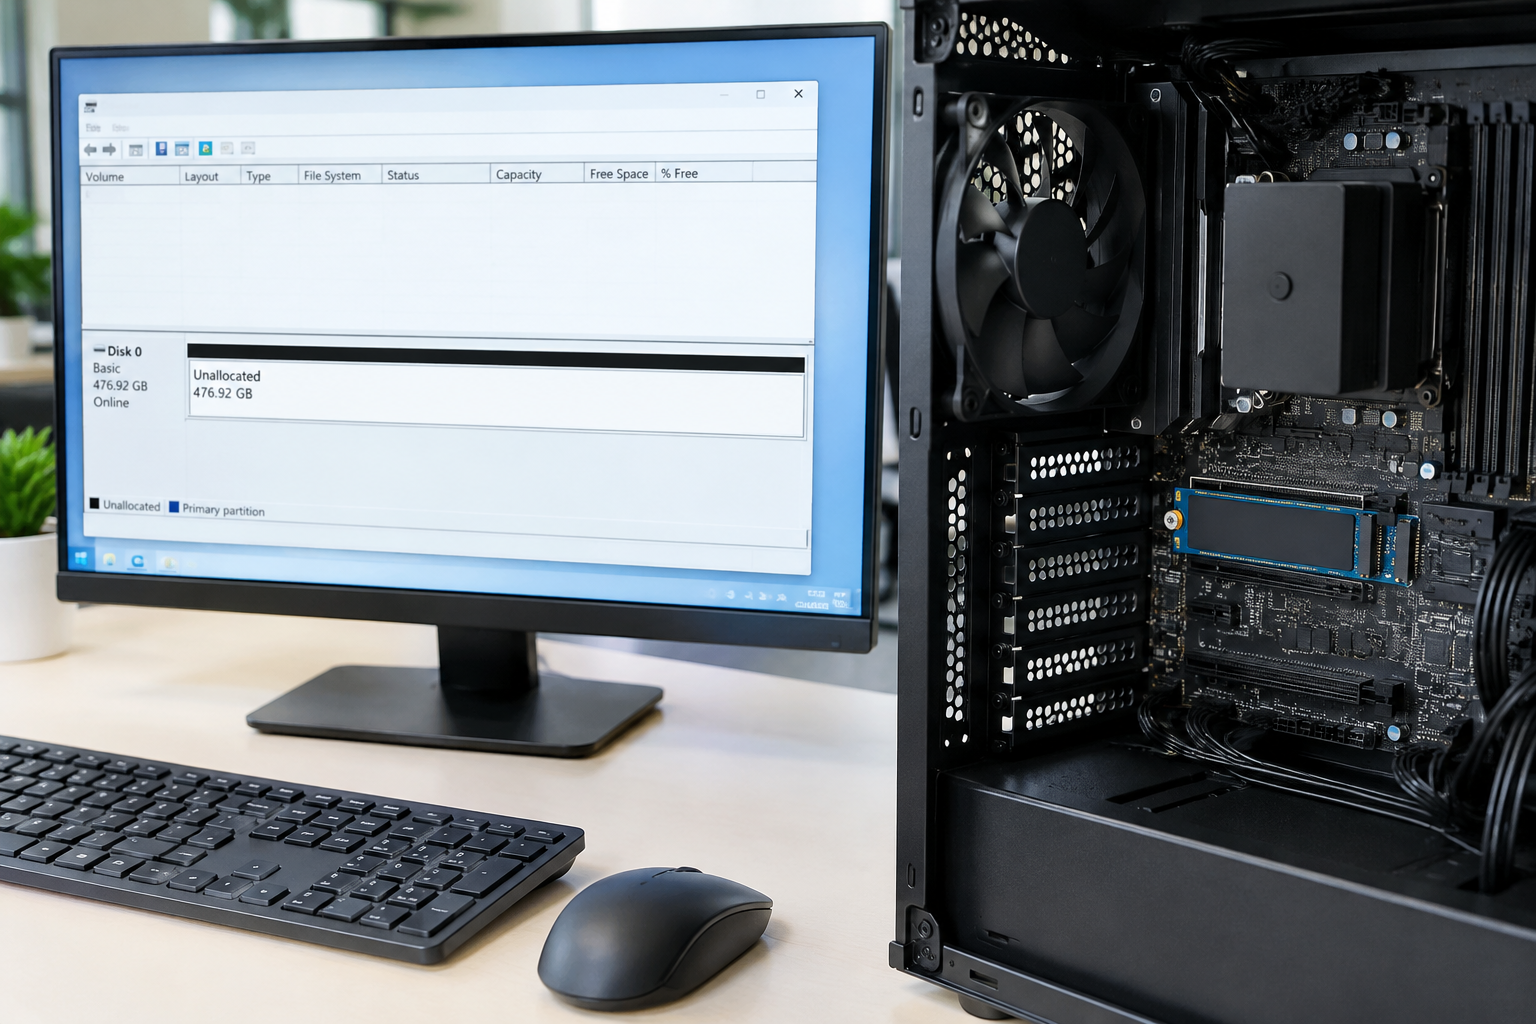
This is actually good news. If BIOS sees the drive, the hardware connection works. The rest is a software or configuration fix.
Check Your SATA/RAID Mode
If your motherboard is set to RAID mode in BIOS instead of AHCI, Windows may not load the right driver to see the NVMe drive during boot or installation. If you’re doing a fresh Windows install, you’ll need to load the Intel RST or VMD driver from a USB drive during setup, or switch the controller mode in BIOS if you’re not relying on a RAID array.
Update or Install VMD/RST Drivers
Some newer Intel platforms use Volume Management Device (VMD) mode by default, which hides NVMe drives from Windows unless the correct driver is installed. Download the latest Intel RST driver package from your motherboard manufacturer’s support page and install it, or load it manually during Windows setup using the “Load Driver” option.
Initialize the Drive
A brand new drive with no existing partitions won’t show up in File Explorer because it hasn’t been initialized yet. Open Disk Management, right-click the drive, and select Initialize Disk. Choose GPT for modern systems (required for drives over 2TB and for UEFI boot).
Initializing a disk is safe on a genuinely new drive, but if you’re seeing this prompt on a drive that used to have data, stop. Initializing will wipe the partition table. Don’t proceed until you’ve confirmed there’s nothing on it you need.
Problem: Visible in Disk Management but Not in File Explorer
If Disk Management shows the drive with a partition already on it, but File Explorer won’t display it, you’re usually dealing with a missing drive letter or a file system Windows can’t read natively.
Assign a Drive Letter
Right-click the partition in Disk Management and choose “Change Drive Letter and Paths.” If there’s no letter assigned, add one. This alone fixes a surprising number of “missing drive” reports.
Check the Partition Style and File System
If the drive was previously used in a Mac, Linux system, or NAS, it might be formatted as APFS, ext4, or another file system Windows doesn’t read directly. You’ll need third-party software to read it, or you’ll need to reformat it, which erases everything on the drive.
Do not format the drive if there’s any chance it holds data you need. If you’re just repurposing a used drive and don’t care about existing data, right-click the unallocated space, choose “New Simple Volume,” and follow the format wizard.
Problem: Drive Shows Up But Won’t Boot
If you cloned an existing OS onto the new NVMe drive and it shows up fine in Windows but never appears as a boot option, the boot files or partition style are the likely culprits.
- Confirm the drive is set to GPT if your system boots in UEFI mode. A MBR partition won’t boot on a UEFI-only system.
- Check that UEFI boot is enabled in BIOS and Legacy/CSM mode is disabled, or vice versa, matching how the drive was cloned or installed.
- Rebuild the boot record using Windows Recovery Environment if the drive has a valid Windows installation but won’t boot.
If you’re setting up a new drive rather than troubleshooting a failed clone, our guide on upgrading an SSD without losing data walks through the cloning process in a way that avoids most of these boot issues from the start.
When It’s Actually an Enclosure or Cable Issue
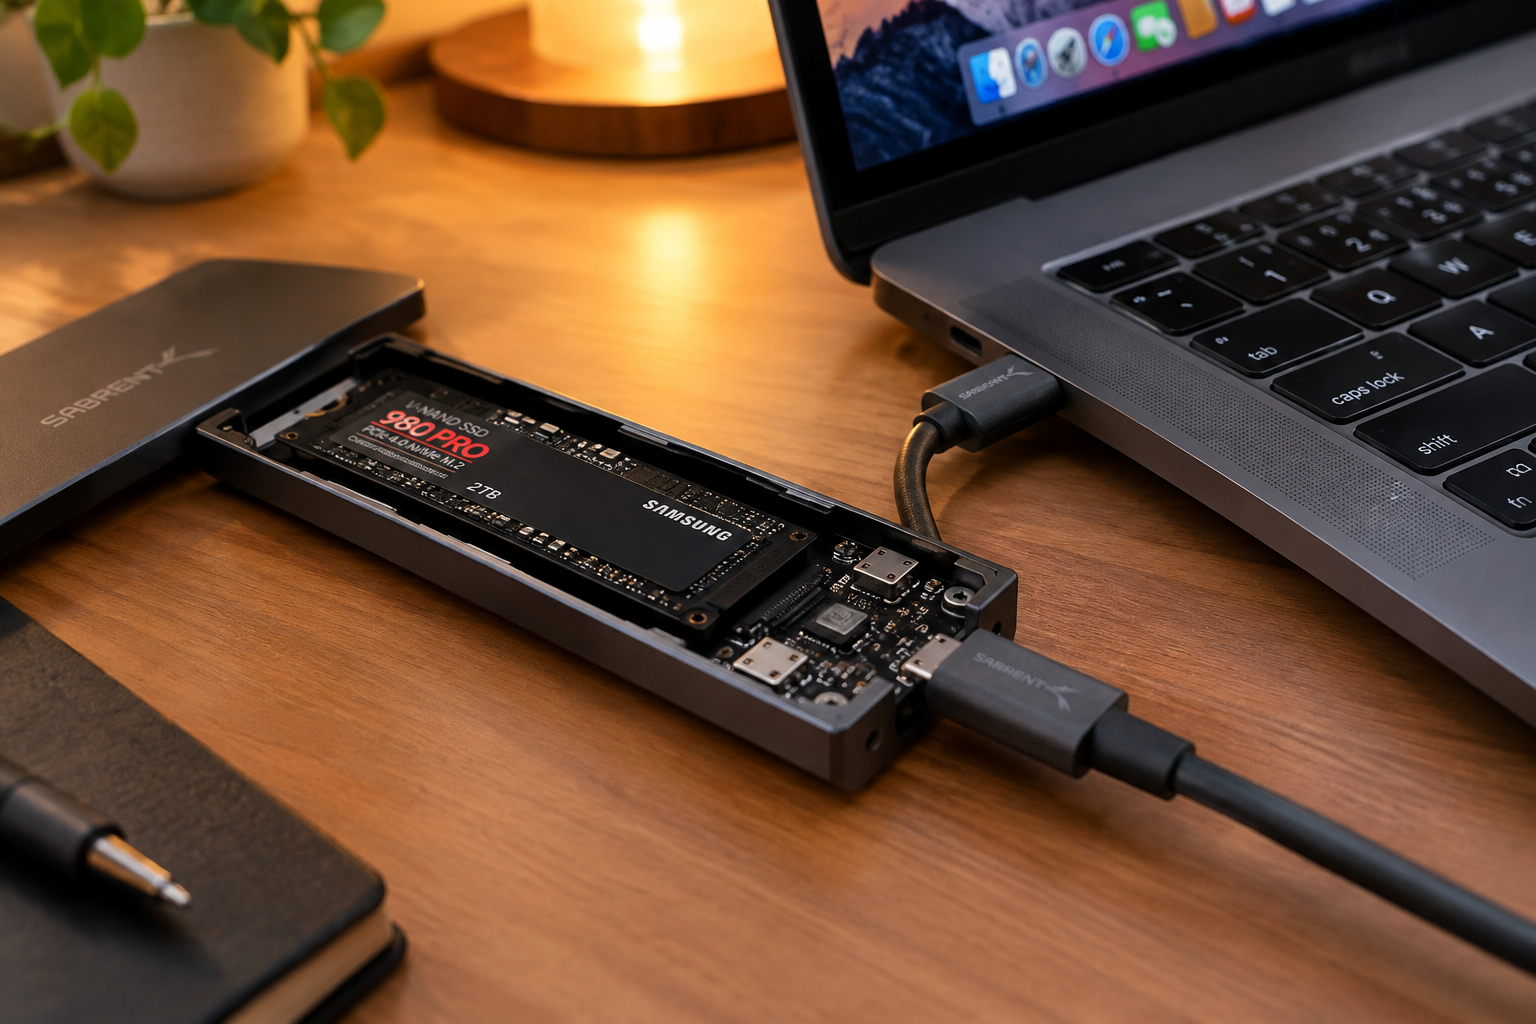
If you’re troubleshooting an NVMe drive in an external enclosure rather than an internal M.2 slot, the failure points are different. Cheap enclosures sometimes use USB-to-NVMe bridge chips that don’t support certain drive controllers correctly. Try a different USB cable, a different USB port (preferably USB-C directly on the motherboard, not a front-panel header), and if possible, test the enclosure with a different drive to isolate the fault.
If you’re deciding between keeping a drive internal or moving to an external setup, it’s worth reading whether an external SSD actually improves performance before you invest in a new enclosure.
Frequently Asked Questions
Why does my NVMe SSD show up in BIOS but not during Windows installation?
This almost always means Windows setup doesn’t have the right storage driver loaded, usually because your board is in RAID or VMD mode. Switch to AHCI in BIOS if you’re not using RAID, or load the Intel RST/VMD driver from a USB stick during the installation screen using the “Load Driver” button.
Can a faulty M.2 slot damage my SSD?
It’s uncommon, but a slot with a physical short or bent pin can potentially damage a drive over time. If you suspect this, test the drive in another system or enclosure before reinserting it into the questionable slot again.
Do I need to update drivers every time I install a new NVMe drive?
Not usually. Windows 10 and 11 include generic NVMe drivers that work fine for most consumer SSDs. You only need manufacturer-specific drivers (like Samsung NVMe driver or Intel RST) if the manufacturer specifically recommends it for performance or if your board uses VMD mode, which requires special drivers to see the drive at all.
Most M.2 detection problems come down to one of five things: a loose connection, a slot-sharing conflict, the wrong SATA/RAID mode, a missing drive letter, or an uninitialized disk. Work through the checks in order based on where the drive actually disappears, and resist the urge to reformat or reinitialize anything until you’re certain there’s no data at risk. Once you’ve got the drive properly recognized, it’s also worth reading up on what NVMe SSDs are best used for so you’re getting the most out of the upgrade.

James Kennedy is a writer and product researcher at Drives Hero with a background in IT administration and consulting. He has hands-on experience with storage, networking, and system performance, and regularly improves and optimizes his home networking setup.