Can You Upgrade Mac Mini Ssd? Yes!
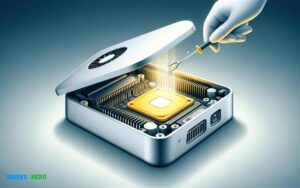
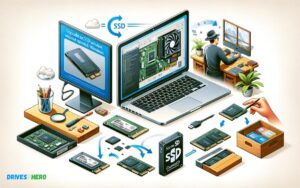
Yes, you can upgrade the SSD in a Mac Mini. While the process may vary slightly depending on the model of your Mac Mini, it generally involves opening the case, removing the old SSD, and replacing it with a new one.
However, it’s essential to ensure compatibility with your Mac Mini model and to use compatible SSDs to avoid any issues. Some newer Mac Mini models may have the SSD soldered onto the logic board, making them non-upgradable.
Before attempting an upgrade, it’s advisable to check Apple’s official documentation or consult with a certified technician to ensure a smooth and successful upgrade process.
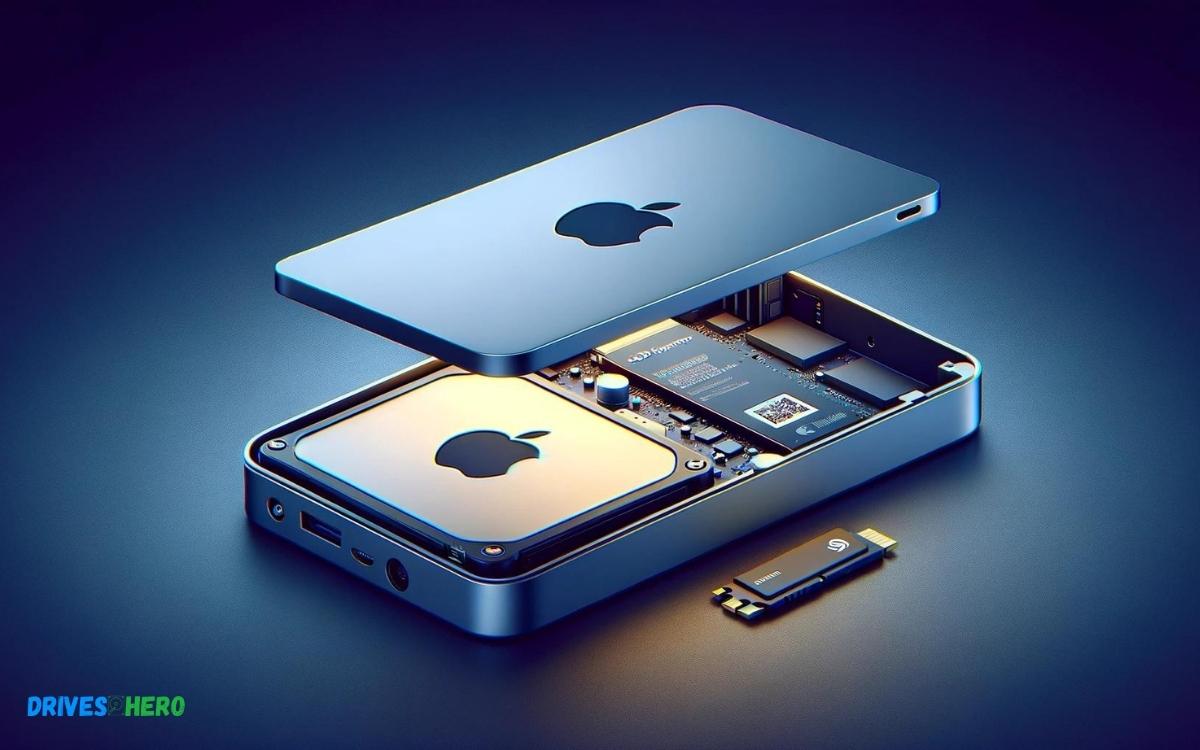
Key Takeaway
Introduction To Mac Mini And SSD Upgrades
Introduction to Mac Mini and SSD Upgrades: The Mac Mini, known for its compact form factor and high functionality, has been a popular choice for users looking for a macOS experience without the high price tag of other Apple computers.
While the Mac Mini delivers powerful performance, users often explore options to boost its speed and efficiency. A common upgrade is replacing the existing hard drive with a solid-state drive (SSD).
SSDs offer a significant performance increase, contributing to faster boot times, quicker file transfers, and an overall snappier system.
Understanding The Mac Mini
The Mac Mini is Apple’s smallest desktop computer, boasting impressive specs in a minimal footprint. Despite its modest size, it offers remarkable versatility and can handle tasks ranging from content creation to coding.
It’s the go-to choice for users who need a desktop experience with minimal spatial impact. Known for its ease of use with the macOS platform, it continues to intrigue users who prioritize space-saving design without compromising on performance.
The Role Of Ssd In Modern Computing
SSDs have become a game-changer in the landscape of computing, heralding a new era where speed and reliability are paramount.
Unlike traditional hard drives that use spinning disks to read and write data, SSDs use flash memory, eliminating moving parts and offering enhanced durability.
They make systems quieter, more energy-efficient, and far faster, transforming the user experience dramatically. An SSD is a crucial component for anyone aiming to keep their system running at peak efficiency.
General Overview Of Ssd Upgrade Possibilities
Upgrading the storage in a Mac Mini to an SSD is a decision many users contemplate. Apple’s design choices in different models influence the upgrade path.
Earlier versions of the Mac Mini allow user-friendly access to swap out the hard drive, whereas newer models may be more restrictive, requiring professional assistance due to proprietary components and a lack of user-serviceable parts.
- Basics: Identify your Mac Mini model to determine the upgrade feasibility.
- Tools and Parts: Prepare the necessary tools and components, including the SSD and any required adaptors or kits.
- Backup: Always start with a comprehensive backup of your existing data.
- Installation: The process can range from simple to complex, ensuring you either have the technical skill or seek a technician.
- Software: Post-installation involves setting up macOS, either from scratch or restoring from a backup.
| Mac Mini Model | Upgrade Difficulty | User Upgradable |
|---|---|---|
| Mac Mini (2012 and earlier) | Easy | Yes |
| Mac Mini (2014) | Moderate | Limited |
| Mac Mini (2018 and later) | Complex | No (recommend professional service) |
An SSD upgrade can breathe new life into your Mac Mini, offering a tangible boost in performance that can extend the usable life of your machine by several years.
While not all models provide an easy upgrade path, the potential benefits make the effort worthwhile. Careful research and preparation are crucial to ensuring success.
Examining Mac Mini Models And Upgrade Potential
Welcome to an up-close exploration of the Mac Mini’s evolution and its implications for upgrades. Both legacy and recent Mac Mini models have distinct characteristics that influence their potential for memory and storage enhancements.
Understanding these differences is vital for anyone aiming to maximize their Mac Mini’s performance.
Legacy Mac Mini Models: Upgrade Options
Older Mac Mini versions, particularly those released before 2014, offer more flexibility for upgrades. Users often find they can enhance their system’s performance by increasing the onboard storage.
Here are some insights:
- 2012 Mac Mini: Renowned for its upgrade-friendly design. Users can replace the existing HDD or add an SSD for improved speed and reliability.
- Pre-2012 Models: These also support user-initiated upgrades, but may pose more challenges due to their older architecture.
When it comes to upgrading these models, enthusiasts enjoy a DIY-friendly environment that can lead to a significant performance boost.
Recent Mac Mini Models And Upgrade Constraints
Comparatively, Mac Mini models from 2014 onwards show a trend toward soldered components, thus narrowing down the upgrade possibilities.
- 2014 and 2018 Models: Memory is soldered to the motherboard, negating any possibility of user upgrades. SSD upgrades may still be possible depending on the model.
- 2020 M1 Mac Mini: Both the SSD and memory are integrated into the M1 chip, making any form of upgrade impossible after purchase.
Storage capacity planning becomes essential before buying these newer models due to the inherent upgrade limitations.
Tool Requirements And Precautions For Upgrading
Deciding to upgrade your Mac Mini’s SSD requires consideration of the necessary tools and safety precautions:
| Tool | Usage |
|---|---|
| Pentalobe Screwdriver | For removing the bottom cover. |
| Torx Screwdrivers | Various sizes to disassemble internal components. |
| Spudger/Plastic Pry Tool | For detaching connectors without damaging the board. |
| Antistatic Wrist Strap | To prevent static electricity from damaging sensitive parts. |
Always ensure your workspace is clean, well-lit, and free of static hazards. Take the time to understand the internal layout of your Mac Mini model as each variant has a unique architecture.
Proceed with caution and consider professional help if unsure of the upgrade process.
Step-by-step Guide To Upgrading Mac Mini Ssd
Welcome to our comprehensive Step-by-step Guide to Upgrading Mac Mini SSD. Boosting your Mac Mini’s performance might seem daunting, but upgrading the SSD can yield significant improvements in speed and storage capacity.
Preparing For The Upgrade: Backup And Tools
Before diving into the upgrade, ensuring the safety of your data is paramount.
Here’s how you can prepare:
- Create a Time Machine backup or clone your current drive to safeguard your data.
- Gather the necessary tools: P5 Pentalobe, T5 Torx, and T10 Torx screwdrivers, along with a spudger or plastic opening tool.
- Acquire the correct SSD – compatibility depends on your Mac Mini’s model.
- Ground yourself to prevent static discharge from damaging your Mac Mini’s internal components.
Disassembly Process: Accessing The Internals
Now, we need to reach the heart of the Mac Mini:
- Shut down the Mac Mini and disconnect all cables and accessories.
- Turn the Mac Mini upside down, and use the P5 Pentalobe screwdriver to remove the bottom cover screws.
| Step | Description |
|---|---|
| 1 | Gently remove the bottom cover, exposing the fan and antenna plate. |
| 2 | Detach the fan connector and unbolt the fan using the T10 Torx. |
| 3 | Next, unscrew the antenna plate with the T5 Torx and ease it out. |
Replacing The Ssd: Detailed Instructions
The SSD is now in sight:
- Identify the SSD usually held down by a single T5 screw.
- Carefully unscrew and remove it.
- Gently rock the SSD from side to side to slide it out of its socket.
It’s now time to install the new SSD. Align it correctly in the socket and press into place, then secure it with the T5 screw.
Reassembly And Initial Boot
Reassembling your Mac Mini is just the reverse of disassembly:
- Replace the antenna plate and reconnect the fan.
- Screw the fan back into position and ensure the bottom cover aligns correctly.
- Use the P5 screwdriver to fix the bottom cover back on.
With the physical work done, power up your Mac Mini. Hold down the Option key to select the boot disk if necessary and consider performing a fresh OS install or restoring from your backup.
Observing your Mac Mini’s revitalized performance is the final, most rewarding step!
Implications And Considerations Of Ssd Upgrades
Upgrading your Mac Mini’s SSD might be the transformation you’re looking for, offering faster boot times, improved data transfer rates, and an overall snappier experience.
However, before diving into an SSD upgrade, it’s essential to weigh the implications and consider crucial factors to ensure it aligns with your expectations and needs.
Warranty And Support Considerations
Modifying your Mac Mini, especially if it involves opening up the device, can have significant implications on warranty and support services.
Here’s what you need to know:
- Apple’s Warranty: Upgrades or repairs by unauthorized service providers may void Apple’s warranty.
- AppleCare+: Those with an active AppleCare+ might jeopardize their coverage by carrying out unauthorized modifications.
- Authorized Service Providers: Seeking help from Apple-authorized technicians may preserve warranty and support privileges.
Performance Improvements And Expectations
An SSD upgrade promises noticeable performance enhancements for your Mac Mini.
Consider the following when setting expectations:
- Boot Times: A quicker system start-up is typically one of the first improvements users observe.
- Data Transfer Speeds: SSDs offer faster read/write speeds, speeding up file transfers and application loading times.
- System Responsiveness: Experience smoother multi-tasking and quicker software responses.
Keep in mind, performance gains depend on the specific SSD model and capacity chosen for the upgrade.
Cost Analysis: Upgrade Vs. Buying New
When contemplating an SSD upgrade, conducting a cost analysis is crucial.
Here are key factors to consider:
| Cost Factor | SSD Upgrade | New Mac Mini |
|---|---|---|
| Initial Investment | Price of SSD + Installation | Base price of new model |
| Future Proofing | Limited to device’s lifespan | Latest hardware/software |
| Warranty and Support | Potentially compromised | Standard warranty + option for AppleCare+ |
| Performance Gain | Dependent on SSD quality | Higher, with new specs |
Evaluate the investment in a new SSD against the cost of a brand new Mac Mini that comes with updated hardware and may offer a better long-term value proposition.
Post-upgrade Steps And Troubleshooting
Congratulations on successfully upgrading your Mac Mini’s SSD! But before you get back to your seamless computing experience, it’s essential to follow through with the post-upgrade steps and dial in any necessary troubleshooting.
Installing macOS On The New Ssd
The first order of business after physically installing your new SSD is to get macOS up and running.
Follow these steps to create a fresh start for your Mac Mini:
- Power on your Mac Mini while holding down the
Command (⌘)+Option (⌥)+Rkeys to enter the Internet Recovery Mode. - Connect to a Wi-Fi network if prompted to do so.
- Use Disk Utility to format the new SSD using the APFS file system if you’re installing macOS High Sierra or later, or Mac OS Extended (Journaled) for earlier versions.
- Once formatted, exit Disk Utility and select ‘Reinstall macOS’ from the Utilities window.
- Follow the on-screen instructions to install macOS on your new SSD.
After the process completes, your Mac Mini will restart into the new macOS installation. Now, you can enjoy the speed and storage space of your new SSD!
Troubleshooting Common Post-upgrade Issues
Occasionally, you might encounter a hiccup after upgrading the SSD.
Here are some troubleshooting tips to get your system back on track:
- If your Mac Mini doesn’t recognize the new SSD, reset the NVRAM by restarting your Mac and holding
Command (⌘)+Option (⌥)+P+Rfor about 20 seconds until you hear the startup chime. - In case of a prohibitory symbol during booting, retry the macOS installation, ensuring that you’ve formatted the SSD correctly.
- For persistent performance issues, consider performing a System Management Controller (SMC) reset which can address a range of hardware-related problems.
Maintaining Your Upgraded Mac Mini
To keep your upgraded Mac Mini in good health, regular maintenance is crucial.
Here’s what you should regularly do:
- Keep your macOS updated to benefit from the latest security patches and performance improvements.
- Utilize built-in disk management tools like Disk Utility to run a Repair Disk routine, which can fix various disk issues.
- Maintain adequate storage space on your SSD to avoid slowdowns; generally, having at least 10-15% of your SSD free is a good practice.
- Clean up your Mac occasionally using trusted utilities to remove clutter and unnecessary files.
Alternatives To Internal Upgrades
Exploring alternatives to internal upgrades for your Mac Mini allows you to enhance its functionality and storage without the complexity or risk of opening the device.
Whether the internal SSD is non-upgradable, or you wish to avoid voiding your warranty, several options can provide the additional space and speed you seek.
Utilizing External Ssds For Additional Storage
Connecting an external solid-state drive (SSD) to your Mac Mini is a straightforward and effective way to expand your storage capabilities.
Modern external SSDs offer high-speed data transfer that can closely match the performance of internal drives, especially when connected through USB-C or Thunderbolt ports.
- Plug-and-play convenience: Simply attach the SSD to your Mac Mini and immediately boost your storage capacity.
- Portability: External SSDs can be disconnected and transported easily, offering flexibility for users on the go.
- Speed: Look for drives that support USB 3.1 Gen 2 or Thunderbolt 3 for the fastest transfer rates.
Exploring Options Like Network-attached Storage (NAS)
Network-attached storage (NAS) is another robust alternative to increase your Mac Mini’s storage. NAS systems are connected to your home or office network, allowing multiple devices to access the data remotely.
They excel in versatility and are ideal for those who need to share files across different platforms or want to set up automated backups.
| Advantages of NAS | Considerations |
|---|---|
| Centralized storage Enhanced data security Scalability | Initial setup complexity Cost of multiple drives Network dependency |
When To Consider Upgrading The Entire Mac Mini Unit
If your Mac Mini’s performance does not meet your current needs, it might be time to upgrade the entire unit. This option can be cost-effective in the long term, especially if hardware limitations cannot be addressed with peripheral additions.
- Determine if your current Mac Mini’s specs are causing bottlenecks in your workflow.
- Assess the cost-benefit of upgrading peripherals versus investing in a new Mac Mini.
- Consider the advancements in technology since your last purchase; newer models may offer significantly better performance and future-proofing.
Conclusion
Upgrading your Mac Mini SSD is achievable with the right approach. Equip yourself with patience, the proper tools, and a step-by-step guide.
Remember, this move can breathe new life into your device, boosting performance significantly.

Harold Williams is a senior writer and technical editor at Drives Hero with 20+ years of experience in IT administration. He specializes in storage systems, SSD reviews, and performance testing, bringing real-world insight to every guide.