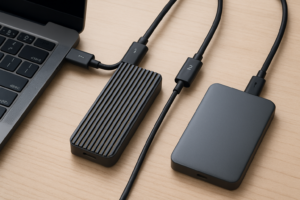
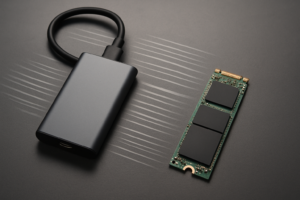
Why Is My NVMe Enclosure Limited to 1,000 MB/s?
You bought a fast NVMe SSD, dropped it into a shiny new enclosure, and expected numbers that would make your old external hard drive weep. Instead, every transfer caps out right around 1,000 MB/s, no matter what you do. That number isn’t random, and once you understand where it comes from, the fix (or the realization that there’s nothing to fix) becomes obvious.
This is one of the most common complaints with external NVMe storage, and it almost always traces back to one of a handful of predictable bottlenecks. Let’s walk through each one so you can figure out exactly what’s holding your setup back.
First, Confirm You Actually Have an NVMe Drive (Not SATA M.2)
This is the mistake that trips up more people than anything else on this list. M.2 is a physical connector shape, not a protocol. There are SATA M.2 SSDs and NVMe M.2 SSDs that look nearly identical but perform very differently.
A SATA M.2 drive is electrically limited to roughly 550 to 560 MB/s, full stop, no matter what enclosure you put it in. An NVMe M.2 drive uses the PCIe bus and can hit anywhere from 2,000 MB/s to over 7,000 MB/s depending on the generation. If your enclosure is capped at 1,000 MB/s, congratulations, that already rules out a SATA drive since it couldn’t get there in the first place.
Check your drive’s model number against the manufacturer’s spec sheet before you troubleshoot anything else. If you’re unsure how these two drive types actually differ in real-world use, our guide on NVMe SSD vs Intel SSD and this breakdown of SATA vs NVMe SSD performance are worth a quick read.
The Enclosure’s Bridge Chip Is Often the Real Ceiling
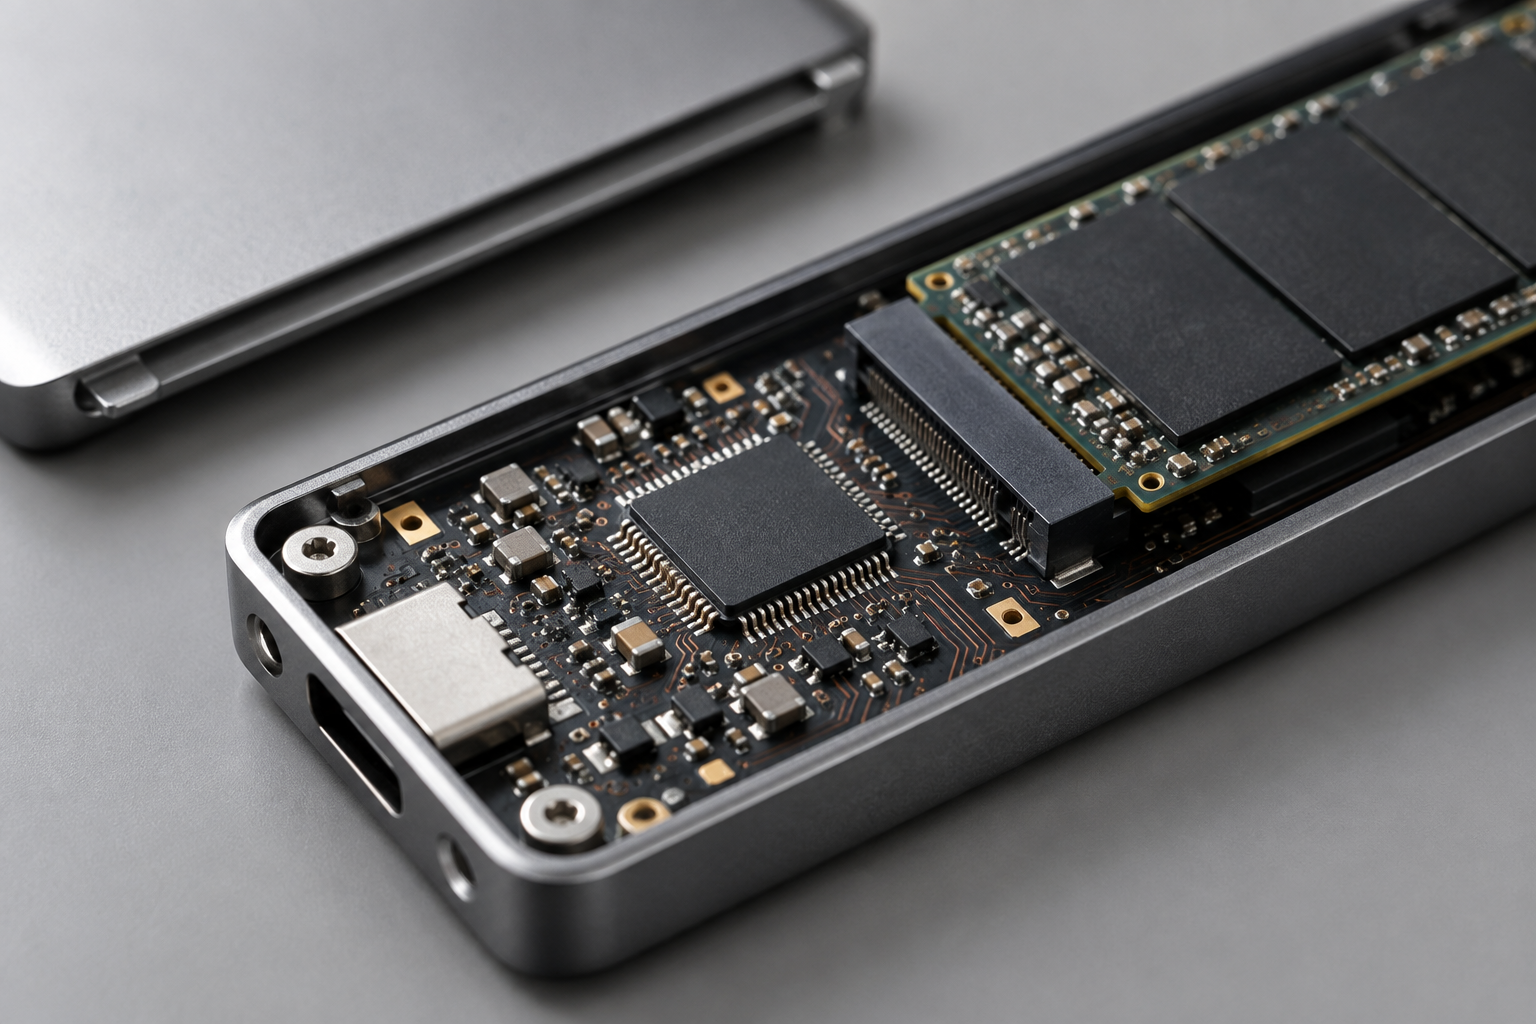
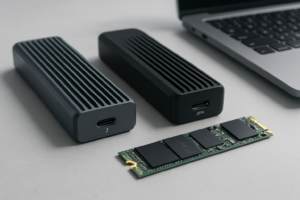
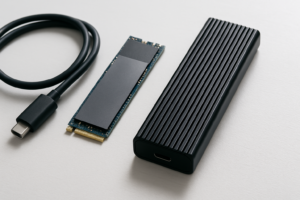
Every NVMe enclosure has a small controller called a bridge chip that translates PCIe signals from the drive into USB or Thunderbolt signals your computer understands. Common ones include ASMedia’s ASM2364, JMicron’s JMS583, and Realtek’s RTL9210. These chips have their own maximum throughput regardless of how fast the drive inside can technically go.
A JMS583-based enclosure, for example, is built around a USB 3.2 Gen 2 (10Gbps) connection. Even if you install a drive capable of 5,000 MB/s, that bridge chip will never pass more than about 1,000 to 1,050 MB/s to your computer. This is by far the most common reason people see a hard 1,000 MB/s ceiling: the enclosure was never designed to go faster.
If you want speeds beyond that, you need an enclosure built around a 20Gbps (USB 3.2 Gen 2×2) or Thunderbolt controller, not just a faster drive.
Sabrent USB 3.2 Gen 2 NVMe Enclosure
A reliable 10Gbps enclosure that’s honest about its real-world ceiling near 1,000 MB/s, great for everyday backups and portable storage.
USB and Thunderbolt Standards: Know What You’re Actually Working With
USB naming is genuinely confusing on purpose, it seems, so let’s cut through it with real throughput numbers instead of marketing labels.
- USB 3.2 Gen 1 (5Gbps): theoretical max 625 MB/s, realistic sustained speed 400 to 450 MB/s
- USB 3.2 Gen 2 (10Gbps): theoretical max 1,250 MB/s, realistic sustained speed 900 to 1,050 MB/s
- USB 3.2 Gen 2×2 (20Gbps): theoretical max 2,500 MB/s, realistic sustained speed 1,700 to 1,900 MB/s
- Thunderbolt 3 / USB4 (40Gbps): theoretical max 5,000 MB/s, realistic sustained speed 2,600 to 3,200 MB/s for a single NVMe drive
- Thunderbolt 4 / USB4 v2: similar real-world ceiling to Thunderbolt 3 for a single drive, with better guaranteed minimums
Notice that a 1,000 MB/s result lines up almost perfectly with a 10Gbps connection running near its practical limit. If that’s your situation, your enclosure isn’t broken, it’s doing exactly what a 10Gbps device is supposed to do. Getting more requires moving up to a 20Gbps or Thunderbolt enclosure and drive combination.
UGREEN 20Gbps NVMe Enclosure
Steps up from the common 10Gbps ceiling and gets you into the 1,700 to 1,900 MB/s range with a compatible drive and port.
The Host Port on Your Computer Matters Just as Much
An enclosure rated for 20Gbps or 40Gbps still needs a matching port on the other end. Plug a Thunderbolt-capable enclosure into a USB-A port on an older laptop and it will negotiate down to whatever that port supports, often just 5Gbps or 10Gbps.
Check your computer’s actual port specifications, not just the connector shape. USB-C ports look identical whether they support 5Gbps, 10Gbps, 20Gbps, or Thunderbolt, and manufacturers rarely label them clearly. Look up your laptop or motherboard’s spec sheet, or check Device Manager on Windows and System Information on a Mac to see what each port is actually rated for.
This is especially relevant if you’re using an external drive to compensate for limited internal storage. If that’s your goal, our article on whether an external SSD will actually make your laptop faster covers what kind of speed gains are realistic.
Cables Are a Surprisingly Common Culprit
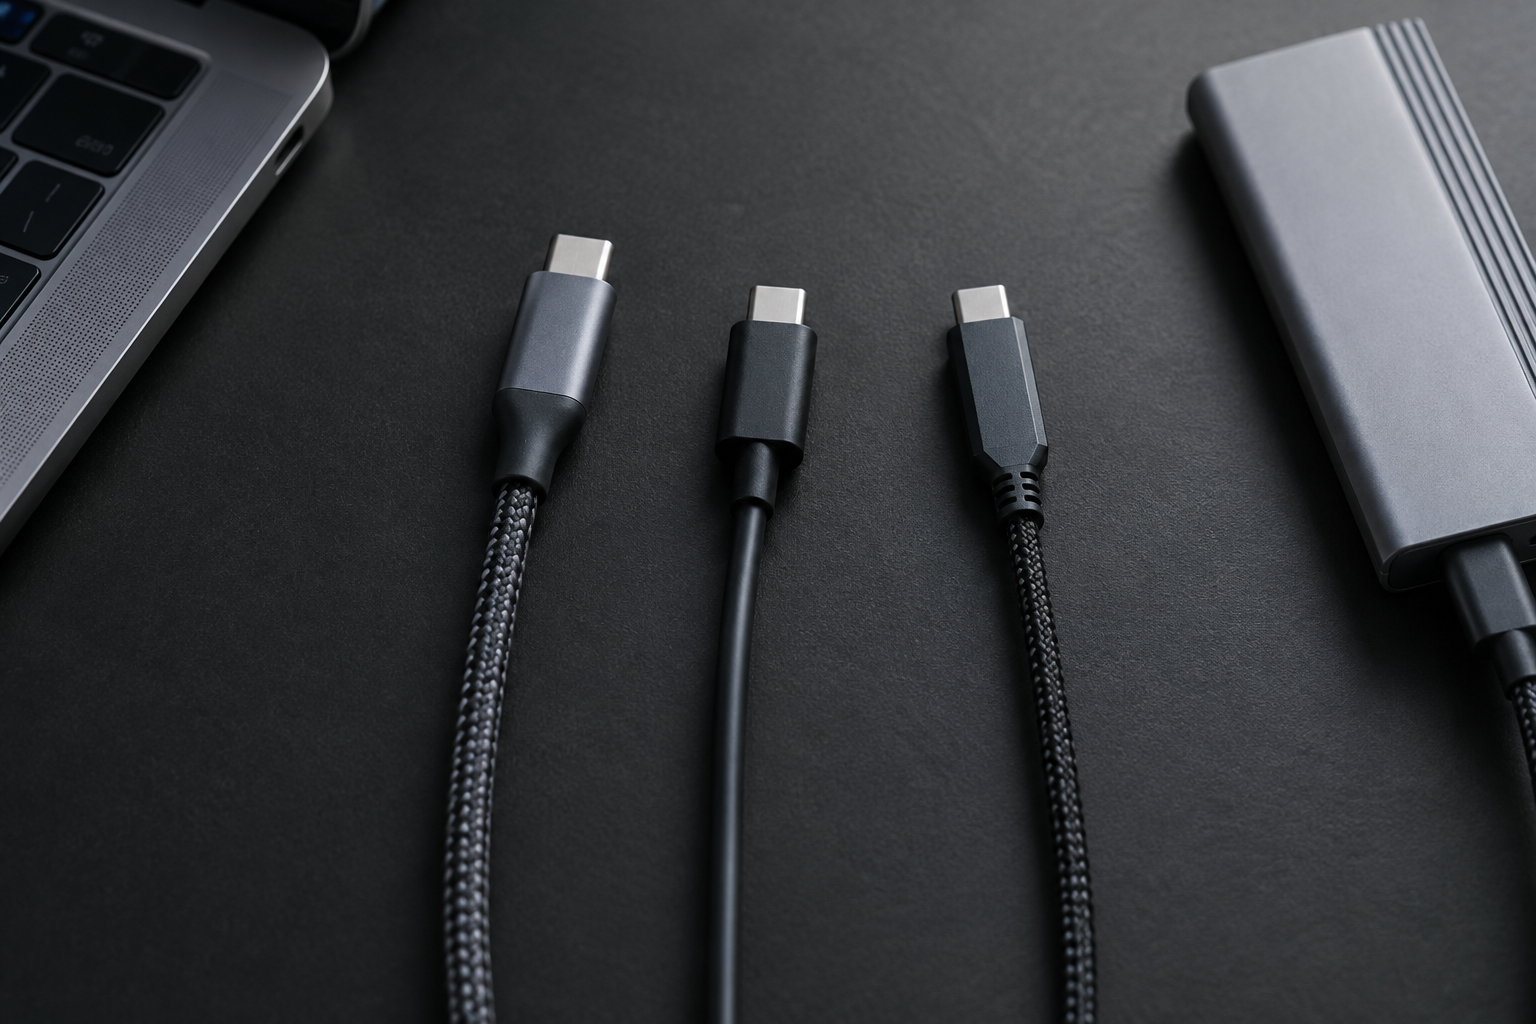
Not every USB-C cable is created equal, and this trips up more people than you’d expect. A cable rated only for USB 2.0 speeds will physically fit into a 10Gbps or 20Gbps port and charge your devices fine, but it will silently bottleneck data transfer to a fraction of what your hardware can do.
Always use the cable that shipped with your enclosure, or buy one explicitly rated for the speed you need (look for “10Gbps,” “20Gbps,” or “Thunderbolt” printed on the cable or packaging). Cables longer than about a meter also start to lose signal integrity at higher speeds, so keep it short if you’re chasing maximum throughput.
Thermal Throttling Can Quietly Cut Your Speeds in Half
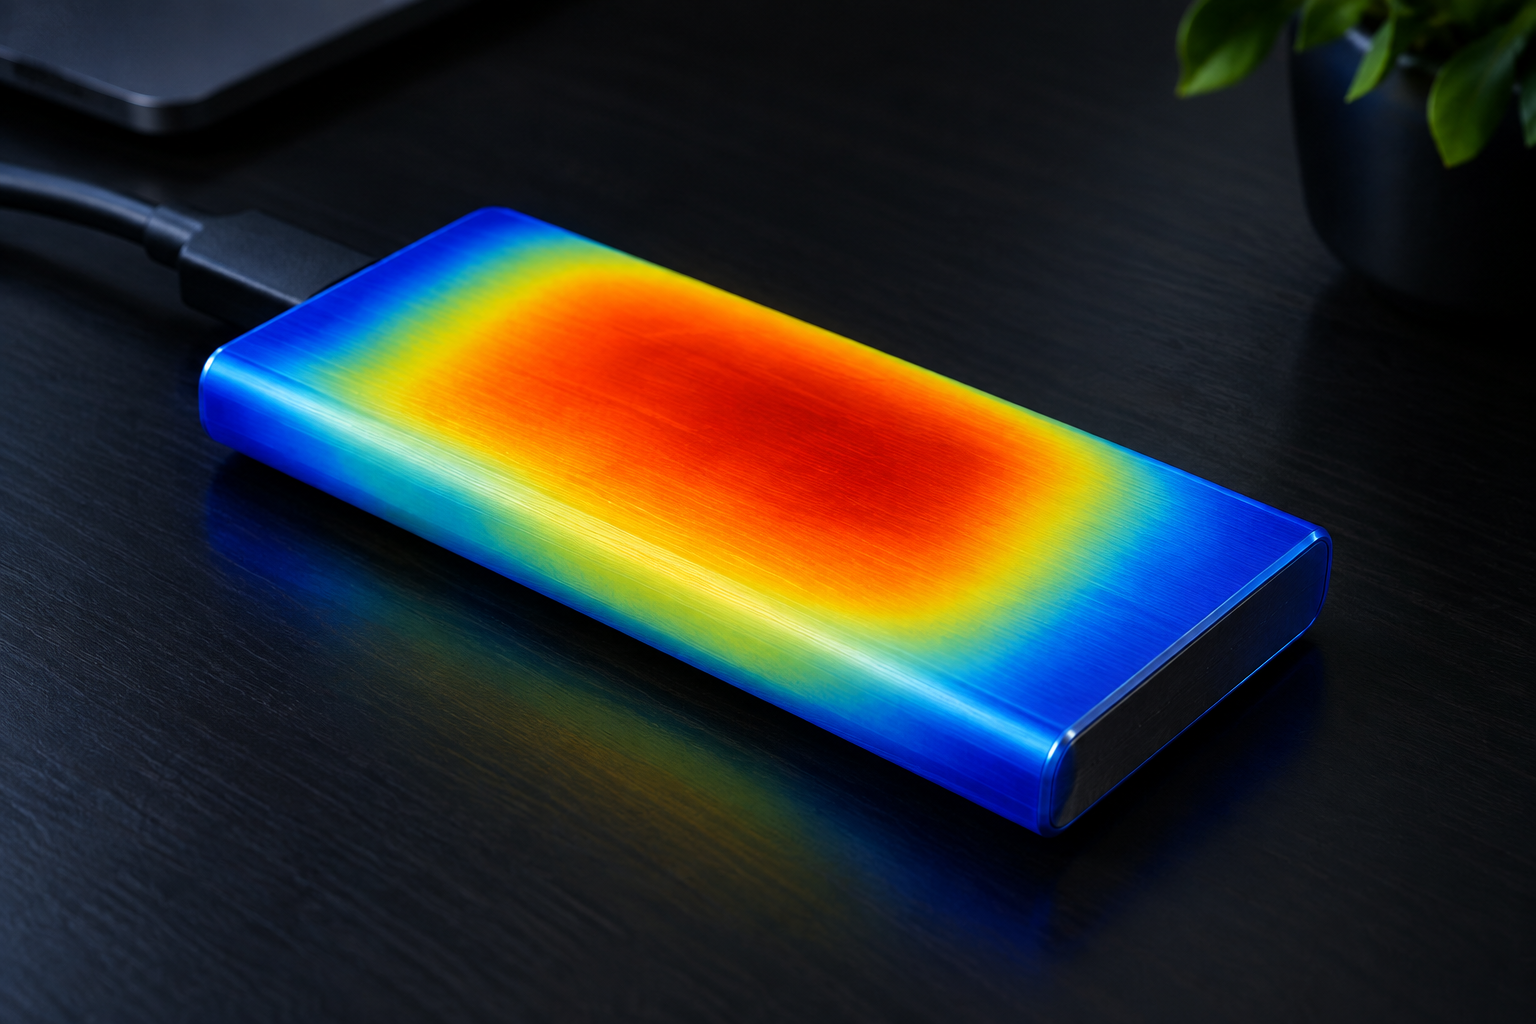
NVMe drives generate real heat under sustained load, and a lot of compact enclosures have zero airflow and thin plastic shells that trap it. When the drive’s controller gets too hot, it throttles itself to protect the flash memory, and your transfer speed drops mid-copy.
This usually shows up as strong initial speeds that fall off a cliff a few seconds or minutes into a large transfer. If you’re seeing that pattern rather than a flat, consistent 1,000 MB/s from the start, thermals are more likely your issue than a bandwidth ceiling. Metal enclosures with a thermal pad touching the drive’s controller chip handle this far better than plastic ones.
File Size, Filesystem, and Protocol Overhead
Even with perfect hardware, the way you’re transferring files affects your real numbers. Copying one massive video file will get you much closer to an enclosure’s real ceiling than copying thousands of small documents, because small files involve constant overhead for opening, writing, and closing each one.
Your filesystem matters too. exFAT and NTFS handle large sequential transfers well, but heavily fragmented drives or older filesystems can introduce their own slowdowns unrelated to the enclosure at all. And remember that USB and Thunderbolt protocols carry their own overhead, roughly 15 to 20 percent lost to encoding and packet management even under ideal conditions, which is exactly why nobody ever hits the theoretical max in practice.
If you’re testing with a benchmark tool like CrystalDiskMark or Blackmagic Disk Speed Test, use large sequential file sizes (1GB or bigger) for the most accurate picture of your real ceiling.
Acasis Thunderbolt 4 NVMe Enclosure
Built for users who’ve outgrown 10Gbps and 20Gbps limits and want to actually see 2,500+ MB/s from a fast NVMe drive.
Putting It All Together: Realistic Speed Expectations
Before you assume something is broken, compare your results against what’s actually achievable:
- SATA M.2 in any enclosure: 450 to 550 MB/s, this is the ceiling regardless of USB speed
- NVMe drive in a 10Gbps enclosure: 900 to 1,050 MB/s (your 1,000 MB/s result fits here perfectly)
- NVMe drive in a 20Gbps enclosure: 1,700 to 1,900 MB/s
- NVMe drive in a Thunderbolt 3/4 enclosure: 2,600 to 3,200 MB/s
If your number matches one of these ranges, your gear is working correctly and the “bottleneck” is simply the standard you bought into. If your speed sits noticeably below the range for your hardware, then look at cables, thermals, and the host port in that order, since those are the three most fixable issues on this whole list.
It’s also worth understanding what NVMe was actually designed to do in the first place, since a lot of the confusion around enclosure speeds comes from unrealistic expectations set by internal drive benchmarks. Our explainer on what NVMe SSDs are used for and this comparison of whether NVMe is really faster than SATA SSDs both help set realistic expectations before you go enclosure shopping.
Frequently Asked Questions
Why does my NVMe drive show 7,000 MB/s internally but only 1,000 MB/s in an enclosure?
Because the enclosure’s bridge chip and USB connection become the new bottleneck once the drive leaves the motherboard’s PCIe slot. A 10Gbps USB connection simply cannot pass more than about 1,000 to 1,050 MB/s no matter how fast the drive inside is rated.
Can I upgrade my enclosure’s speed with a firmware update?
No. The maximum throughput is determined by the physical bridge chip and USB controller inside the enclosure, and firmware updates typically address compatibility or stability, not raw bandwidth limits. To get faster speeds you need a different enclosure built around a faster standard.
Does the brand of NVMe drive matter if my enclosure is already the bottleneck?
Not much, once you’re capped by a 10Gbps connection. A budget NVMe drive and a premium one will both plateau around 1,000 MB/s in that scenario, so there’s no reason to pay more for a faster drive until you also upgrade the enclosure.
Is 1,000 MB/s actually good for everyday use?
For most people, yes. That speed is roughly double what a SATA SSD can do and far beyond what any spinning hard drive or older external drive offers. Unless you’re regularly moving huge video files or working directly off the external drive for demanding editing work, 1,000 MB/s is genuinely fast in practical terms.
This article contains affiliate links. We may earn a small commission at no extra cost to you.

James Kennedy is a writer and product researcher at Drives Hero with a background in IT administration and consulting. He has hands-on experience with storage, networking, and system performance, and regularly improves and optimizes his home networking setup.