How to Install Macos After Ssd Upgrade
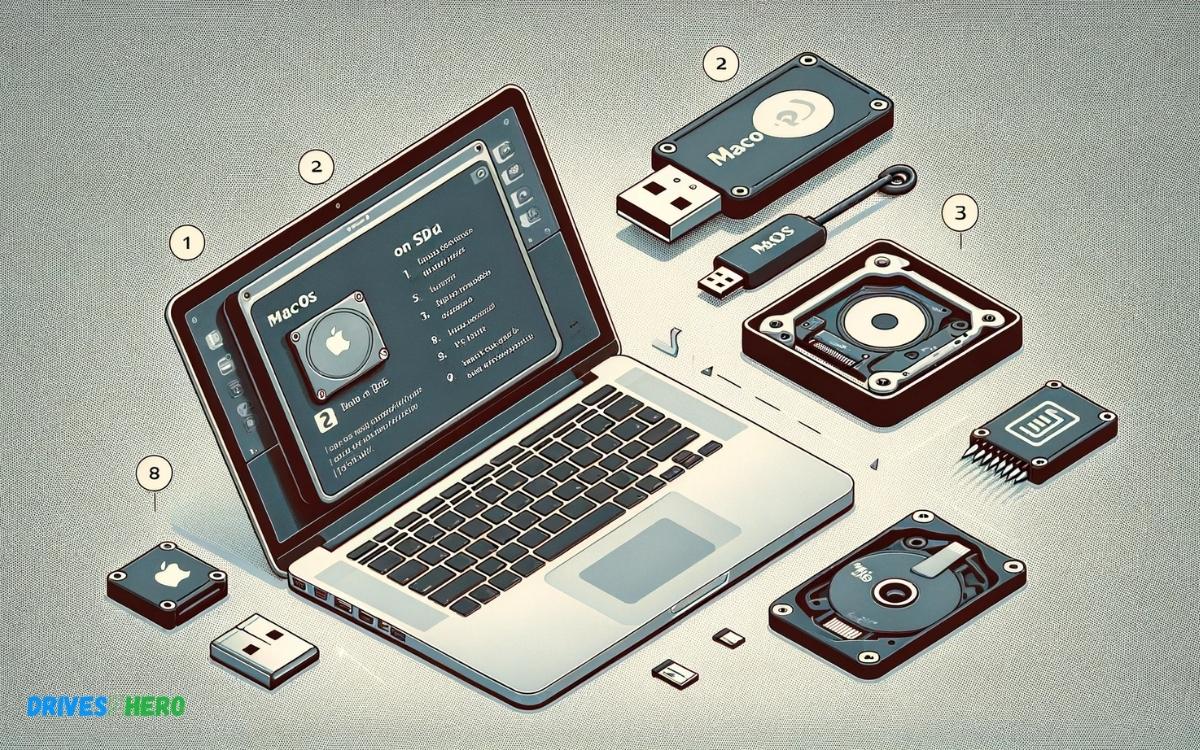
To install macOS after an SSD upgrade, boot into Recovery Mode by holding Command + R at startup. Next, select ‘Reinstall macOS’ from the utilities window and follow the prompts.
Upgrading your Mac’s SSD breathes new life into your device, offering faster performance and more storage space. Before diving into the macOS installation, ensure you’ve backed up all your data to prevent any loss. Installing a fresh operating system can seem daunting, but Apple’s streamlined Recovery Mode simplifies the process.
It’s crucial to have an active internet connection, as the latest macOS version will be downloaded from Apple’s servers. A successful SSD upgrade followed by a clean macOS installation will provide a smoother, more efficient computing experience, akin to using a brand new Mac. Just remember, a stable power source is essential during the installation to avoid any interruptions.
Key Takeaway
Introduction To Ssd Upgrades And Macos Installation
Boosting your Mac’s performance and storage capacity with a Solid State Drive (SSD) upgrade is a game-changer. This pivotal move not only breathes new life into an ageing system but also paves the way for a smoother and more efficient macOS experience. In this detailed guide, we’ll navigate through the crucial steps of upgrading to an SSD and installing macOS afresh, ensuring that you’re equipped with all you need for this technical foray.
Understanding The Benefits Of Ssd Over Traditional Hdd
Before embarking on this upgrade odyssey, let’s dive into the remarkable advantages of switching to an SSD. These nimble storage devices offer a plethora of enhancements compared to the conventional Hard Disk Drive (HDD), including:
- Speed: SSDs provide lightning-fast data access speeds, significantly slashing boot times and application load durations.
- Durability: With no moving parts, SSDs are more resistant to shock and wear, translating to a longer lifespan and better data protection.
- Energy Efficiency: Less power-hungry than their HDD counterparts, SSDs contribute to improved battery life for your Mac.
- Quiet Operation: The absence of mechanical parts means SSDs operate in near-silence — a welcomed absence of distracting noise.
Preparing For The Ssd Upgrade And Macos Installation Process
Prior to diving into the SSD upgrade, a touch of preparation goes a long way. Start with these pivotal tasks to lay the groundwork for a smooth transition:
- Backup Your Data: Ensure all your important files are safe by backing up your current system using Time Machine or your preferred backup solution.
- Gather the Necessary Tools: You’ll need a set of precision screwdrivers and potentially a hard drive enclosure or adapter to clone your current drive.
- Choose the Right SSD: Select an SSD that fits your model, budget, and storage needs, keeping compatibility in mind.
- Clone Your Current Hard Drive: If you desire a seamless transition, clone your existing HDD to your new SSD using cloning software.
- Create a Bootable macOS Installer: Download the macOS version you wish to install and create a bootable installer on a USB drive for a clean installation.
With these preparatory steps completed, you’ll be ready to perform the SSD upgrade and experience a revitalized macOS performance that feels like taking a swift leap from past to present technology.
Step-by-step Guide To Ssd Installation In A Mac
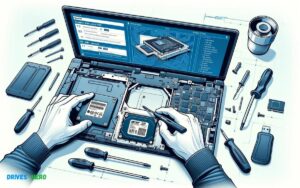
Upgrading your Mac with a new SSD can breathe new life into your machine, providing faster boot times, more responsive applications, and an overall smoother computing experience. Whether you’re a professional needing speed or a casual user looking for a performance boost, the following guide outlines the process in easy steps.
Tools And Materials Needed For Ssd Installation
Before diving into the SSD upgrade, gather these essential tools and materials:
- Compatible SSD for your Mac model
- Precision screwdriver set
- External hard drive enclosure or adapter (for data cloning)
- Anti-static wrist strap
- Soft, lint-free cloth
Backing Up Your Data Before The Ssd Upgrade
Backing up data is crucial to prevent data loss. Follow these steps:
- Connect an external drive with adequate storage to your Mac.
- Open “Time Machine” from System Preferences.
- Select your external drive as the backup disk.
- Start the backup process and wait for it to complete.
Physically Replacing The Old Drive With The New Ssd
After backing up, it’s time to replace the old drive:
- Shut down your Mac and disconnect all cables.
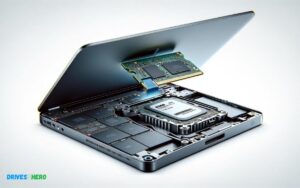
- Use the screwdriver to open the Mac’s case or back panel.
- Locate the current hard drive and remove it carefully.
- Install the new SSD, securing it in place with the screws.
- Reassemble your Mac and reconnect cables.
Ensuring Compatibility And Firmware Updates
For a smooth upgrade, ensure your new SSD is compatible and the firmware is up to date:
- Check the SSD manufacturer’s website for compatibility with your Mac model.
- Update your Mac’s firmware to the latest version before beginning the installation.
- Confirm that the SSD is recognized by the system in “Disk Utility” after installation.
Installing Macos On The New Ssd
When you upgrade your Mac’s SSD, the journey doesn’t end with the hardware installation. Next comes the critical step of installing macOS on the fresh drive. This part of the process is pivotal to getting your Mac up and running smoothly with a speedier performance on the new SSD. Below is an easy-to-follow, step-by-step guide covering everything from creating a bootable USB drive to restoring data from your backup once macOS is installed.
Creating A Boatable Usb Drive For Macos Installation
To start with the macOS installation, you’ll need to create a bootable USB drive. Here’s a concise list of steps to get this done:
- First, download the macOS installer from the App Store.
- Next, insert a USB drive with at least 12GB of storage into your Mac.
- Open Terminal and use the
createinstallmediacommand along with the path to your Installer and your USB drive to create a bootable drive.
Once the process completes, you’ll have a USB drive that can install macOS on any compatible Mac.
Booting From The Usb Drive And Initiating The Installation
Insert the bootable USB drive into your Mac and restart it while holding down the Option (⌥) key. This will take you to the Startup Manager, where you need to select your USB drive to initiate the macOS installation process.
Formatting The New Ssd Using Disk Utility
Before installing macOS, it’s essential to format the new SSD:
- From the macOS Utilities window, select Disk Utility.
- Choose your SSD from the sidebar and click on Erase.
- Set the format to APFS for macOS High Sierra or later (or Mac OS Extended for older versions), name your drive, and click Erase.
Once the format is complete, you can exit Disk Utility to proceed with the installation.
Running The Macos Installer And Configuring Settings
With your SSD formatted, select Install macOS from the macOS Utilities menu and follow the on-screen instructions. Decide on essential settings like language, time zone, Apple ID, and privacy preferences. Your Mac will restart during the process, so make sure to monitor it and follow any additional prompts.
Restoring Data From Backup To The New Ssd
After the installation, you might want to restore your files and settings from a backup:
- If you have a Time Machine backup, you can use the Migration Assistant utility to transfer your information back to the new SSD.
- Alternatively, manually copy files from an external drive or restore from a cloud storage service.
Once your data is back in place, your Mac with its new SSD is all set for you to enjoy a faster and more responsive experience.
Post-installation Tips And Maintenance
Welcome to the ‘Post-Installation Tips and Maintenance’ section of our guide. The thrill of upgrading your Mac with a new SSD and a fresh macOS installation is unmatched. But what comes next? Ensuring your setup continues to run smoothly requires a few important steps. This segment will guide you through verifying your installation, optimizing settings for peak SSD performance, and maintaining the health of your macOS over time. We’ll also tackle troubleshooting common post-installation SSD hiccups. Let’s keep your Mac running like a dream!
Verifying The Installation And Ssd Functionality
After you install macOS on your new SSD, it’s crucial to check that everything is working as it should. Navigate to ‘About This Mac’ and click on ‘Storage’ to confirm that the SSD is recognized and shows the correct capacity. Use Disk Utility to perform a ‘First Aid’ scan, ensuring there are no errors. If issues arise, re-installation or formatting of the SSD might be necessary.
Optimizing Ssd Settings For Best Performance
To get the most out of your SSD, tweak a few settings. Ensure TRIM is enabled by running sudo trimforce enable in Terminal, which helps optimize the read/write efficiency. Adjust energy settings to prevent the drive from going into standby too often, which can impact its performance. Keep your SSD in top shape by maintaining at least 15% of its capacity free to avoid slowdowns.
Regular Maintenance And Updates For Your Macos
Maintaining your macOS is key to a smooth experience. Always keep your system updated with the latest version to benefit from performance improvements and security patches. Use the App Store to check for updates regularly or set your Mac to update automatically. Remember to backup your data before any major update to prevent data loss. Clean your system cache files and remove unused apps to free up space and resources.
- Backup your data periodically
- Update macOS routinely
- Clean system caches and remove unused apps
Troubleshooting Common Ssd Issues After Macos Installation
If your SSD starts acting up post-installation, don’t panic. Common issues like slow performance or boot errors can often be rectified with simple fixes. If your Mac is slow to boot, ensure you’ve selected the new SSD as the startup disk. Should you encounter frequent crashes or errors, resetting NVRAM/PRAM might do the trick. For persistent problems, consider booting in Safe Mode, which can help diagnose deeper issues.
| Issue | Potential Fix |
|---|---|
| Slow Boot | Ensure SSD is set as startup disk |
| Crashes/Errors | Reset NVRAM/PRAM |
| Performance Issues | Boot in Safe Mode |
Conclusion
Upgrading your SSD can breathe new life into your Mac, and installing macOS is a crucial step. By following the outlined process, you’ll set your system up for success. Remember, preparation is key — from backup to a smooth installation.
Enjoy the speed and efficiency of your revitalized Mac!

Harold Williams is a senior writer and technical editor at Drives Hero with 20+ years of experience in IT administration. He specializes in storage systems, SSD reviews, and performance testing, bringing real-world insight to every guide.