Intel RST/VMD Preventing Windows From Seeing NVMe
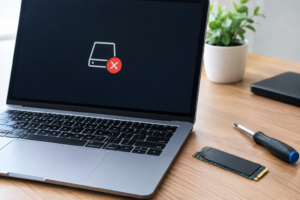
You installed a brand new NVMe drive, booted up, and Windows acts like it doesn’t exist. Meanwhile, your BIOS might see it just fine, or maybe it doesn’t show up anywhere at all. Nine times out of ten on Intel systems, this comes down to how Intel RST (Rapid Storage Technology) and VMD (Volume Management Device) are configured, and fixing it depends entirely on where the drive actually disappears.
This guide walks through each failure point separately, because the fix for “not in BIOS” is completely different from “shows in Device Manager but not File Explorer.” Figure out where your drive is getting lost first, then jump to that section.
Step One: Pinpoint Exactly Where the Drive Disappears
Before changing any settings, check each of these spots in order and note where the drive stops showing up:
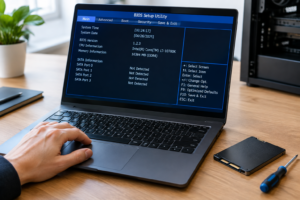
- BIOS/UEFI setup: Does it appear under storage devices or the boot list?
- Windows installer: Does it show up as a valid install target during setup?
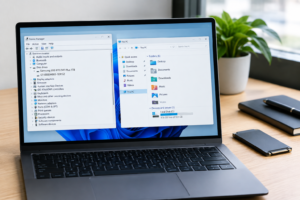
- Device Manager: Is there an entry under Disk drives, even with an error icon?
- Disk Management: Does it appear as a disk, even if unallocated or offline?
- File Explorer: Does it have a drive letter and show up as usable storage?
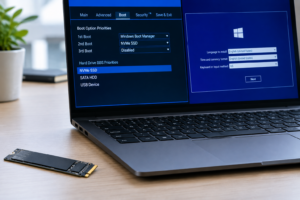
- Boot menu: If it’s your OS drive, does it appear as a bootable option?
Once you know exactly where it stops appearing, skip to the matching section below. Trying random fixes without this step wastes time and, in some cases, risks your data.
The Drive Isn’t Showing Up in BIOS at All
If the drive is invisible even in BIOS, this usually has nothing to do with RST or VMD yet. It’s a hardware or slot configuration issue.
Check these first:
- Reseat the drive. Remove it and reinsert it fully into the M.2 slot, making sure the retention screw is snug.
- Check slot sharing. Many motherboards disable one or more SATA ports when a specific M.2 slot is populated. Check your motherboard manual for a slot sharing table.
- Try a different M.2 slot if your board has more than one, especially if the first slot is chipset-limited or shares bandwidth with your GPU’s PCIe lanes.
- Confirm NVMe support is enabled in BIOS. Some older boards need this toggled manually under the storage configuration menu.
- Rule out a bad drive or enclosure. If you’re using an external NVMe enclosure over USB, not all enclosures support every controller. Check the enclosure’s compatibility list against your specific SSD model.
If you’re shopping for a replacement drive because you suspect the current one is dead, it’s worth reading up on what actually separates NVMe SSDs from Intel’s own SSD lineup before you buy again, since not every drive plays nicely with every board.
BIOS Sees the Drive, But Windows Setup or Device Manager Doesn’t

This is the classic Intel RST/VMD scenario. If VMD is enabled in BIOS, Windows setup literally cannot see NVMe drives without the correct driver loaded first. Windows’ built-in installer doesn’t include this driver by default.
Here’s how to fix it during a fresh install:
- Download the Intel VMD/RST driver package from your motherboard manufacturer’s support page (not Intel’s generic site, since board vendors often customize it).
- Extract it to a USB drive.
- During Windows setup, click “Load driver” on the disk selection screen and point it to the USB drive.
- The NVMe drive should now appear as a valid install target.
If you don’t actually need RAID functionality, the simpler fix is disabling VMD in BIOS entirely and switching the storage controller to AHCI mode. This lets Windows use its native NVMe driver with zero extra steps.
Only disable VMD if you don’t already have a working Windows installation using VMD/RAID mode on another drive. Flipping that setting after the fact can make your existing boot drive throw an INACCESSIBLE_BOOT_DEVICE error and refuse to start.
If you’re trying to add a second NVMe drive without touching your existing Windows setup, this guide on upgrading your SSD without reinstalling Windows covers how to avoid disturbing a working boot configuration while you sort out driver issues on the new drive.
Drive Shows in Device Manager But Missing From File Explorer
If Windows recognizes the drive under Device Manager but you can’t find it in File Explorer, the hardware and drivers are working fine. The drive just doesn’t have a usable volume yet.
Open Disk Management (right-click the Start button and select it) and look for the drive. You’ll typically see one of these states:
- Not Initialized: Right-click the disk and choose “Initialize Disk,” then select GPT (not MBR, unless you have a specific reason for legacy compatibility).
- Unallocated space: Right-click the unallocated area and choose “New Simple Volume” to create a partition and assign a drive letter.
- Offline: Right-click the disk label and select “Online.”
- No drive letter assigned: Right-click the volume and choose “Change Drive Letter and Paths,” then add one.
Warning: Initializing, formatting, or creating a new volume erases everything on that disk. Only do this on a brand new, blank drive. If this is a drive that previously had data on it, stop here and try data recovery software first, or you’ll lose everything permanently.
If you’re moving data from an old drive to a new NVMe drive and want to avoid this kind of scare altogether, cloning is usually the safer route. This walkthrough on upgrading your SSD without losing data covers the cloning process step by step.
Drive Appears in Disk Management But Won’t Boot
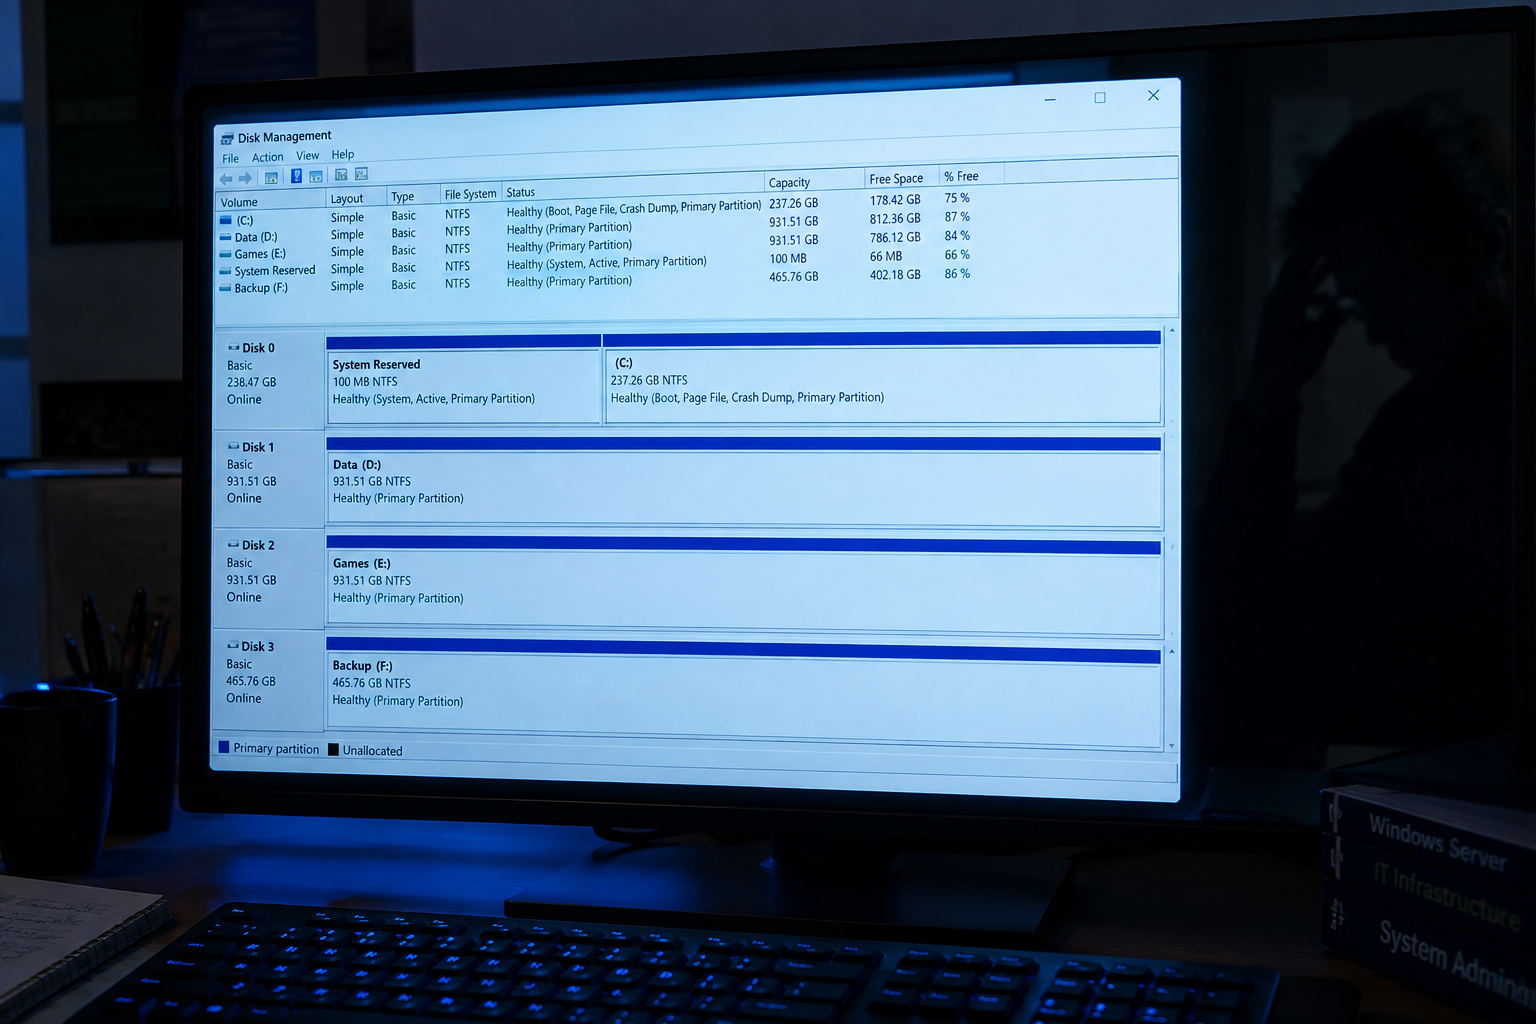
If your NVMe drive shows up fine in Windows but the system won’t boot from it, or it’s missing from the BIOS boot menu specifically, you’re likely dealing with a boot record problem or a UEFI/Legacy mismatch rather than a detection issue.
- Confirm your BIOS boot mode (UEFI vs Legacy/CSM) matches how Windows was installed. A GPT/UEFI install won’t boot under Legacy mode and vice versa.
- If you recently switched between AHCI and RAID/VMD mode on your boot drive, that mismatch alone can cause boot failures. Switch it back unless you’ve properly reconfigured the driver first.
- Boot into Windows Recovery Environment from install media and run
bootrec /fixbootandbootrec /rebuildbcdif the boot files themselves are corrupted.
Be careful with any command that rebuilds partition tables or boot sectors. These tools are generally safe on their own, but always confirm you’re targeting the correct disk number before running anything, since a typo can point the command at the wrong drive.
Frequently Asked Questions
What’s the actual difference between Intel RST and VMD?
RST (Rapid Storage Technology) is the driver and software suite that manages RAID and storage features. VMD (Volume Management Device) is a BIOS-level setting that hands control of the NVMe PCIe lanes over to Intel’s driver stack instead of the standard Windows NVMe driver. VMD has to be enabled for RST to manage NVMe drives, which is exactly why Windows setup can’t see NVMe drives without loading that driver manually.
Can I just disable VMD to make my drive show up?
Yes, if you don’t need RAID across your NVMe drives and don’t already have a boot drive relying on VMD mode. Disabling it in BIOS and switching to plain AHCI lets Windows use its built-in NVMe driver without any manual driver loading. Just don’t do this if you have an existing Windows installation depending on VMD, or it may fail to boot.
Will switching between RAID and AHCI mode delete my data?
Switching the mode itself doesn’t erase data, but it can make an existing Windows installation unbootable because the OS loaded a specific storage driver at install time. The data on the drive stays intact, and switching back to the original mode typically restores bootability. If you need to change modes permanently, back up your data first and be prepared to reinstall Windows if the boot repair steps don’t work.

James Kennedy is a writer and product researcher at Drives Hero with a background in IT administration and consulting. He has hands-on experience with storage, networking, and system performance, and regularly improves and optimizes his home networking setup.