How to Change an SSD From MBR to GPT
MBR vs GPT: What Actually Changes
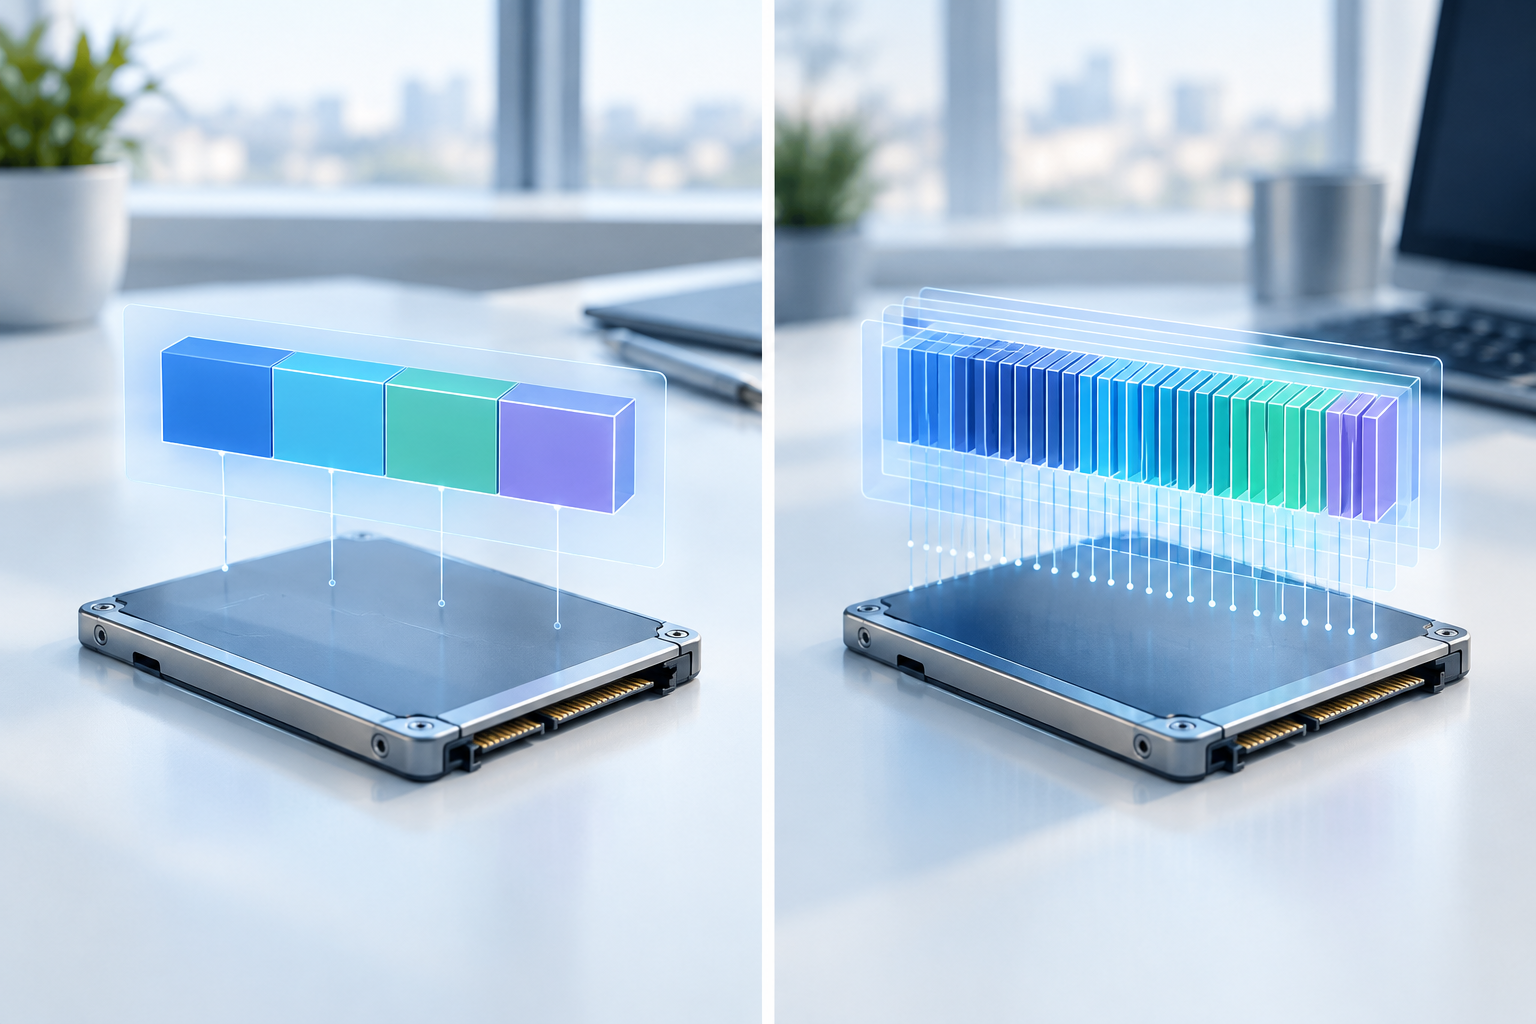
If your SSD is still running on an MBR (Master Boot Record) partition table, you’re stuck with some annoying limits: no more than four primary partitions and a 2TB cap on drive size. GPT (GUID Partition Table) removes both restrictions and pairs better with UEFI firmware, which most PCs built since 2012 use by default.
Switching from MBR to GPT isn’t just a formatting preference. It can affect whether your drive boots at all, so you want to know exactly what you’re doing before you touch a single setting. This guide walks through both the safe, data-preserving method and the full wipe-and-start-over approach, so you can pick the right one for your situation.
Before You Start: Check These Three Things
First, confirm your current partition style. Open Disk Management (right-click the Start button, select Disk Management), right-click your SSD, choose Properties, then the Volumes tab. It’ll say either MBR or GPT right there.
Second, check whether your PC boots in UEFI mode. Press Windows key + R, type msinfo32, and hit Enter. Look for “BIOS Mode” in the System Summary. If it says Legacy, you’ll need to switch your firmware to UEFI in the BIOS after converting the drive, or Windows won’t boot from it.
Third, back up your data regardless of which method you choose. Even the “safe” conversion tool can fail on a drive with disk errors, and you don’t want to find that out the hard way. If you’re also planning to move to a bigger or faster drive at the same time, it’s worth reading up on how to upgrade to a larger SSD first, since capacity and cloning considerations overlap with what you’re doing here.
Method 1: Convert Without Losing Data (MBR2GPT)
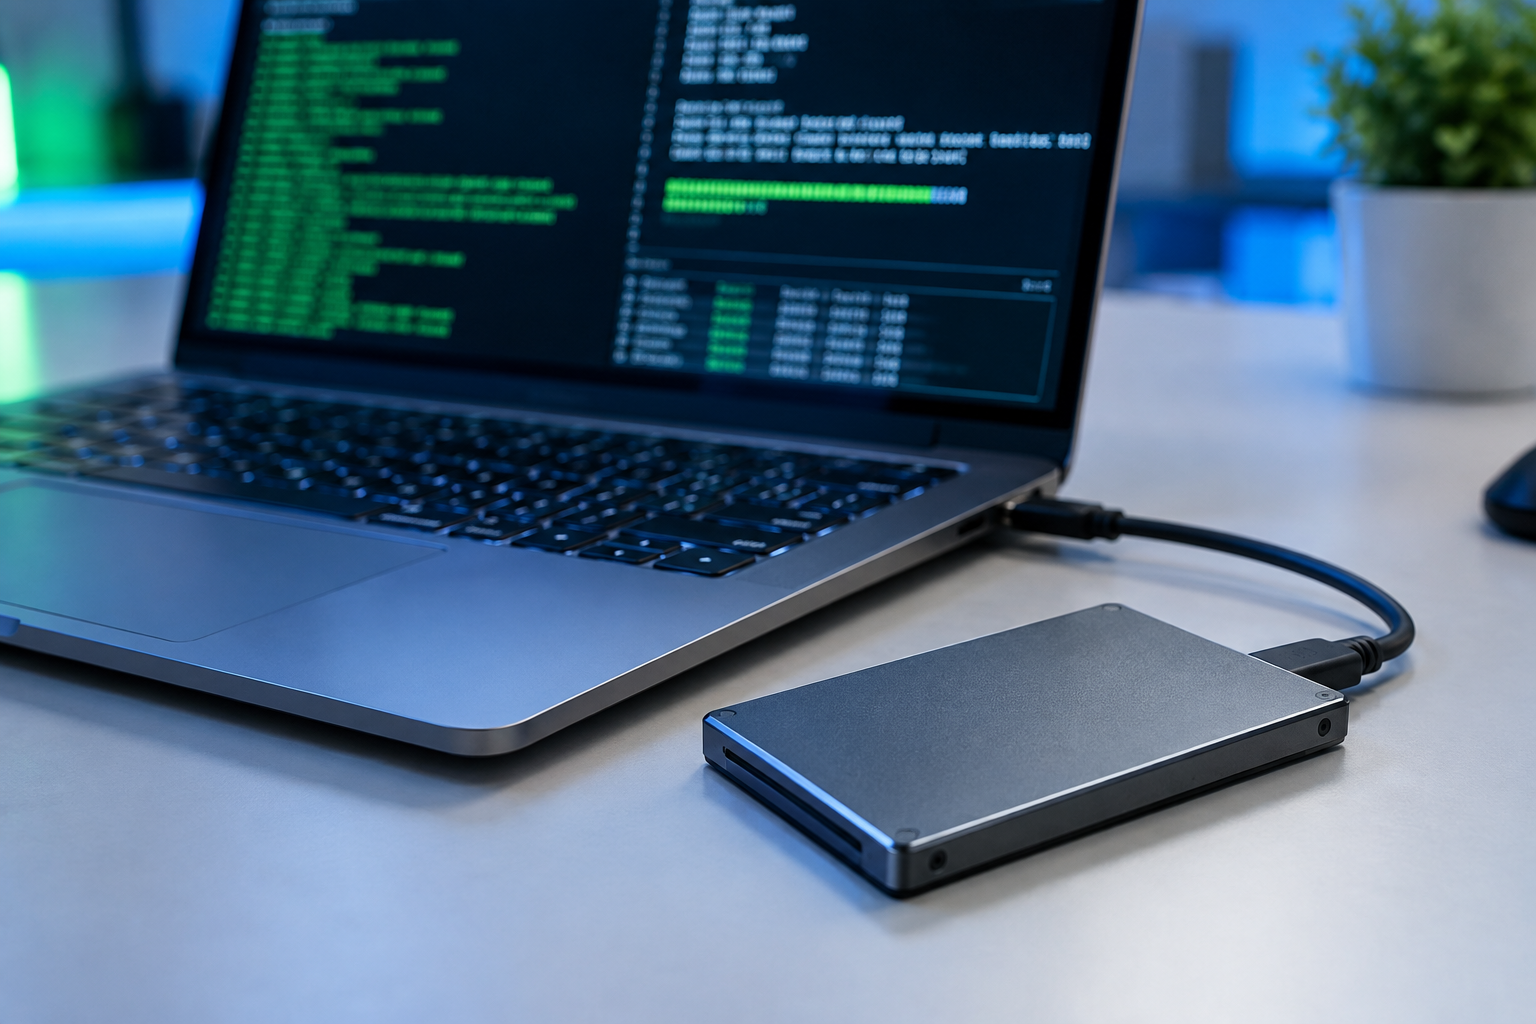
Windows 10 and 11 include a built-in tool called MBR2GPT that converts your system drive in place, without touching your files, apps, or Windows installation. This only works on the boot drive and requires a few conditions: the disk can have at most three partitions used, and there needs to be free space for a new EFI system partition.
- Open Command Prompt as Administrator.
- Run mbr2gpt /validate to check if your drive is eligible. If it fails, the error message will tell you why (usually too many partitions or an incompatible layout).
- If validation passes, run mbr2gpt /convert. This takes a few minutes.
- Restart your PC and enter the BIOS/UEFI settings. Switch the boot mode from Legacy/CSM to UEFI.
- Save and exit. Your system should boot normally, now running on GPT with UEFI.
This method preserves your data because it’s rewriting the partition table structure, not erasing the partitions themselves. That said, always keep a backup on hand. If something goes sideways mid-conversion, you don’t want your only copy of important files sitting on a drive that won’t boot. This is the same logic that applies when you’re trying to upgrade an SSD without losing data through cloning, the safety net matters more than the tool.
Method 2: Clean Conversion (Erases Everything)
If MBR2GPT fails validation, or you’re setting up a secondary drive rather than your boot drive, the clean method using DiskPart is simpler but destructive. Every partition and file on the drive gets wiped.
- Back up anything you need. This step is not optional.
- Open Command Prompt as Administrator and type diskpart.
- Type list disk and identify your SSD by its size. Double-check this, since selecting the wrong disk will erase the wrong drive.
- Type select disk X, replacing X with your SSD’s number.
- Type clean to wipe the partition table entirely.
- Type convert gpt to apply the new GPT scheme.
- Create a new partition and format it through Disk Management or with create partition primary in DiskPart.
If this is your boot drive, you’ll need to reinstall Windows afterward, since the clean command wipes the OS along with everything else. This is a good moment to think about whether you actually want to avoid reinstalling Windows entirely and use MBR2GPT instead, assuming your drive qualifies.
Before you delete anything from an old drive or wipe a partition table, boot into Windows normally and confirm your files, apps, and settings are all where you expect them. If you’re migrating to a new SSD as part of this process, don’t recycle or reformat the source drive until you’ve verified the new one boots cleanly and everything opens correctly.
A Note on BitLocker and Encryption
If your drive has BitLocker or device encryption turned on, suspend it before running MBR2GPT or DiskPart. Converting an encrypted drive without suspending protection can trigger recovery key prompts or, in rare cases, lock you out entirely. Go to Control Panel, BitLocker Drive Encryption, and select “Suspend protection” before you start, then turn it back on once the conversion finishes and you’ve confirmed the system boots.
Frequently Asked Questions
Will converting from MBR to GPT delete my files?
Not if you use MBR2GPT on a qualifying drive, it converts the partition table structure without touching your data. The DiskPart “clean” method does erase everything, so only use that route if you’ve backed up first or you’re setting up a blank secondary drive.
Do I need to change BIOS settings after converting?
Yes, if your PC was booting in Legacy/CSM mode. GPT drives need UEFI boot mode to work as a startup disk. After converting, go into your BIOS and switch the boot mode to UEFI, or Windows won’t load from that drive.

James Kennedy is a writer and product researcher at Drives Hero with a background in IT administration and consulting. He has hands-on experience with storage, networking, and system performance, and regularly improves and optimizes his home networking setup.