How to Move Windows to a Larger SSD Without Reinstalling
Running out of space on your Windows laptop or desktop doesn’t mean you have to wipe everything and start fresh. Cloning your existing drive to a larger SSD lets you keep your operating system, installed programs, settings, and files exactly as they are, just with a lot more room to breathe. It’s one of the few PC upgrades where you get more storage without losing a single afternoon to reinstalling software.
This guide walks through the entire process, including the parts most tutorials skip, like what happens to your EFI partition, whether BitLocker will cause problems, and how to make sure your new drive actually boots before you touch the old one.
Before You Start: What Gets Preserved and What Doesn’t
Cloning copies your drive sector by sector or file by file, depending on the software, which means your Windows installation, apps, drivers, and personal files all transfer over intact. Nothing gets erased on the source drive during cloning itself. The destination drive is a different story: any existing data on the new SSD will be overwritten, so if it’s brand new out of the box, that’s a non-issue.
Bootability is preserved as long as the clone includes the hidden system partitions, not just your C: drive. Windows uses a small EFI System Partition (ESP) and sometimes a Recovery partition alongside your main partition. Good cloning software copies all of these automatically, but it’s worth double checking the software shows multiple partitions being cloned, not just one big blob labeled “C:”.
If your current drive uses BitLocker or device encryption, decrypt it before cloning or at least suspend protection through Settings > Privacy & Security > Device Encryption. Cloning an encrypted drive can sometimes trigger a recovery key prompt on first boot, and it’s much less stressful to handle this ahead of time than to be locked out afterward.
Step 1: Check Capacity and Connect the New SSD
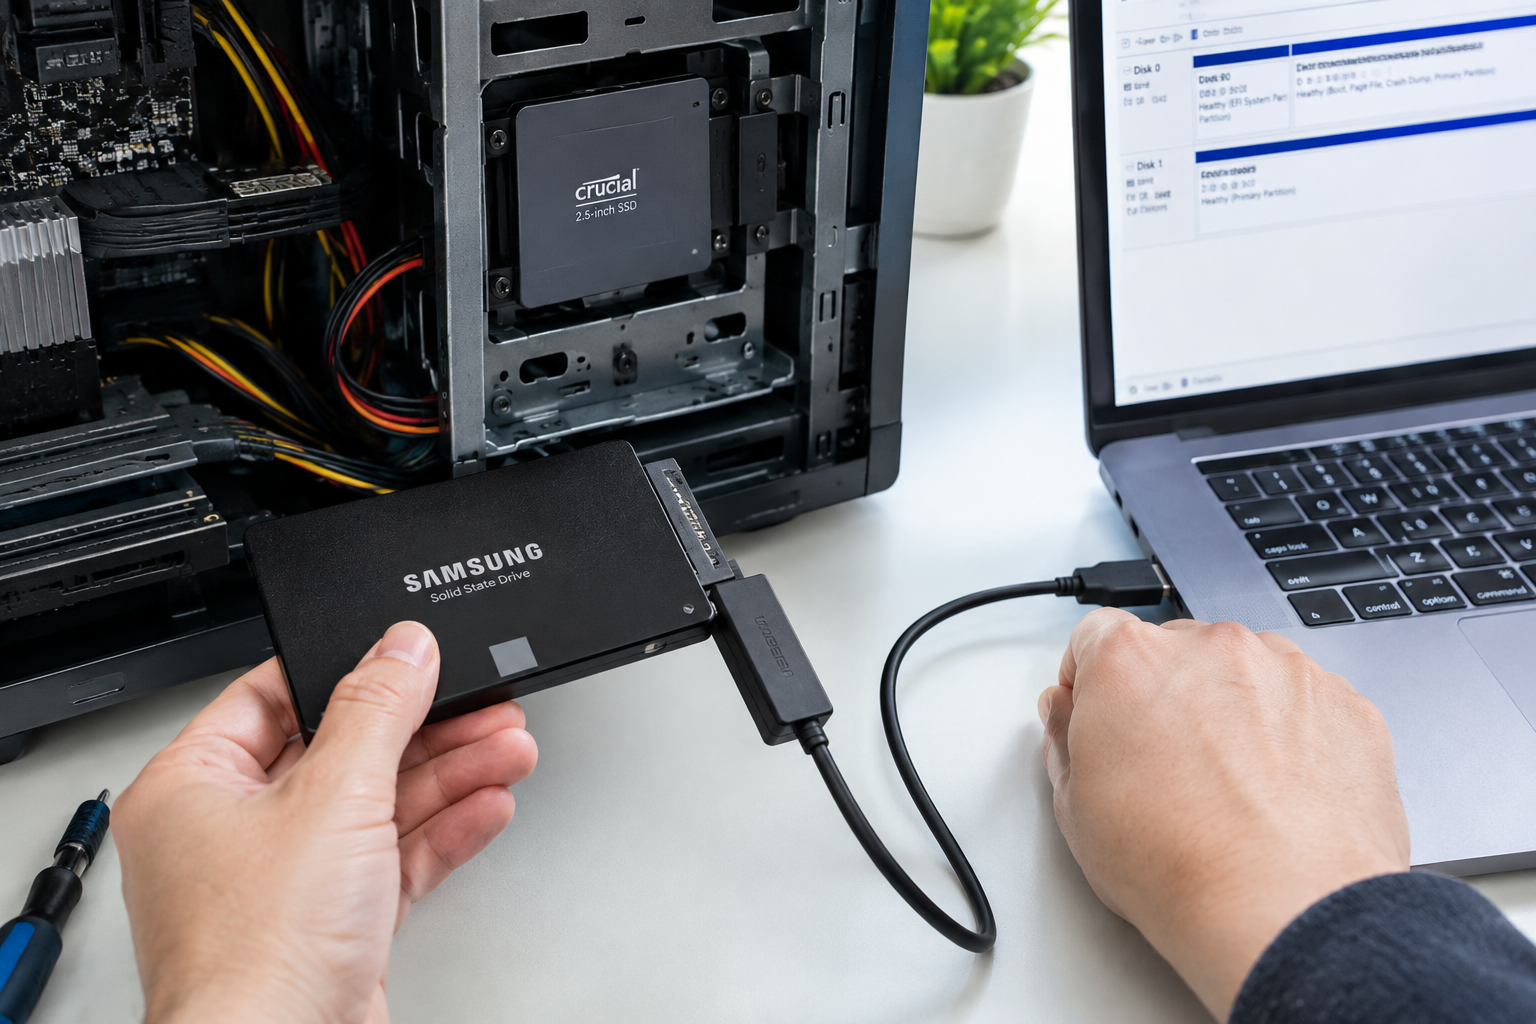
Your destination SSD needs to be at least as large as the used space on your current drive, not the total drive capacity. If you’re moving from a 500GB drive with 300GB used to a 1TB SSD, you’re fine. Most cloning tools will refuse to proceed if the destination doesn’t have enough room for your existing data.
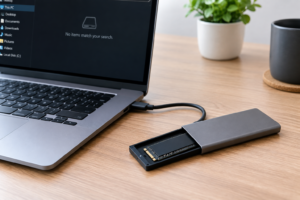
For laptops with only one drive bay, you’ll need to connect the new SSD externally first. This is where an NVMe USB enclosure earns its keep, since it lets you clone directly to the new drive before you ever open up the laptop.
NVMe USB Enclosure
A reliable way to connect your new NVMe SSD externally for cloning before installation.
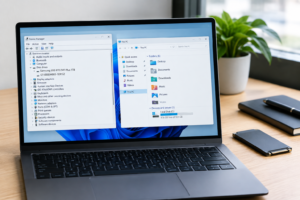
Desktop users with a free SATA or M.2 slot can just install the new SSD internally alongside the old one. Either way, once Windows recognizes the new drive in Disk Management, you’re ready to clone. If you’re unsure whether your particular machine even supports a swap, check our guide on how to upgrade to a larger SSD for model-specific considerations.
Step 2: Clone the Drive
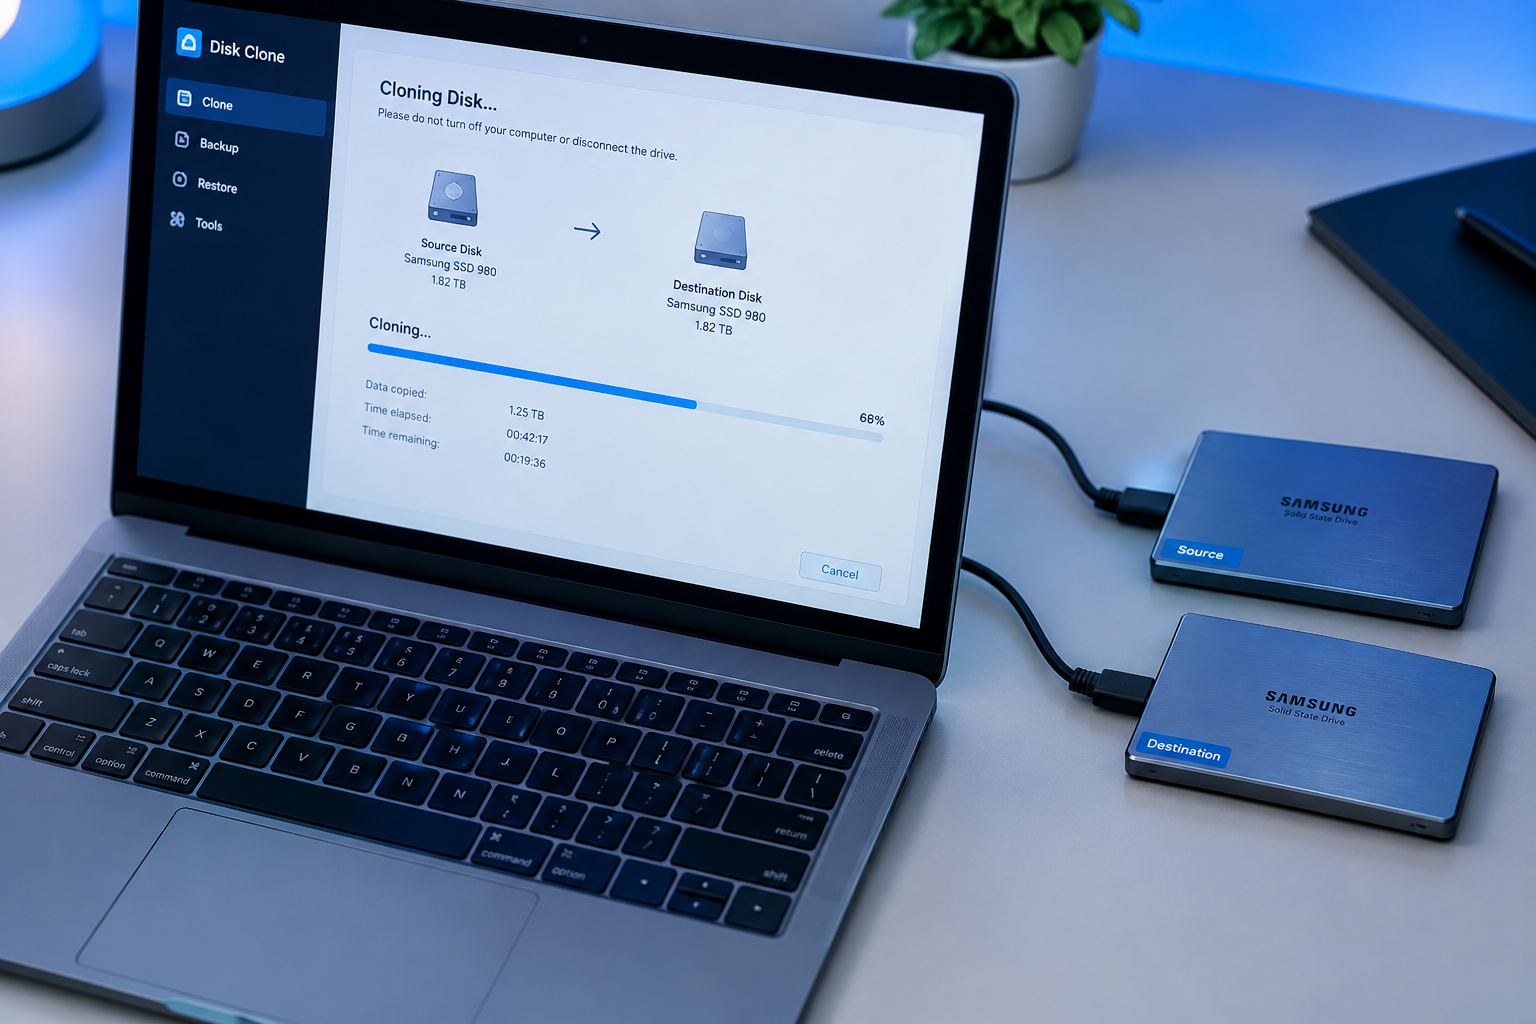
Free tools like Macrium Reflect Free and the cloning software bundled with most SSD brands (Samsung Data Migration, Crucial’s Acronis-based tool) handle this well. Install the software, select your current drive as the source and the new SSD as the destination, and let it run. Depending on how much data you have, expect anywhere from twenty minutes to a couple of hours.
A few practical tips here:
- Close background programs and pause backups or sync tools (OneDrive, Dropbox) during the clone to avoid file lock errors.
- Plug your laptop into power. A clone that gets interrupted by a dead battery is a bad time.
- If the software offers to resize partitions during cloning, let it expand your main partition to fill the new drive’s capacity, otherwise you’ll be stuck with unallocated space afterward.
Once the clone finishes, shut down and swap the drives if you were cloning to an internal bay, or just leave the new drive connected if it’s already installed. Enter your BIOS/UEFI setup (usually F2, F10, F12, or Del at startup) and confirm the new SSD appears in the boot order. Most modern systems detect it automatically, but if you’re on an older BIOS still using Legacy boot mode instead of UEFI, you may need to match the partition style (MBR vs GPT) between old and new drives for it to boot correctly.
Step 3: Verify Before You Wipe the Old Drive
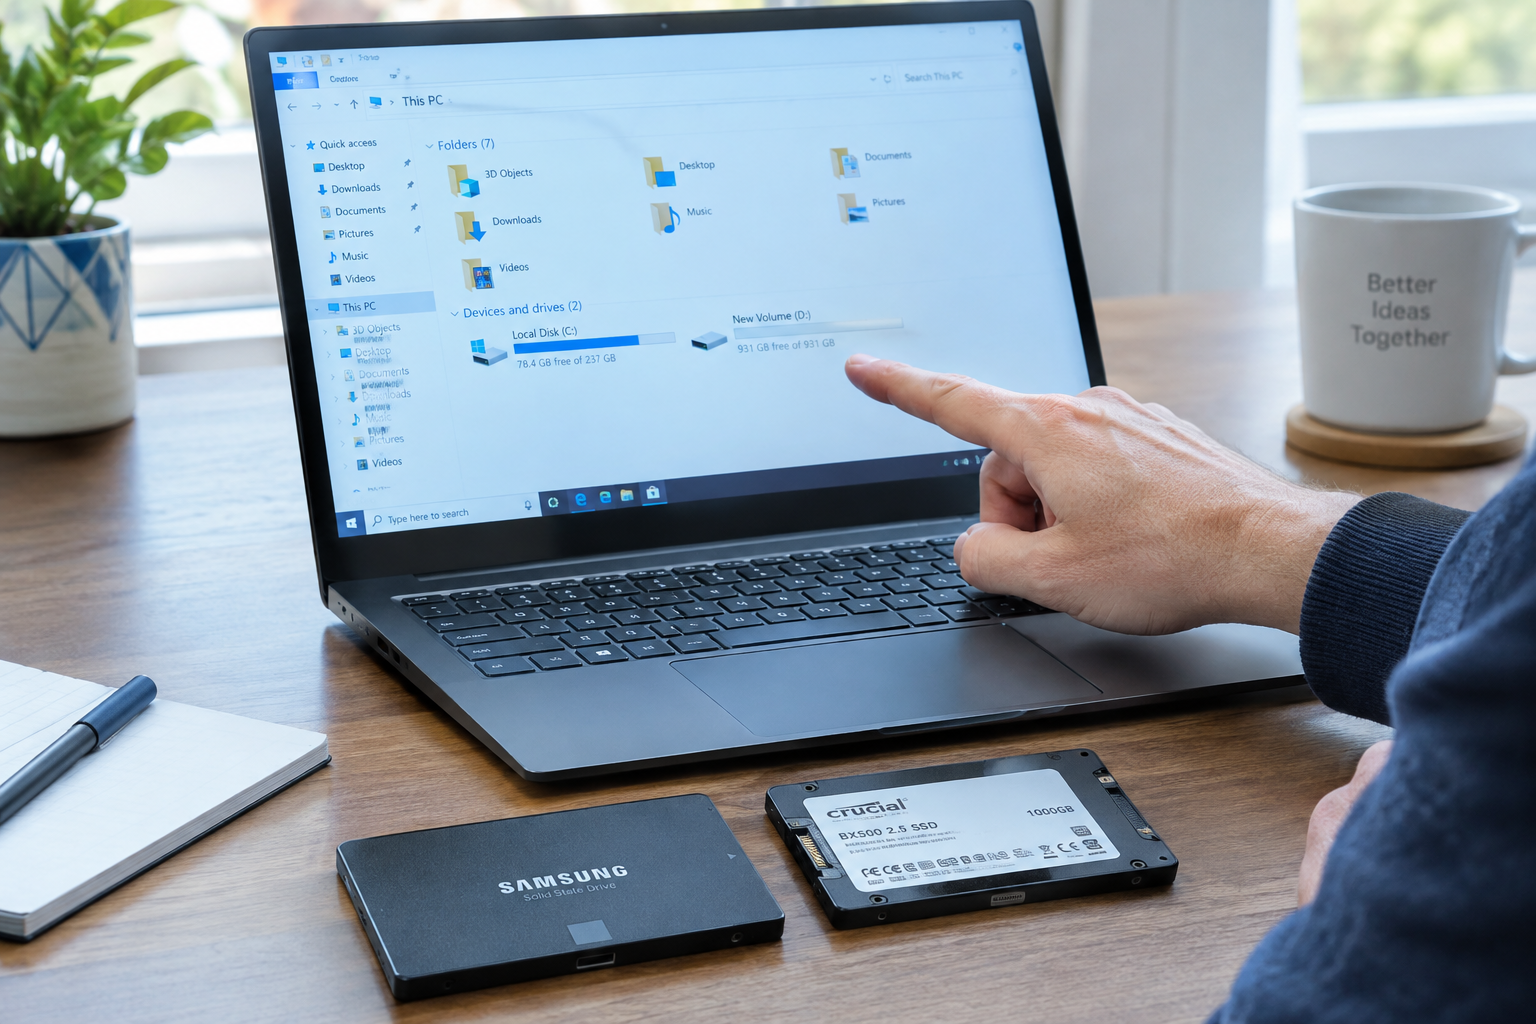
This step gets skipped constantly, and it’s the one that saves you when something goes wrong. Boot fully into Windows from the new SSD. Check that your desktop looks normal, open a few programs, confirm your files are there, and run winver or check Disk Management to make sure you’re actually running from the new drive and not the old one.
Give it a day or two of normal use before you reformat or repurpose the old drive. Once you’re confident everything works, you can wipe the old SSD and use it as external storage, or keep it as a cold backup for a while longer. If you’d rather avoid cloning software entirely and do a fresh install with your files backed up separately, our article on upgrading an SSD without losing data covers that alternative approach.
For a fast, reliable destination drive, something like the Samsung 970 EVO Plus is a solid pick if your machine supports NVMe, giving you a real speed boost on top of the extra capacity. If you’re not sure whether your laptop even has an NVMe slot or is limited to SATA, our comparison of SATA vs NVMe SSDs breaks down the practical differences.
Frequently Asked Questions
Do I need to reinstall Windows after cloning to a larger SSD?
No. Cloning is specifically meant to avoid a reinstall. Your Windows installation, activation, installed programs, and files all carry over to the new drive exactly as they were, assuming the clone completes successfully and the system partitions were included.
Why won’t my PC boot from the new SSD after cloning?
The most common cause is a mismatch between partition styles (GPT vs MBR) or the BIOS still pointing to the old drive in its boot order. Check your UEFI boot settings first, and confirm the cloning software actually copied the EFI System Partition rather than just the main data partition.
This article contains affiliate links. We may earn a small commission at no extra cost to you.

James Kennedy is a writer and product researcher at Drives Hero with a background in IT administration and consulting. He has hands-on experience with storage, networking, and system performance, and regularly improves and optimizes his home networking setup.