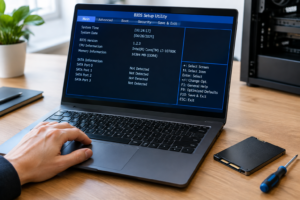
How to Install Windows 11 on a New NVMe SSD
Dropping a new NVMe drive into your desktop or laptop is one of the best upgrades you can make, but getting Windows 11 onto it isn’t always as simple as plugging it in and hoping for the best. Depending on whether you want to keep your current setup or start completely fresh, the process changes quite a bit, and skipping a step can mean lost files or a drive that won’t boot.
This guide walks through both paths: cloning your existing Windows installation onto the new NVMe drive, and doing a clean install from scratch. We’ll cover the BIOS settings you need to check, what happens to your data in each scenario, and how to confirm everything works before you touch your old drive.
Before You Start: Check These Things First
Not every motherboard or laptop handles NVMe the same way, so a few checks now will save you headaches later.
- Confirm your slot supports NVMe. Some older M.2 slots only support SATA-based M.2 drives, not NVMe. Check your motherboard manual or laptop’s official specs page.
- Check your BIOS/UEFI mode. Windows 11 requires UEFI boot mode with Secure Boot enabled, not Legacy/CSM. If your current install is running in Legacy mode, you’ll need to convert or do a clean install.
- Verify TPM 2.0 is enabled. Windows 11 checks for this during setup. Most systems from the last several years have it built in but disabled by default (often listed as “PTT” on Intel boards or “fTPM” on AMD boards).
- Know your capacities. If you’re cloning, your new NVMe drive needs to be at least as large as the used space on your current drive, not the drive’s total capacity. If you’re going from a 1TB drive with 200GB used down to a 512GB NVMe, that’s fine. Going the other direction with more used data than the new drive holds will fail immediately.
If you’re still deciding between drive sizes or capacities, it’s worth reading up on what 512GB actually means for real-world usage before you buy, since actual usable space is always a bit less than the label suggests.
Option 1: Clean Install (Erases Everything)
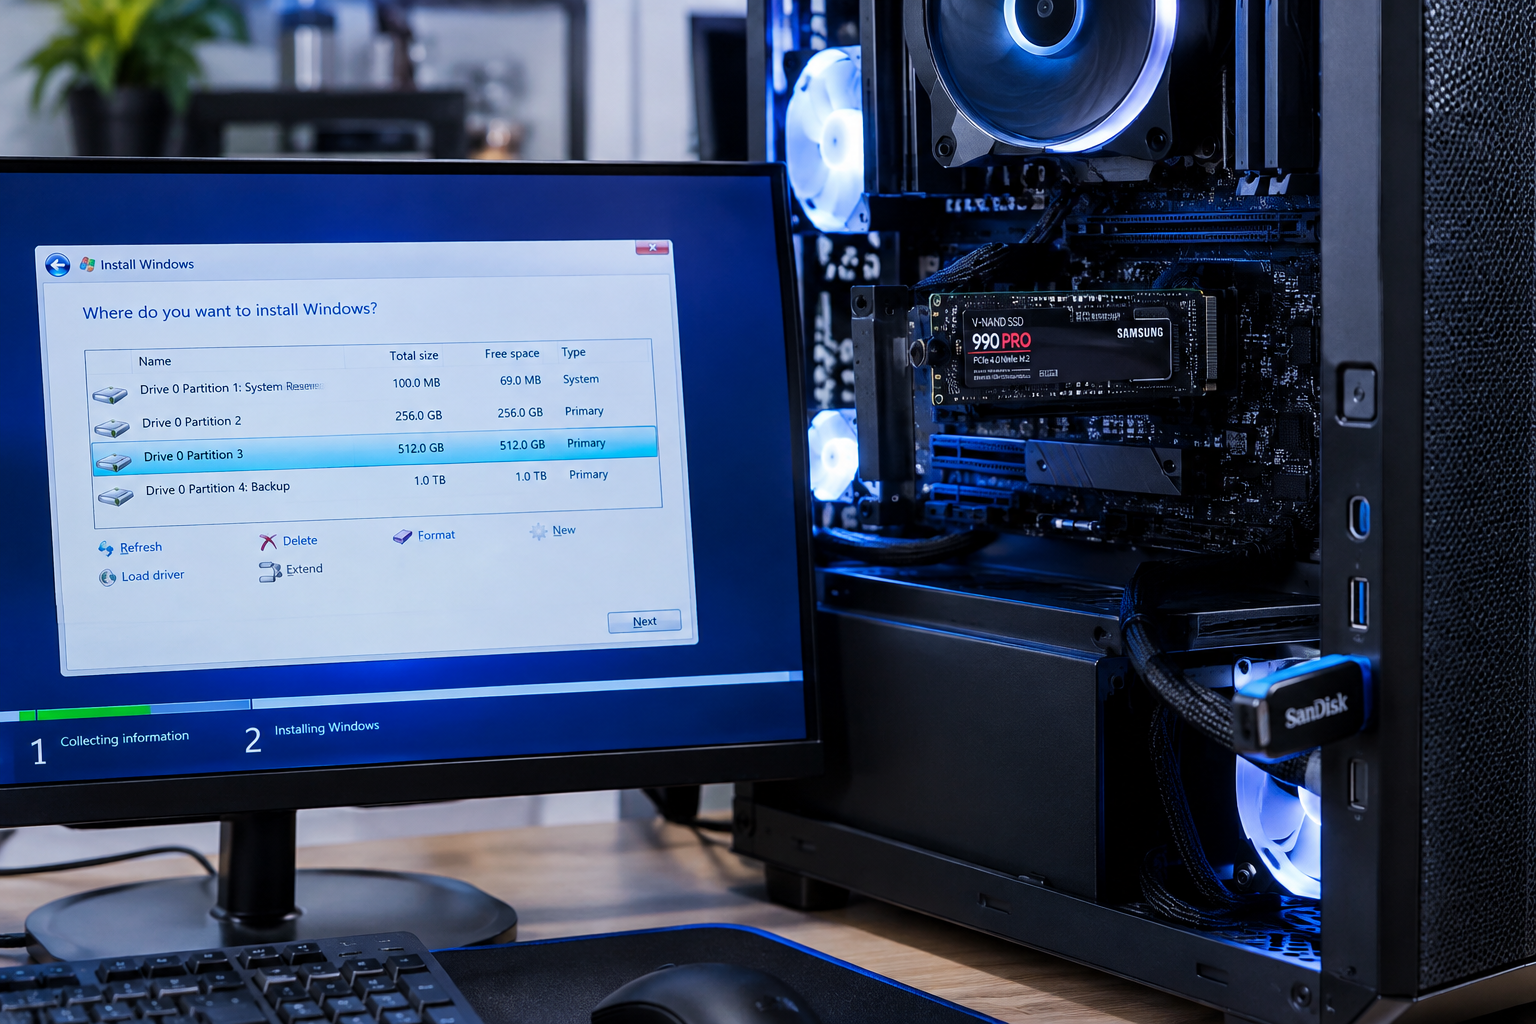
A clean install is the most reliable way to get Windows 11 running well on new hardware. It wipes the destination drive completely, so this only applies to the new NVMe drive itself, not your old one, as long as you’re careful during setup.
Warning: A clean install erases all data on the target drive. Back up anything important from your old drive before starting, and double check you’re installing to the new NVMe drive, not your existing one.
Steps for a Clean Install
- Download the Windows 11 Media Creation Tool from Microsoft’s official site and create a bootable USB drive (8GB or larger).
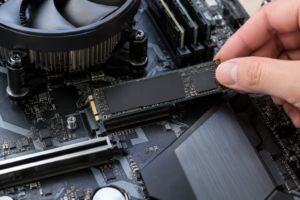
- Install the new NVMe drive into your system if it isn’t already, following your manufacturer’s instructions for the M.2 slot.
- Boot into BIOS/UEFI and confirm the boot mode is set to UEFI, Secure Boot is enabled, and TPM is active.
- Set the USB drive as the first boot device and restart.
- When Windows Setup loads, choose “Custom: Install Windows only” and select the new NVMe drive as the target. Delete any existing partitions on it first if it had a prior OS.
- Let the installer run. It will reboot several times automatically.
- Once you’re in Windows, install chipset and NVMe drivers from your motherboard or laptop manufacturer’s site, then run Windows Update.
This route gives you the cleanest, fastest-running system since there’s no leftover bloat from years of previous installs. If you’ve been meaning to move off an old spinning hard drive entirely, this is also the ideal time to do it, since a fresh Windows 11 install on NVMe feels noticeably snappier than even a healthy SSD setup.
Option 2: Clone Your Existing Drive (Preserves Everything)
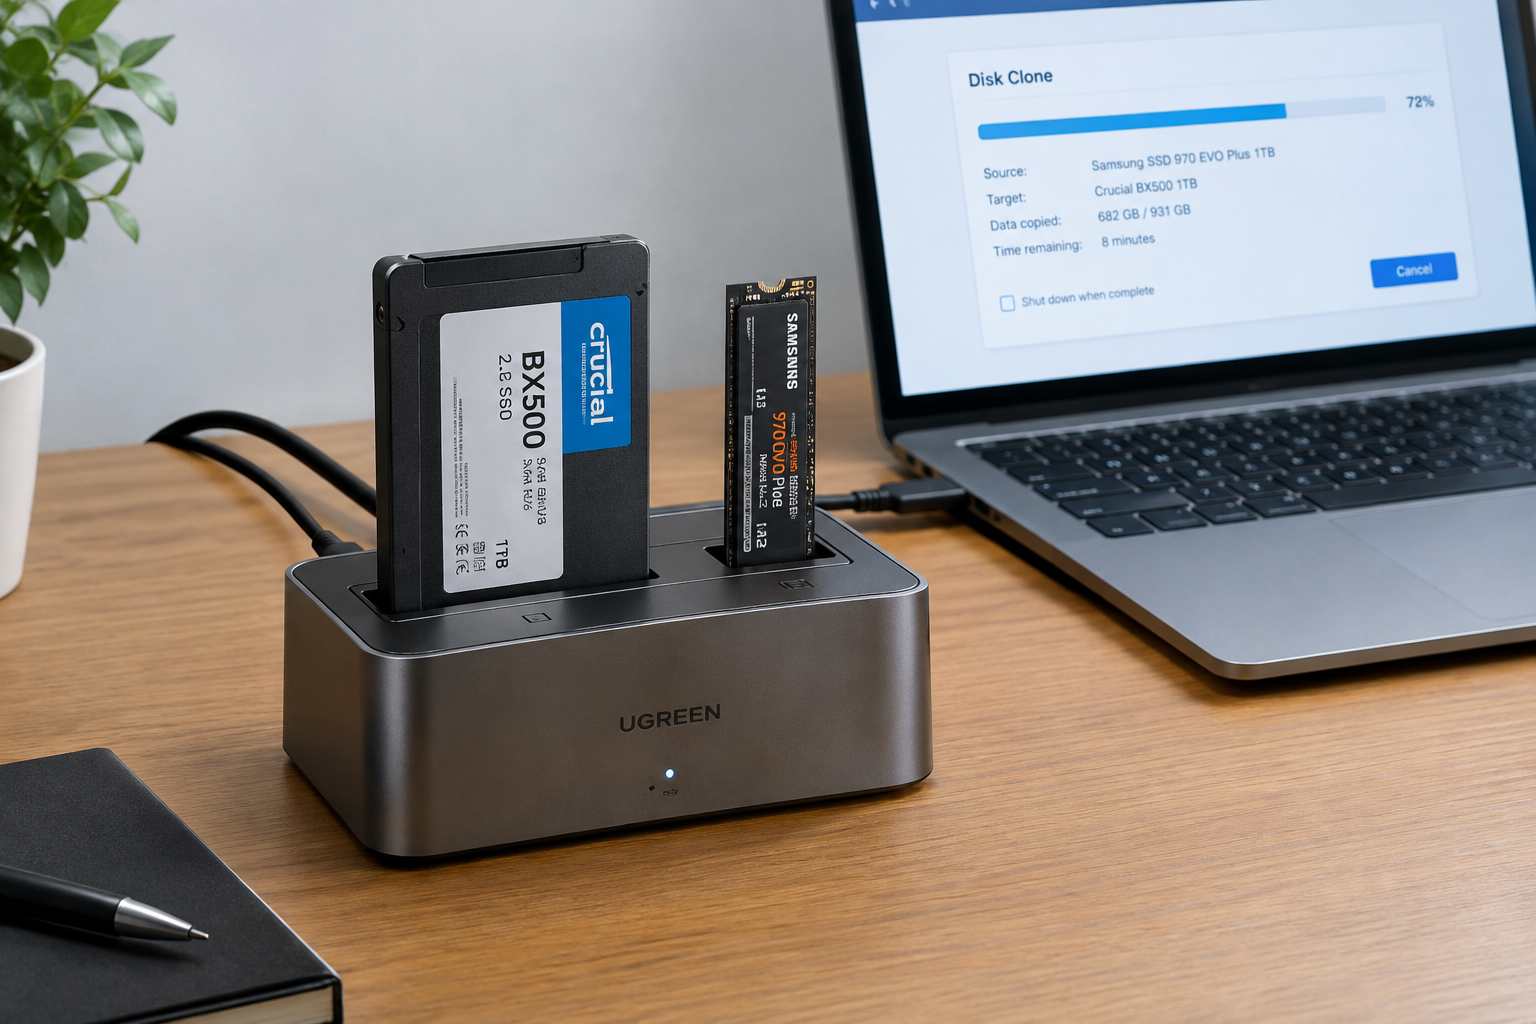
If you don’t want to reinstall your apps and reconfigure everything from scratch, cloning is the better option. This copies your entire existing Windows installation, including the EFI system partition, recovery partition, and all your files, onto the new NVMe drive.
Cloning preserves your data completely, but it does carry more risk than a clean install if something goes wrong mid-process, so don’t skip the verification step later in this article.
Handling BitLocker Before You Clone
If your current drive has BitLocker or Windows Device Encryption turned on, you need to suspend it before cloning. Go to Control Panel > BitLocker Drive Encryption and select “Suspend protection” on your system drive. Cloning an encrypted drive without suspending it first can leave the clone unbootable or trigger a recovery key prompt that you may not have saved anywhere accessible.
Steps to Clone to NVMe
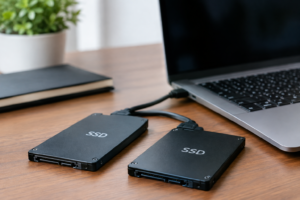
- Install the new NVMe drive in an available slot (if your system only has one M.2 slot, you’ll need a USB-to-NVMe enclosure or adapter for this step).
- Suspend BitLocker/Device Encryption as described above.
- Download cloning software. Macrium Reflect Free, EaseUS Todo Backup, and the manufacturer’s own tools (Samsung Magician, Crucial’s Acronis-based tool, WD Dashboard) all work well and are free.
- Launch the software and select your current drive as the source and the new NVMe as the destination.
- Confirm the software is cloning the EFI system partition along with your main Windows partition. Most tools do this automatically when cloning an entire disk rather than a single partition.
- Run the clone. Depending on how much data you have, this can take anywhere from 15 minutes to a few hours.
- Once finished, shut down, remove or disconnect the old drive, and boot from the new NVMe drive alone.
- Enter BIOS/UEFI and confirm the new NVMe drive is set as the primary boot device.
If your laptop only has room for one drive, like many ultraportables including the Dell XPS 13, you’ll be doing this clone through a USB enclosure before physically swapping the drives. The process for upgrading storage on single-slot laptops follows the same logic even when the hardware access is more involved.
Verifying the Clone Before You Wipe the Old Drive
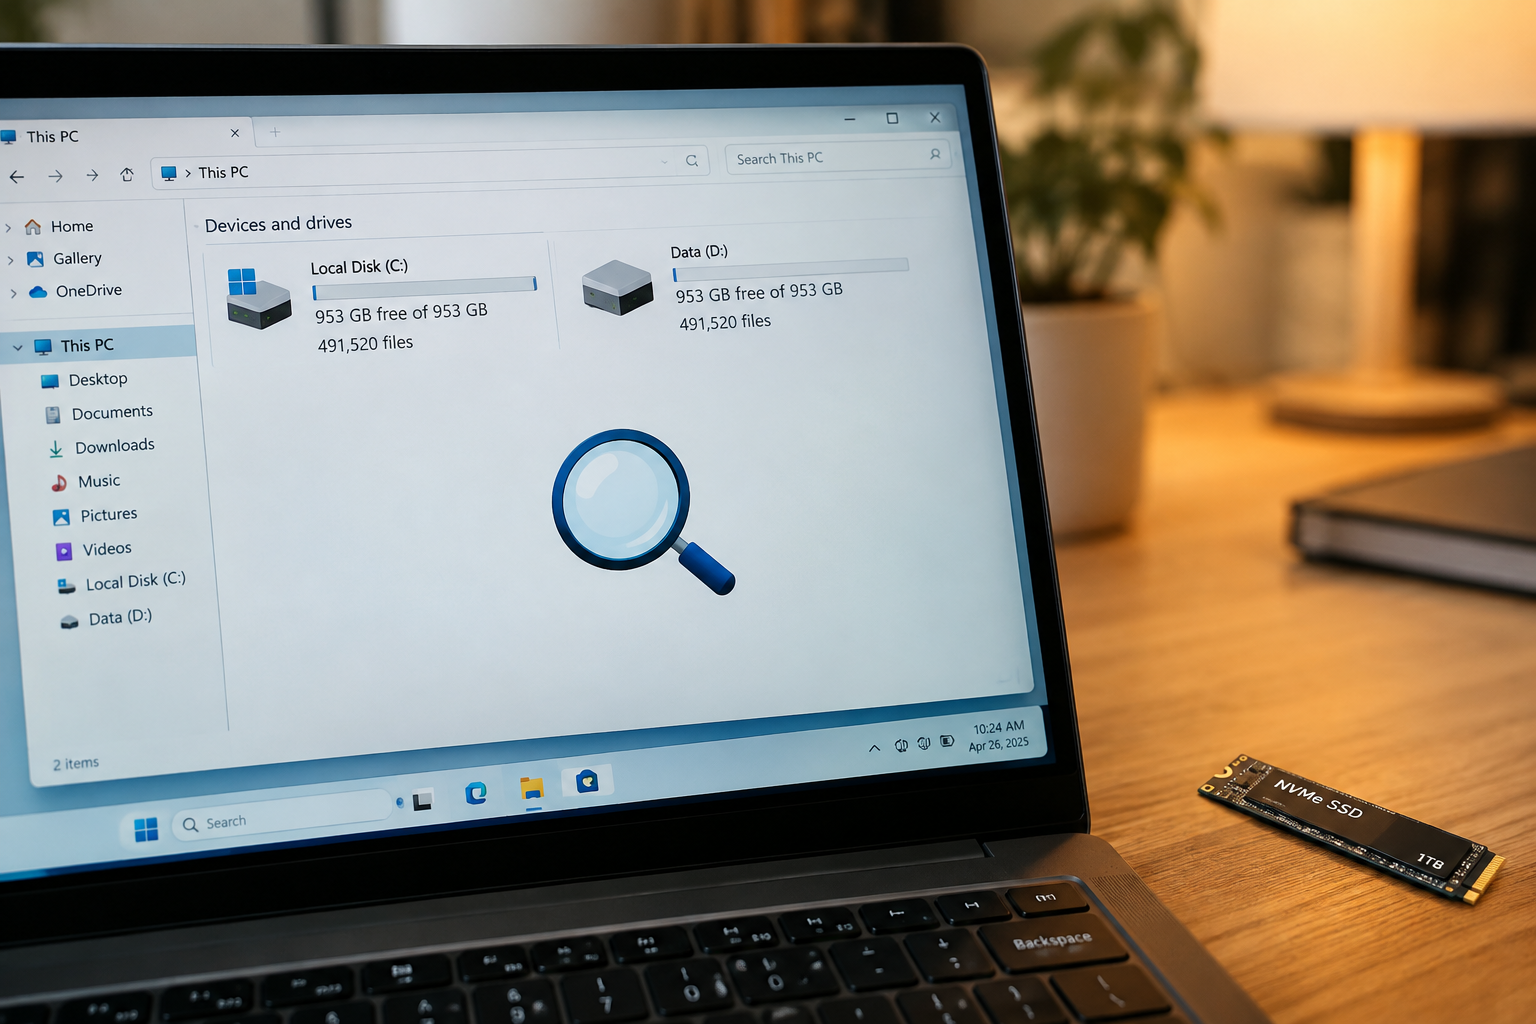
Don’t erase or reformat your old drive the moment the clone finishes. Boot into Windows on the new NVMe drive and confirm everything actually works first.
- Check that all your files, folders, and installed programs are present and open correctly.
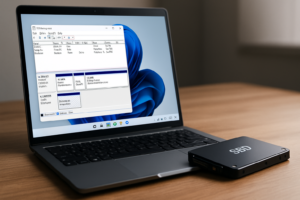
- Open Disk Management and confirm the new drive shows as the boot/system partition.
- Run winver and check Windows Update to make sure the OS is fully functional and activated.
- Let the system run normally for at least a few days, including a couple of full restarts, before you touch the old drive.
Once you’re confident the new drive is stable, you can wipe the old one and reuse it, or repurpose it as external storage. Re-enable BitLocker on the new drive if you had it suspended earlier.
Which Method Should You Actually Use?
If your current Windows install is a few years old, has accumulated a lot of junk software, or has ever felt sluggish for no clear reason, do the clean install. It takes a bit longer upfront but you’ll end up with a system that runs the way NVMe drives are supposed to run.
Cloning makes more sense if your current setup is already well organized and you just want more space or speed without the hassle of reinstalling forty applications and re-entering license keys. Either way, once you’re running Windows 11 on NVMe, you’ll notice boot times and app launches that a SATA SSD simply can’t match, particularly in games and large creative applications that load a lot of assets at once.
FAQ
Will installing Windows 11 on a new NVMe drive delete my old drive’s data?
No. Your old drive is untouched during either a clean install or a clone, as long as you correctly select the new NVMe drive as the installation or destination target. The risk only comes from accidentally selecting the wrong drive during setup, so always double check drive letters and sizes before confirming.
Do I need to buy a new Windows 11 license for the new drive?
Usually not. If your current installation is activated and linked to your Microsoft account, Windows 11 will typically reactivate automatically on the new drive once it detects the same hardware, especially after a clone. For a clean install on the same physical machine, activation almost always resolves itself within a few minutes of connecting to the internet.
Can I use an NVMe drive if my motherboard only has SATA M.2 slots?
Physically, an NVMe drive might fit into a SATA-only M.2 slot, but it won’t work since the two use completely different protocols. Check your motherboard specs for “PCIe NVMe support” on the M.2 slot before buying a drive, and if you’re unsure how the two technologies actually differ, this breakdown of NVMe versus other SSD types covers it in plain terms.

James Kennedy is a writer and product researcher at Drives Hero with a background in IT administration and consulting. He has hands-on experience with storage, networking, and system performance, and regularly improves and optimizes his home networking setup.