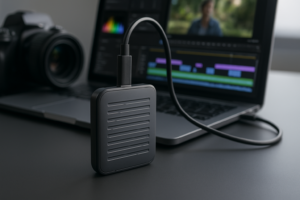
NVMe SSD Slower in an Enclosure
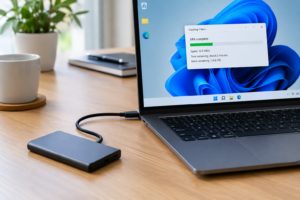
You dropped a fast NVMe drive into an external enclosure expecting blazing speeds, and instead you’re getting numbers that look suspiciously like a regular SATA SSD or worse. This is one of the most common frustrations with external storage, and it almost never means your drive is defective. It usually means something in the chain between the drive and your computer is holding everything back.
The good part is that this chain has a limited number of links, and once you know what to check, you can usually pinpoint the bottleneck in a few minutes. Let’s go through each piece, starting with the video below for a visual walkthrough, then breaking down every variable that affects real-world speed.
Check the Drive Itself First: SATA M.2 vs NVMe M.2
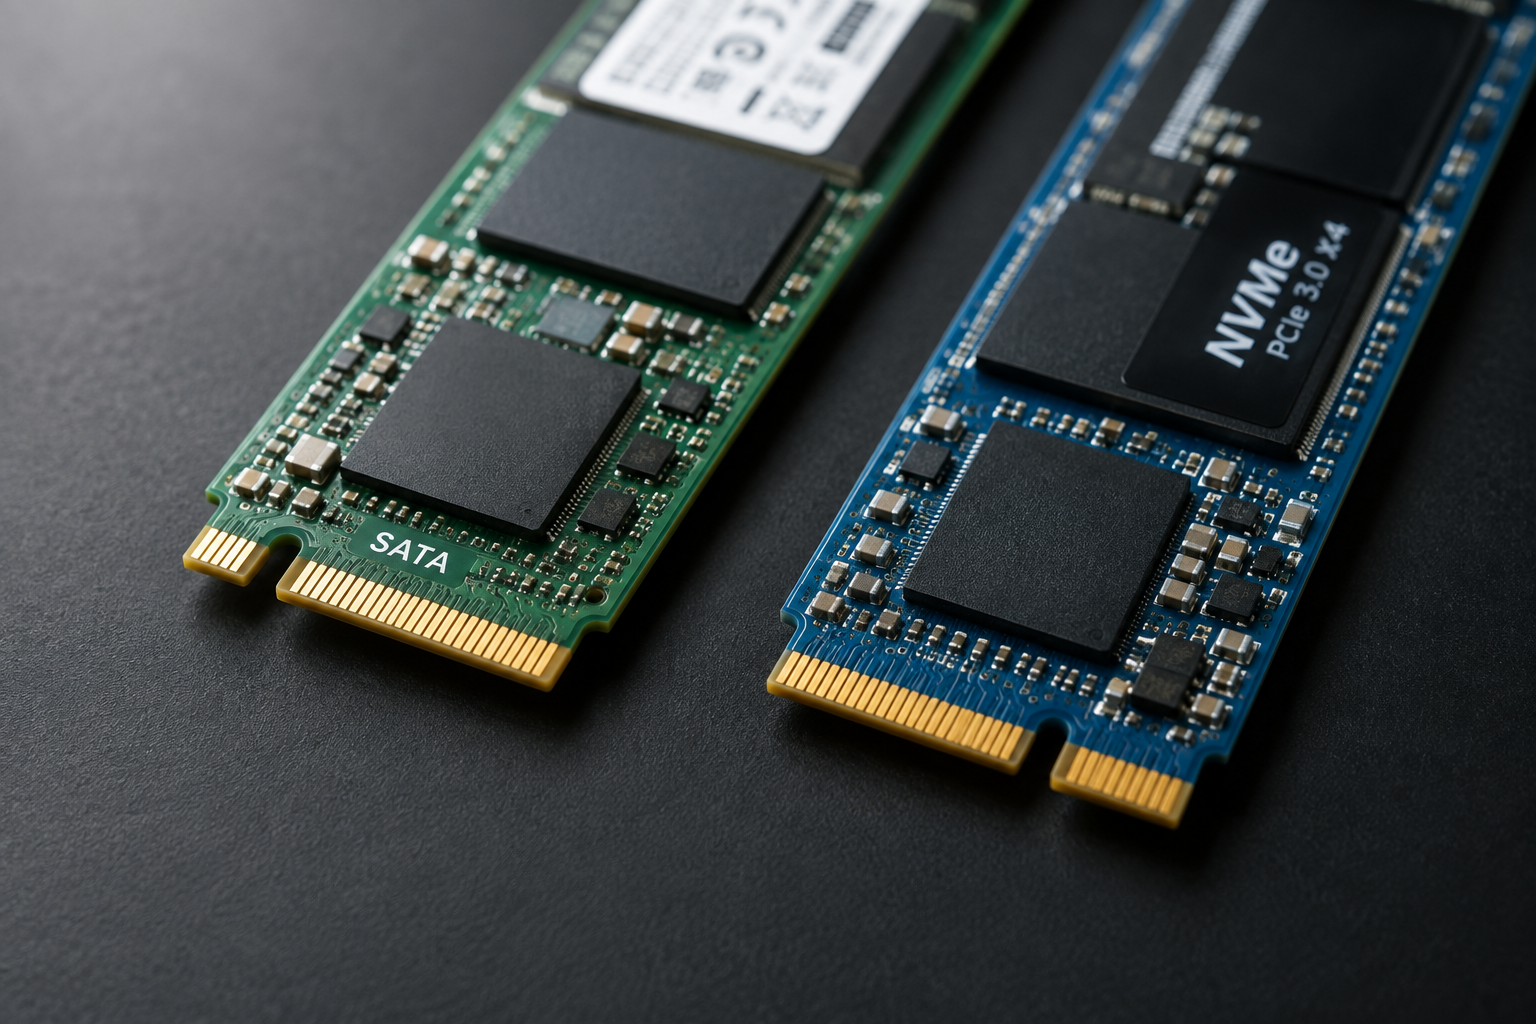
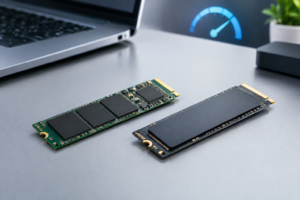
Before touching cables or settings, confirm you actually have an NVMe drive. This trips up more people than you’d think. M.2 is just a physical connector shape, and it hosts two completely different technologies.
SATA M.2 drives use the same interface as a 2.5-inch SATA SSD, just in a different shape. They top out around 550 MB/s no matter what enclosure you put them in. NVMe M.2 drives use the PCIe bus and can theoretically hit several gigabytes per second. If your enclosure is rated for 10Gbps or faster but you’re only seeing SATA-like speeds, there’s a real chance you’ve got a SATA M.2 drive in an NVMe enclosure, or vice versa, and the connection simply isn’t working the way you expect.
Check your drive’s spec sheet or the label on the drive itself. Look for “NVMe” or “PCIe” explicitly. If you’re unsure how NVMe compares to older SSD types in general, this breakdown of whether NVMe is really faster than standard SSDs covers the technical differences in plain terms.
The Enclosure Bridge Chip Matters More Than the Brand
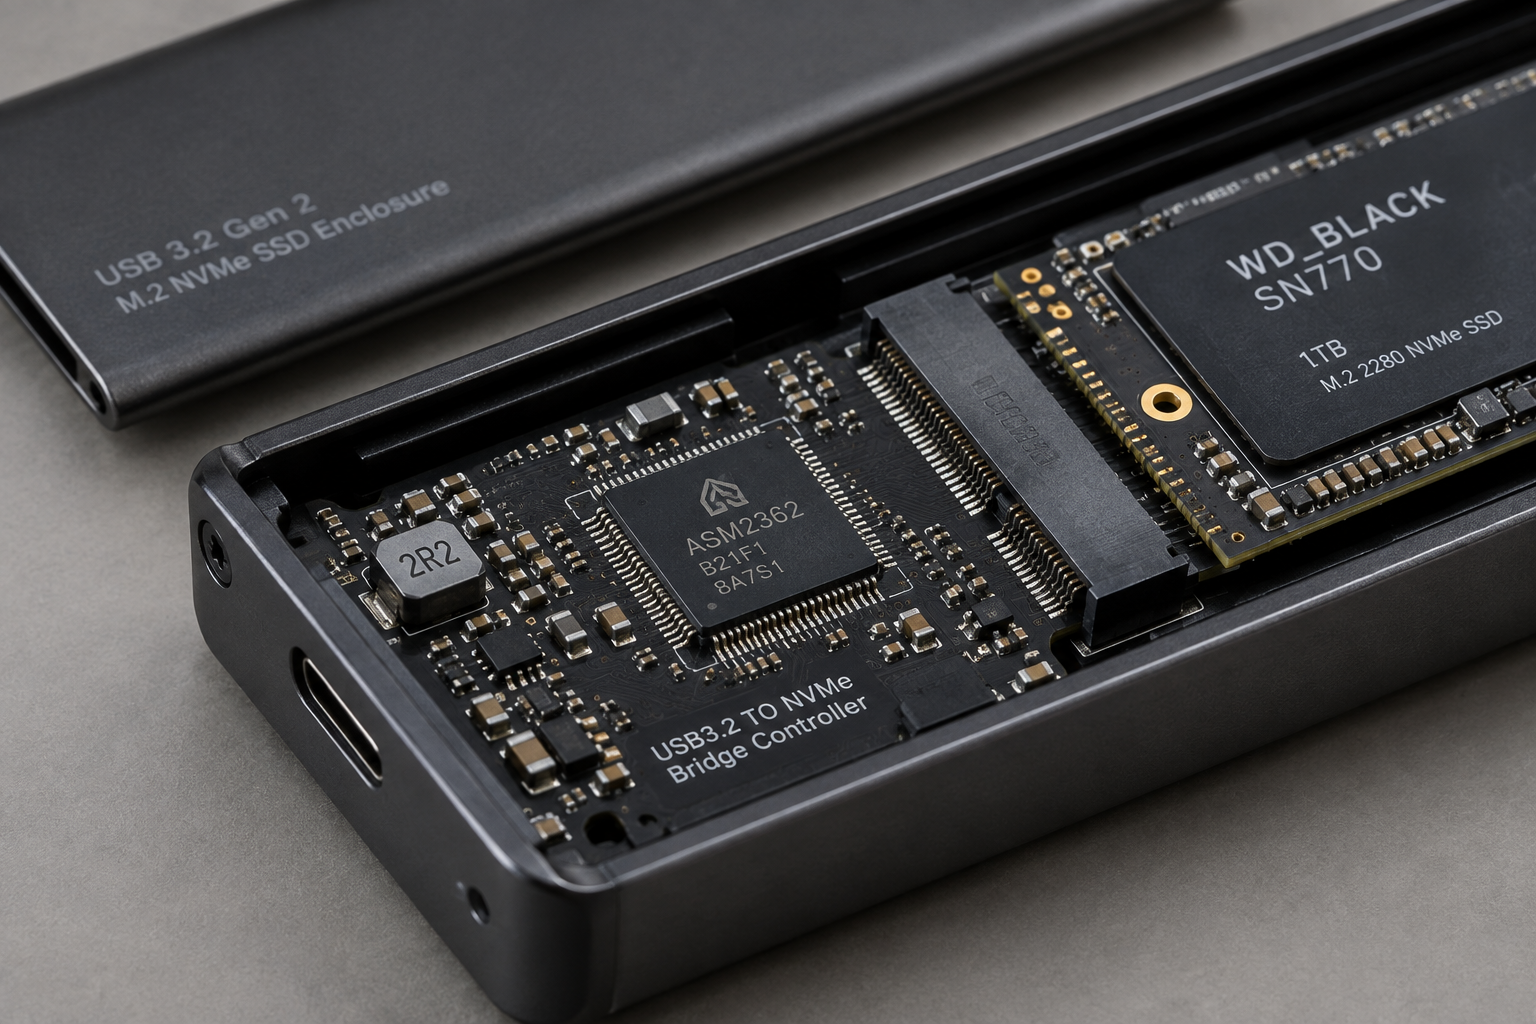
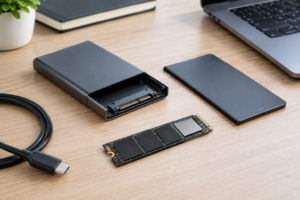
Every NVMe enclosure has a small controller chip, often called a bridge chip, that translates NVMe/PCIe signals into USB or Thunderbolt data. This chip is arguably the single biggest factor in real-world performance, and it’s the part manufacturers talk about the least.
Cheap enclosures often use older or lower-end bridge chips that cap out well below their advertised port speed. A “10Gbps” enclosure with a weak controller might realistically deliver 700 to 900 MB/s instead of the theoretical 1000+ MB/s ceiling. A well-built enclosure with a modern chip (ASMedia and Realtek make some of the more respected ones) will get much closer to the real limit of the connection.
This is why two enclosures with identical port specs can perform noticeably differently. If you’re shopping for a replacement, look at actual benchmark reviews rather than just the box specs.
ORICO NVMe Enclosure 10Gbps
A solid mid-range enclosure with a reliable bridge chip that actually gets close to its rated speed.
USB and Thunderbolt Standards: What You’re Actually Getting
Naming conventions for USB have gotten messy over the years, and that confusion translates directly into disappointing speeds. Here’s roughly what to expect in the real world, not the marketing number:
- USB 3.2 Gen 1 (5Gbps): realistically 400 to 480 MB/s
- USB 3.2 Gen 2 (10Gbps): realistically 900 to 1050 MB/s
- USB 3.2 Gen 2×2 (20Gbps): realistically 1700 to 1900 MB/s, but rare and finicky support
- Thunderbolt 3/4 (40Gbps): realistically 2500 to 2800 MB/s with a proper NVMe enclosure
Notice that even the fastest standards never hit their theoretical max in practice. Protocol overhead, encoding, and controller efficiency all eat into the number. If your enclosure is rated for 10Gbps and you’re seeing 950 MB/s, that’s actually a healthy result, not a problem.
The mistake most people make is plugging a 10Gbps or 20Gbps enclosure into an older USB port on their computer and expecting full speed anyway.
The Host Port and Cable Are Common Silent Bottlenecks
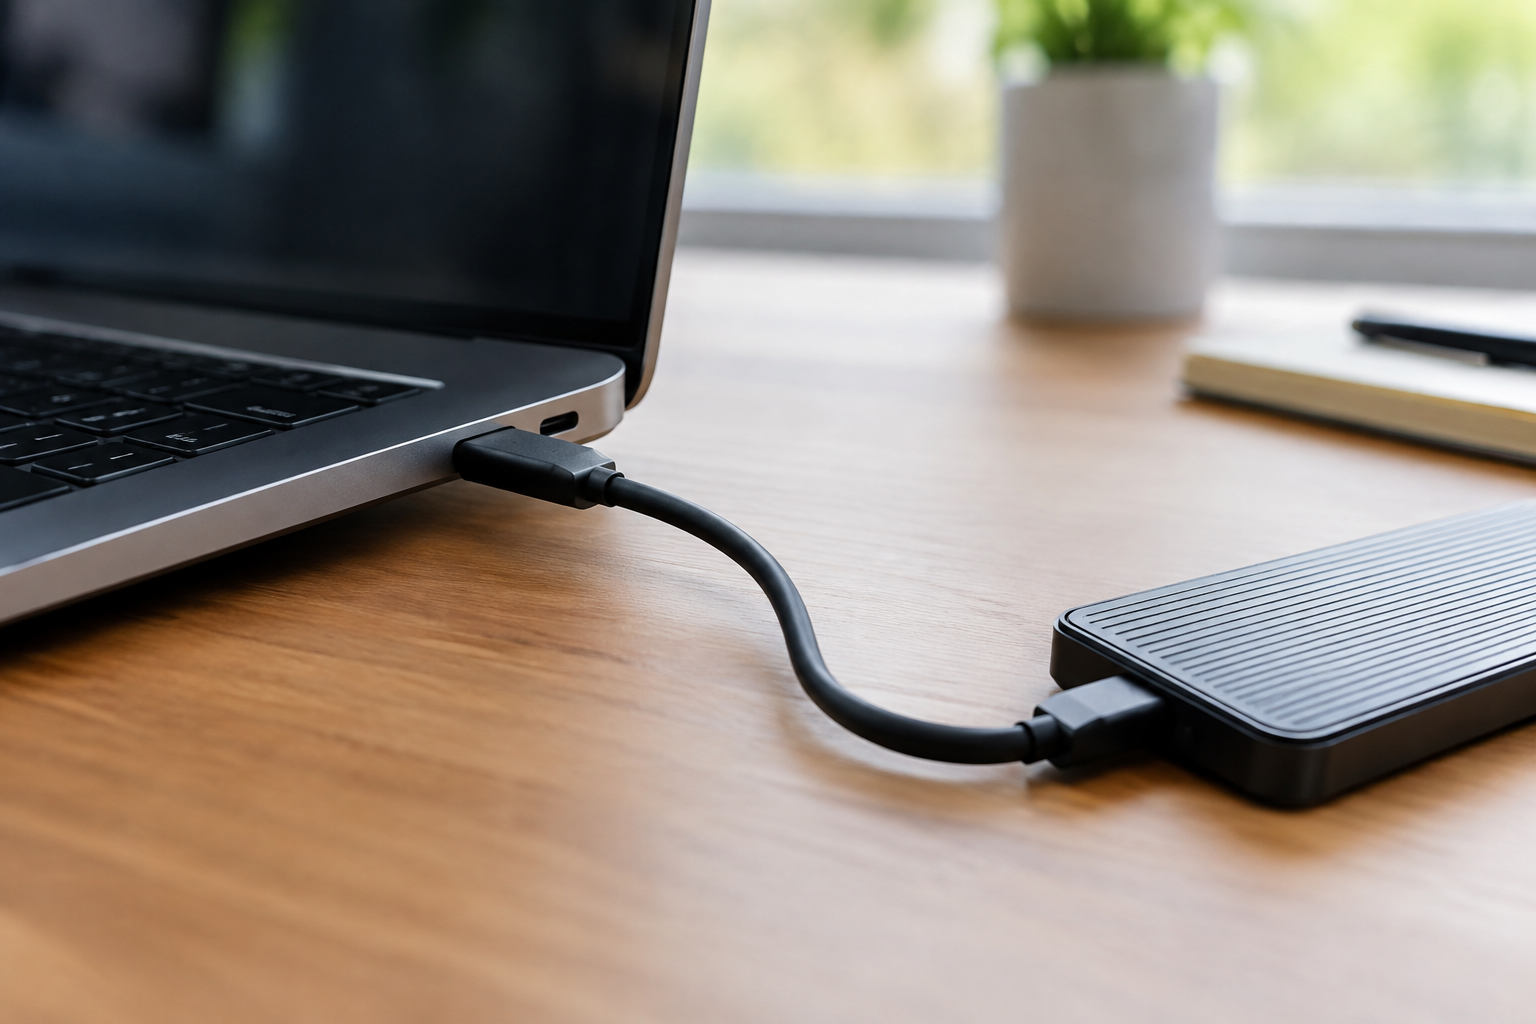
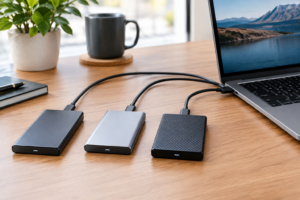
Your enclosure can only run as fast as the weakest link on either side of it. Two of the most overlooked culprits are the port you plug into and the cable you use.
Many laptops and desktops mix port speeds on the same body. You might have one Thunderbolt port and several USB 3.2 Gen 1 ports that look physically identical. Plugging your fast enclosure into the wrong port silently drops you down to a fraction of the speed, with no warning or error message. Always check your device’s actual port specifications, not just the connector shape.
Cables matter just as much. A USB-C cable that shipped with a phone charger might only support 5Gbps or even just power delivery with no real data speed. Thunderbolt cables need to be certified for the bandwidth you’re trying to push, and longer cables often step down in supported speed. Always use the cable that came with the enclosure, and if you’ve lost it, buy a certified replacement rather than grabbing whatever USB-C cable is in your drawer.
Thermals, File Size, and Filesystem Overhead
Even with perfect hardware matching, a few software and physical factors can quietly tank your numbers.
NVMe drives generate real heat under sustained load, and most enclosures have far worse cooling than a laptop or desktop’s internal M.2 slot. When the drive hits its thermal limit, it throttles itself, and you’ll see speeds fall off a cliff a minute or two into a large transfer. Metal-bodied enclosures with some kind of thermal pad contact dissipate heat noticeably better than thin plastic shells.
File size and type change your results too. Copying one large video file will get you much closer to the drive’s rated sequential speed than copying ten thousand small photos, which is dominated by random read/write performance and filesystem overhead instead. Benchmarking with a single large file test can make an enclosure look faster than it feels in daily use with mixed files.
Filesystem choice adds its own tax. exFAT is common for cross-platform drives but has more overhead on very large transfers than NTFS on Windows or APFS on Mac. If you’re using the enclosure exclusively with one operating system, formatting it natively for that OS instead of exFAT can recover a meaningful chunk of throughput.
Sabrent Thunderbolt NVMe Enclosure
Aluminum housing with genuinely good thermal management for sustained transfers, paired with Thunderbolt bandwidth.
If you’re building an external drive for a MacBook and want to know whether the upgrade path makes sense in the first place, our guide on upgrading a MacBook Air’s SSD is a good companion read, since sometimes an internal upgrade is the better long-term move compared to living out of an external enclosure.
Putting It All Together: A Quick Diagnostic Checklist
When your enclosure feels slow, work through these in order rather than guessing:
- Confirm the drive is genuinely NVMe, not SATA M.2
- Confirm the enclosure explicitly supports NVMe, not just M.2 physically
- Check what USB or Thunderbolt generation your host port actually supports
- Test with the original cable, then try a certified alternative
- Run a sustained large-file transfer and watch for thermal throttling partway through
- Reformat with the filesystem best suited to your primary operating system
Most slowdowns trace back to one or two items on this list, usually the bridge chip quality or a mismatched port. If you’ve ruled everything out and speeds are still far below what a 10Gbps or Thunderbolt enclosure should deliver, the enclosure itself is likely the weak link and worth replacing.
UGREEN NVMe M.2 Enclosure 10Gbps
A dependable option if you need a straightforward 10Gbps enclosure without guessing about bridge chip quality.
Frequently Asked Questions
Why is my NVMe SSD only getting SATA speeds in an enclosure?
This almost always means either the drive is actually a SATA M.2 model rather than true NVMe, the enclosure’s bridge chip doesn’t support full NVMe/PCIe passthrough, or you’re plugged into an older USB 3.2 Gen 1 port that caps out around 480 MB/s regardless of what the drive can do.
Does the enclosure brand matter as much as the specs on the box?
Yes, more than most buyers expect. Two enclosures with identical advertised speeds can perform very differently depending on the internal bridge chip and thermal design. Reading independent benchmark reviews matters more than trusting the marketing bullet points.
Can a bad cable really cut my speed in half?
Absolutely. Many USB-C cables are built for charging only or support lower data speeds than the port they’re plugged into. Using the cable that shipped with your enclosure, or a certified replacement rated for your target speed, is one of the easiest fixes for unexplained slowdowns.
This article contains affiliate links. We may earn a small commission at no extra cost to you.

James Kennedy is a writer and product researcher at Drives Hero with a background in IT administration and consulting. He has hands-on experience with storage, networking, and system performance, and regularly improves and optimizes his home networking setup.