How to Check SSD Health on Mac
Your Mac won’t warn you before an SSD starts failing. There’s no blinking light, no pop-up that says “hey, your storage is on its way out.” Usually the first sign is a slow beachball, a file that won’t save, or a kernel panic that seems to come out of nowhere. Checking SSD health regularly means you catch the warning signs before they turn into a dead drive and a lost weekend of recovery attempts.
The tricky part is that “health percentage” numbers get thrown around like they mean the same thing across every tool and every drive, and they don’t. This guide walks through what actually matters when you check SSD health on a Mac, how to read the numbers correctly, and when a reading should actually worry you.
Why Mac SSD Health Isn’t as Simple as One Number
Modern Macs with Apple Silicon or T2 chips use NVMe SSDs, not SATA drives, so the old SMART attributes you might remember from a Windows PC don’t directly apply. NVMe drives report health through a different set of fields defined in the NVMe spec, and macOS doesn’t expose most of them natively in any built-in app.
Apple’s own System Information app (under About This Mac > System Report > NVMExpress) shows very little: capacity, whether TRIM is enabled, and basic identification. It does not give you a health percentage or wear level. For that, you need a third party tool that reads the raw NVMe log pages, like DriveDx, Smart Utility, or the command line tool smartctl from smartmontools.
This matters because a lot of people assume a single “health: 91%” reading tells the whole story. It doesn’t. That percentage is usually calculated from one specific field (often the manufacturer’s proprietary wear indicator), and different tools weight it differently. You need to look at the underlying numbers, not just the summary score.
The NVMe Fields That Actually Matter
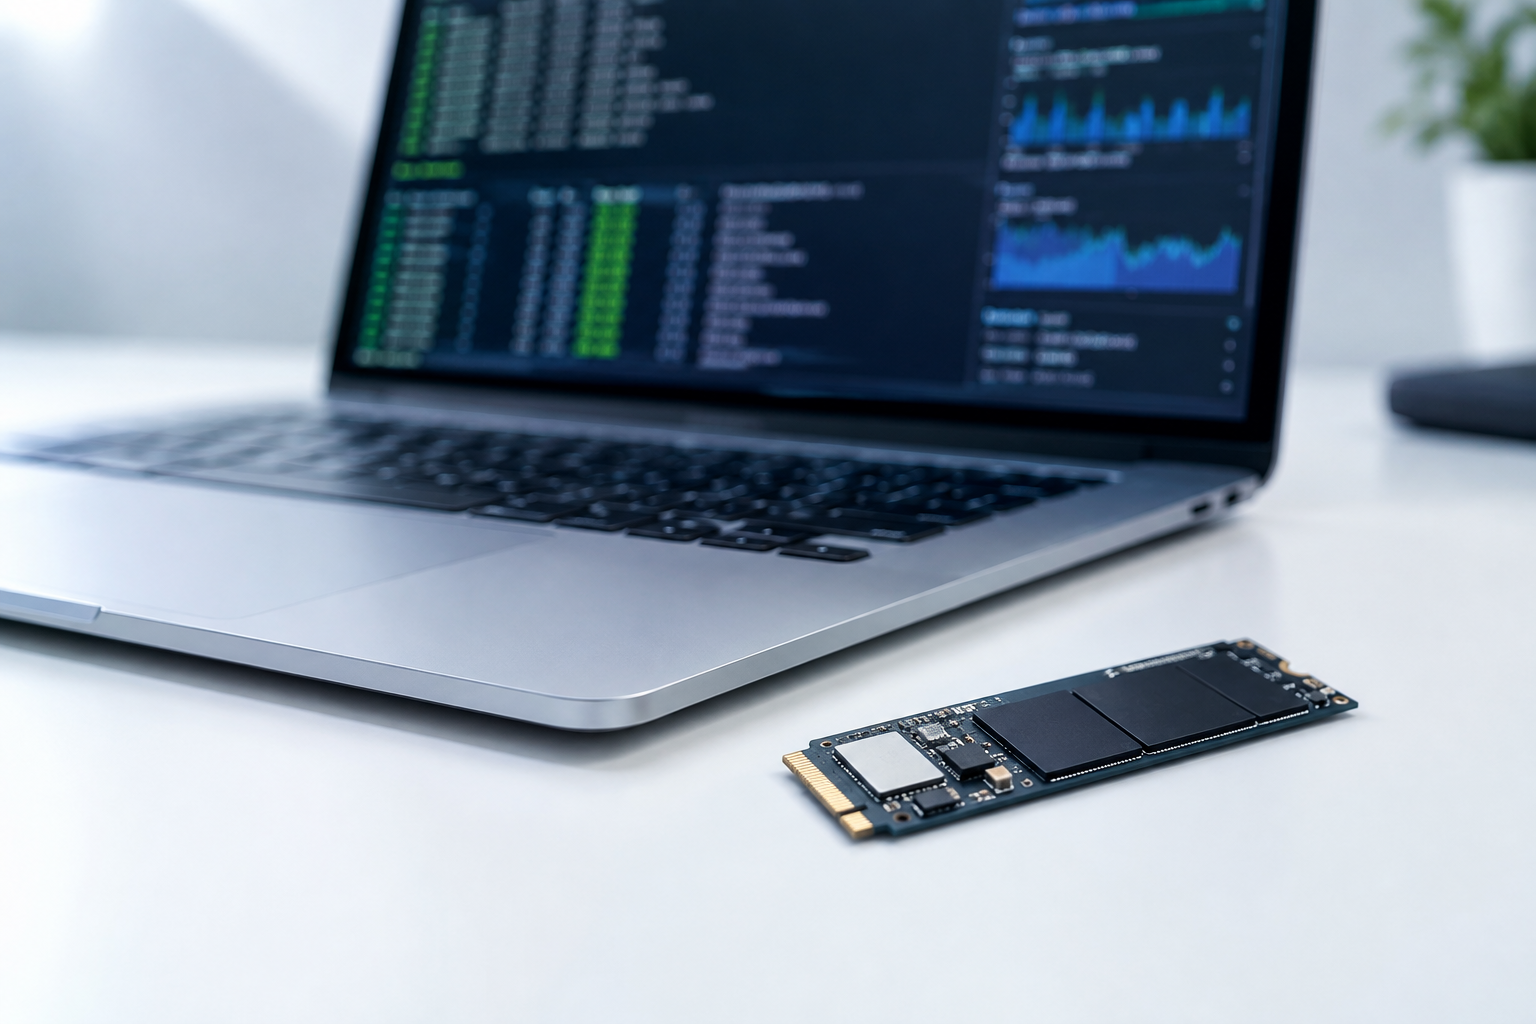
When you open a tool like DriveDx or run smartctl -a against your Mac’s internal drive, here are the fields worth paying attention to:
- Percentage Used: This is the most important field on any NVMe drive. It’s a vendor-estimated value based on how much of the drive’s rated write endurance has been consumed, scaled from 0 to 100 (and it can technically go past 100). A reading of 10% doesn’t mean the drive is 10% “worn out” in a fragile sense, it means you’ve used roughly 10% of the total writes the manufacturer rated it for.
- Available Spare: SSDs reserve extra flash blocks to replace ones that fail. This field shows what percentage of that spare capacity remains. It should stay at or near 100% for most of a drive’s life.
- Available Spare Threshold: The point at which the drive itself will start warning you. If Available Spare drops close to or below this threshold, treat it as urgent.
- Media and Data Integrity Errors: Any nonzero value here means the drive detected actual data corruption during reads or writes. This is one of the few fields where “zero is normal, anything else is a red flag” holds true.
- Critical Warning: A composite flag. If it’s not showing a clean “0,” something on the drive is in a state the controller considers serious.
- Power On Hours and Unsafe Shutdowns: Not health indicators by themselves, but useful context. A drive with 40,000 power-on hours and a high unsafe shutdown count deserves more scrutiny than a fresh one.
Percentage Used is the field most tools turn into that big “health score” you see on the dashboard. A score of 95% health in an app usually just means Percentage Used sits at 5%. Once you understand that, the number stops feeling mysterious and starts being genuinely useful.
What Counts as Normal vs. What Should Worry You
Most Macs in daily use for two to four years show Percentage Used values in the single digits. That’s normal and expected, and it’s not something to panic about. Apple’s SSDs, especially the ones in MacBook Air and MacBook Pro models with M1 and M2 chips, are rated for total write endurance in the hundreds of terabytes, and typical daily use (web browsing, documents, even moderate photo editing) writes far less than that per year.
Here’s a rough way to read the numbers:
- Percentage Used under 20%: Normal for almost any Mac still in active use. No action needed.
- Percentage Used 50-80%: Still generally fine, but worth checking every few months and making sure backups are current.
- Percentage Used above 90%: Start planning for a replacement, especially if the drive is also old in terms of power-on hours.
- Available Spare below 100% and dropping: Pay attention. A single point drop isn’t an emergency, but a steady decline over weeks is.
- Any Media Errors greater than zero: Back up immediately. This means the drive has already produced corrupted data at least once.
- Critical Warning flag active: Treat this as a failing drive until proven otherwise.
The important distinction is between gradual wear and active failure. High Percentage Used by itself just means the drive has been worked hard, similar to high mileage on a car that’s still running fine. Media errors and a triggered Critical Warning are different, those mean something is actively going wrong right now.
Manufacturer Differences You Should Know About
Not every SSD calculates its health percentage the same way, and this trips people up when they compare numbers across drives or read forum posts from people using different hardware.
Apple’s own SSD controllers (used in the soldered storage on Apple Silicon Macs) report wear through the standard NVMe Percentage Used field, but Apple doesn’t publish detailed endurance ratings the way Samsung or Western Digital does for their retail drives. If you’ve ever compared specs between something like a WD Black SN770 and an SN850X, you’ve seen how much TBW (terabytes written) ratings can vary even within one brand. Apple’s internal storage doesn’t give you that reference point, so a raw Percentage Used number on a Mac is more useful as a trend over time than as a comparison to a spec sheet.
Third party tools also differ in how they translate raw data into a headline score. DriveDx tends to be conservative and will flag a drive as “warning” earlier than Smart Utility might for the same underlying numbers. Neither is wrong, they just apply different thresholds to the same raw fields. If you’re testing an external drive instead of internal storage, this also matters if you’re deciding whether an external SSD is worth adding to your setup, since external NVMe enclosures report through a translation layer that can behave inconsistently across tools.
What To Do Once You’ve Checked
If your numbers look clean, you don’t need to do anything beyond checking again every few months. If Available Spare is dropping or you see any media errors, back up your data the same day, not next week.
If you’re already thinking about a hardware refresh rather than just monitoring, it’s worth understanding how much your SSD affects overall system performance before you decide between a repair, a storage upgrade, or a new machine entirely. On older Intel Macs and some older MacBook models, internal storage can actually be replaced, and guides like this one on upgrading a Mac’s SSD or the specific walkthroughs for the 2018 Mac Mini and 2020 iMac cover what’s actually possible model by model. Apple Silicon Macs, unfortunately, have storage soldered to the logic board, so a failing drive on those means a logic board repair rather than a swap.
Frequently Asked Questions
Does macOS have a built-in SSD health checker?
Not a real one. Disk Utility can run a basic S.M.A.R.T. status check that shows “Verified” or “Failing,” but this only reflects the most severe failure states and won’t show you wear percentage, spare capacity, or early warning trends. For anything useful, you need a third party tool like DriveDx or the command line utility smartctl.
Is a high Percentage Used always a sign the drive is about to fail?
No. Percentage Used tracks how much of the rated write endurance you’ve consumed, and most SSDs keep working well past 100% on that field before actually failing. It’s a useful trend indicator, not a countdown timer. Pair it with Available Spare and error counts before drawing conclusions.
Can I check the health of an external SSD the same way?
Mostly yes, though results can be less reliable depending on the enclosure’s USB to NVMe or USB to SATA bridge chip, which sometimes blocks SMART data from passing through cleanly. If a tool shows no data at all for an external drive, that’s usually a bridge chip limitation rather than a drive problem.

James Kennedy is a writer and product researcher at Drives Hero with a background in IT administration and consulting. He has hands-on experience with storage, networking, and system performance, and regularly improves and optimizes his home networking setup.