NVMe Enclosure Only Getting 400 MB/s
You bought an NVMe enclosure expecting the same blazing speeds you get from an internal M.2 slot, plugged in your drive, ran a transfer, and watched it crawl along at 400 MB/s. That’s frustrating, especially when the enclosure box promises 10Gbps or even 20Gbps performance. The good part is that 400 MB/s almost always points to one of a handful of specific bottlenecks, and once you know where to look, you can usually fix it in a few minutes.
This guide walks through every link in the chain, from the NAND inside your drive to the port on your laptop, so you can figure out exactly what’s holding your setup back instead of guessing.
First, Confirm Your Drive Is Actually NVMe
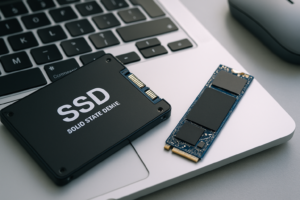
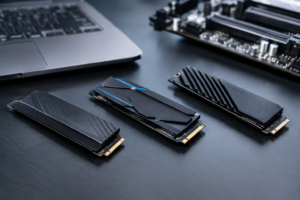
This is the single most common cause of the “why is my NVMe enclosure so slow” problem, and it has nothing to do with the enclosure at all. M.2 is a physical connector, not a protocol. A SATA M.2 SSD and an NVMe M.2 SSD can look identical, same size, same notch, same gold pins, but they communicate completely differently.
SATA M.2 drives are capped by the SATA III interface at a real-world ceiling of around 500 to 550 MB/s, no matter what enclosure you put them in. If your “NVMe enclosure” actually only supports SATA M.2 drives, or if you dropped a SATA M.2 drive into an NVMe-only enclosure using a compatible key notch, you’ll never see NVMe speeds. Check the label on your drive or pull up the model number in Crystal Disk Info or a similar tool. If it says SATA anywhere, that’s your bottleneck, full stop.
If you’re unsure how the two compare in general, our breakdown of NVMe SSD vs Intel SSD and the deeper dive into whether NVMe is really faster than SATA SSDs covers the protocol differences in plain language.
The Enclosure’s Bridge Chip Sets a Hard Ceiling
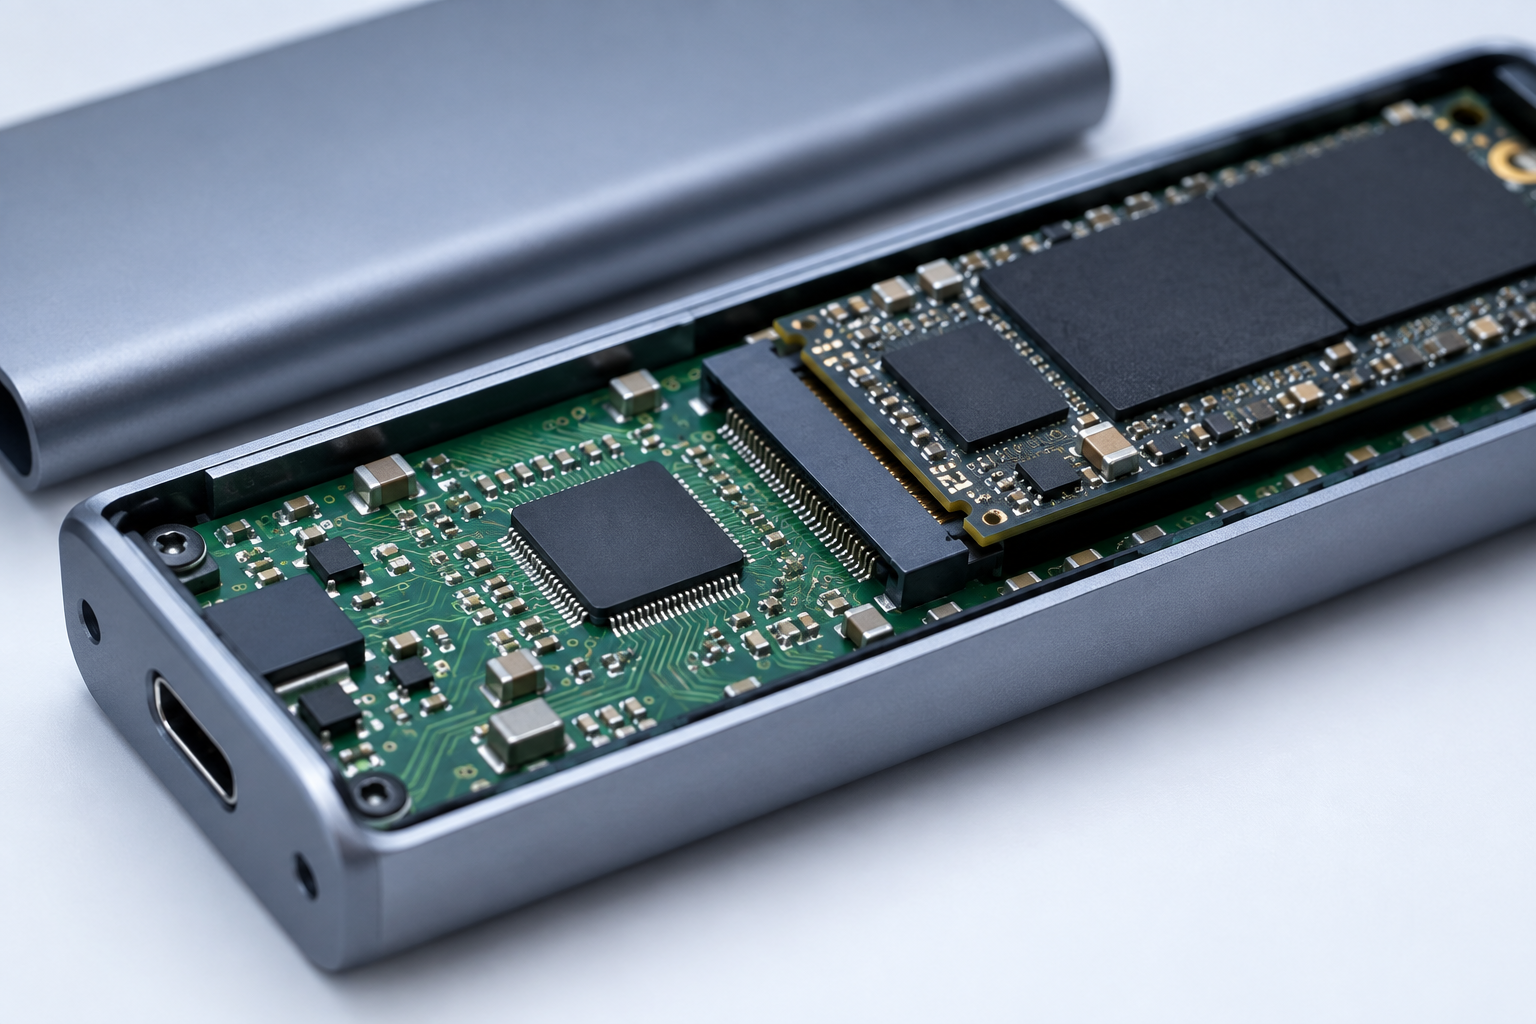
Every NVMe enclosure has a small controller chip, often called a bridge chip, that translates NVMe commands into USB or Thunderbolt data. Cheap enclosures use older or lower-tier bridge chips (common examples include the JMicron JMS583 or ASMedia ASM2362) that simply cannot push data as fast as the drive or the host port could theoretically support.
Even with a fast drive and a fast port, a mediocre bridge chip can cap you well under 500 MB/s, especially under sustained writes. Look up the specific chipset your enclosure uses before assuming the drive or cable is at fault. Reviews and teardown videos often name the exact controller, and that single detail tells you more about real-world performance than the marketing copy on the box.
USB Standard: Theoretical Speed vs Real Throughput
This is where a lot of the confusion happens, because USB naming is genuinely a mess. Manufacturers list link speed in gigabits per second, but you experience storage speed in megabytes per second, and overhead eats a meaningful chunk of that gap.
- USB 3.2 Gen 1 (5Gbps): realistically delivers 400 to 450 MB/s in daily use
- USB 3.2 Gen 2 (10Gbps): realistically delivers 900 to 1050 MB/s
- USB 3.2 Gen 2×2 (20Gbps): realistically delivers 1700 to 1900 MB/s
- Thunderbolt 3 or 4 (40Gbps): realistically delivers 2500 to 2800 MB/s for NVMe enclosures
Notice that 400 MB/s figure. It lines up almost exactly with the real-world ceiling of a USB 3.2 Gen 1 (5Gbps) connection. If you’re getting 400 MB/s from an enclosure rated for 10Gbps, there’s a very good chance the actual bottleneck is a 5Gbps port, cable, or an enclosure that only implements the 5Gbps standard despite what the packaging implies.
If you want an enclosure that genuinely hits 10Gbps in practice, check the current listings for a 10Gbps NVMe enclosure with USB-C and read the specific chipset details in the product description before buying.
Sabrent NVMe USB 3.2 Gen 2 Enclosure
A reliable 10Gbps enclosure with a well-supported bridge chip that actually reaches its rated speed in real transfers.
Your Host Port and Cable Matter Just as Much
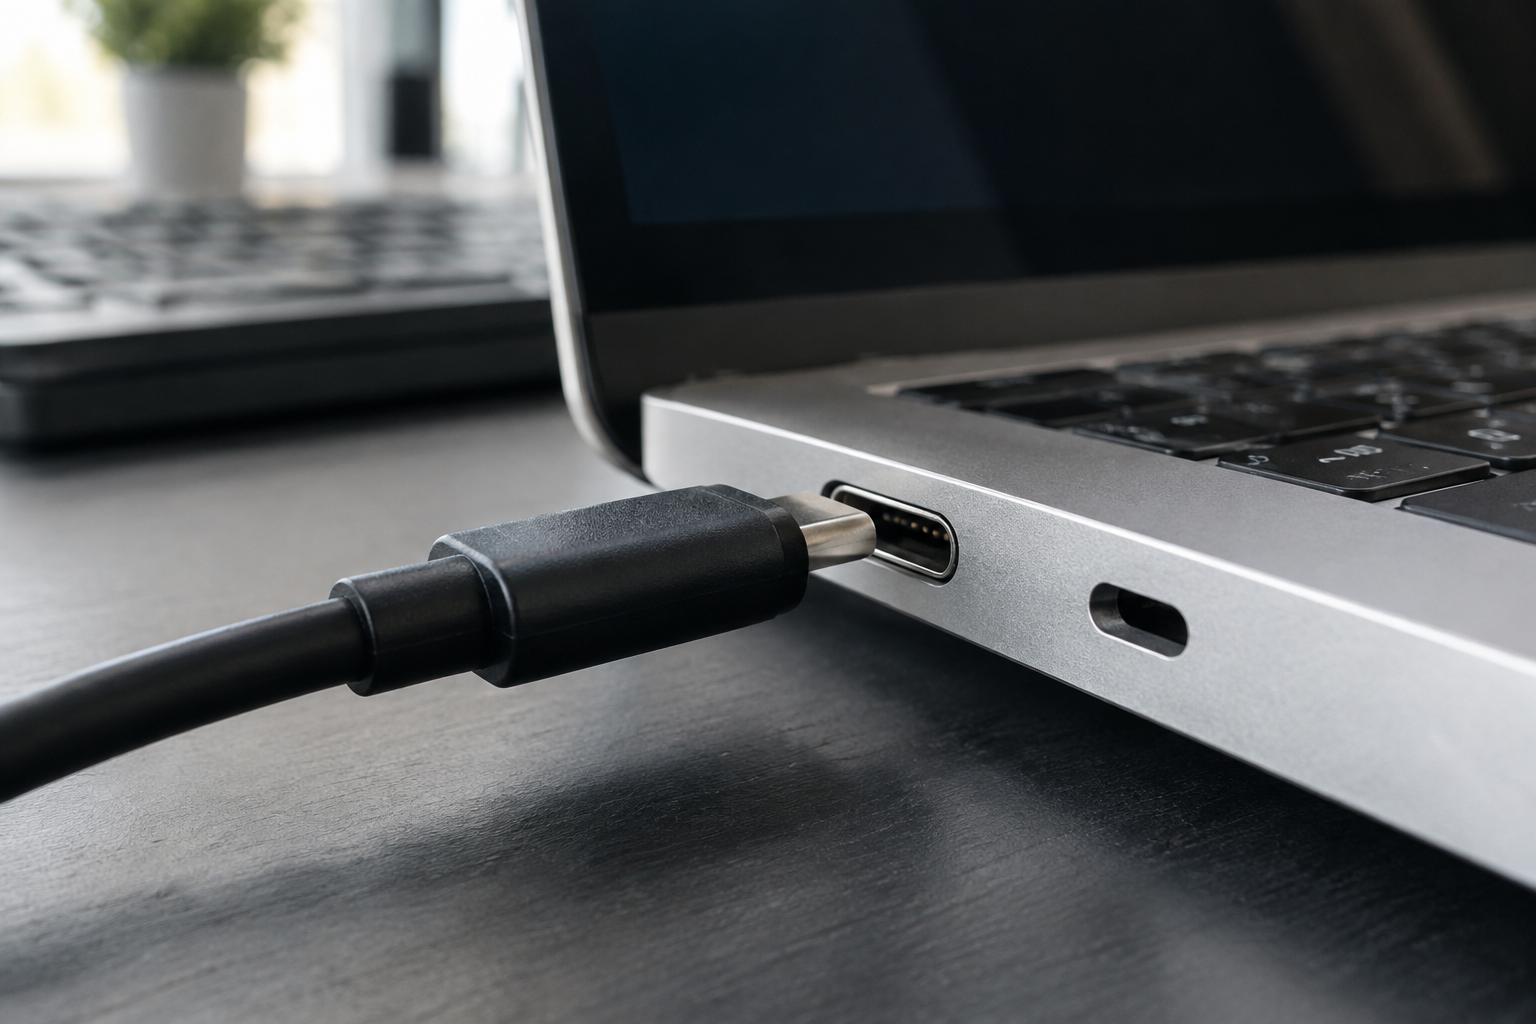
A 10Gbps enclosure plugged into a laptop’s 5Gbps port will only ever perform at 5Gbps speeds. This happens more often than people expect, especially on laptops with multiple USB-C ports that look identical but support different standards. Check your laptop or desktop’s specs sheet for each individual port, since manufacturers frequently mix Gen 1 and Gen 2 ports on the same machine.
The cable is the other silent culprit. Not every USB-C cable supports 10Gbps or 20Gbps data rates, even if it charges your phone just fine. Many bundled or budget cables are rated for power delivery only, or they max out at 5Gbps regardless of what your port and enclosure can do. Always use the cable that shipped with the enclosure, or buy one explicitly rated for the data speed you need.
A short, high-quality certified cable also reduces signal loss, which matters more than people assume once you’re pushing beyond 10Gbps. For anything running at 20Gbps or Thunderbolt speeds, a certified Anker USB-C 10Gbps cable is a cheap way to rule this variable out entirely.
Thermal Throttling on Sustained Transfers
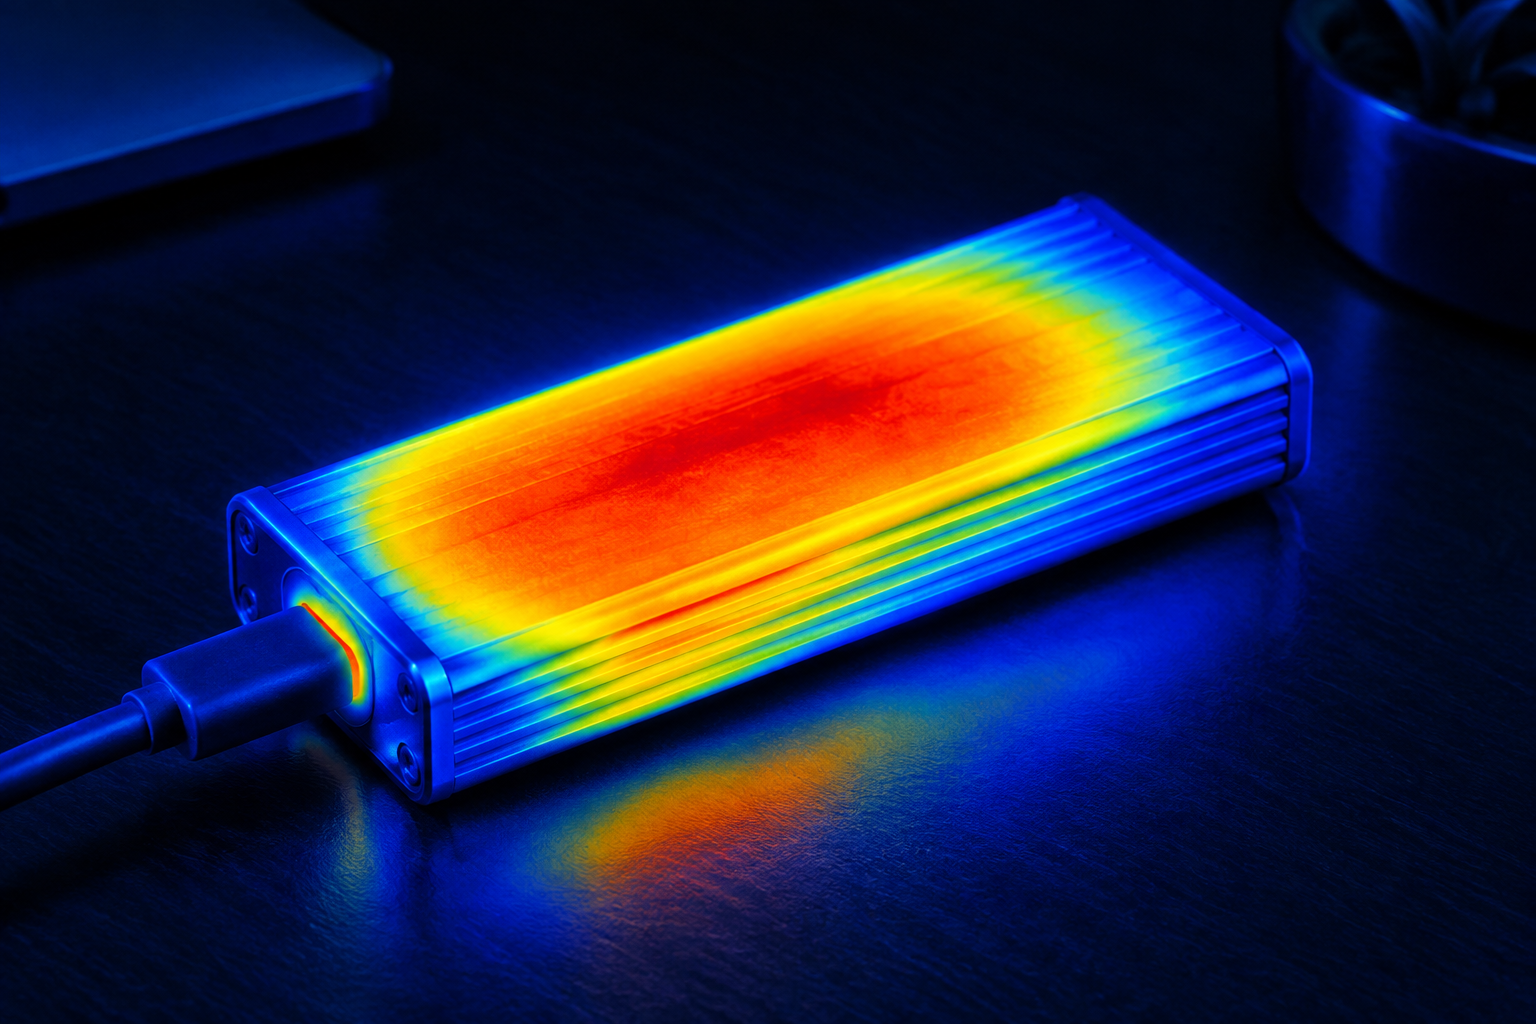
NVMe drives generate real heat under sustained load, and most enclosures have little to no thermal mass or airflow compared to a desktop motherboard’s M.2 slot with a heatsink. During a short benchmark, you might see full speed. During a large sustained copy, like moving a 200GB video project, the drive can throttle down hard as it heats up, and 400 MB/s ends up being the throttled speed rather than the true bottleneck.
Metal-bodied enclosures dissipate heat far better than plastic ones. If you’re regularly moving large files and suspect thermal throttling, feel the enclosure after a big transfer. If it’s uncomfortably hot to the touch, that’s your answer. Look for enclosures with a metal shell and, ideally, a thermal pad that makes direct contact with the drive’s controller chip.
ORICO Aluminum NVMe M.2 Enclosure
Solid aluminum housing that pulls heat away from the drive during long sustained transfers instead of letting it throttle.
File Size, Filesystem, and Protocol Overhead
Benchmarks with large sequential files almost always look better than real-world transfers full of small files. Copying thousands of small documents, photos, or project files involves constant overhead for opening and closing each file, and that overhead crushes throughput regardless of how fast your drive or link is. If your 400 MB/s result came from copying a folder full of small files, that’s expected behavior, not a broken enclosure.
Filesystem choice adds another layer. exFAT is common for cross-platform external drives because both Windows and macOS read and write it natively, but it isn’t as efficient as NTFS or APFS for handling large volumes of small files. If you’re formatting the drive yourself, exFAT is still the safe cross-platform choice, but understand it carries a small performance cost compared to a native filesystem.
Protocol overhead from USB itself also eats into your numbers. This is exactly why the “real-world” ranges listed earlier in this article run noticeably below the theoretical link speed. A 10Gbps link doesn’t mean 1250 MB/s in practice; it means roughly 1000 MB/s once you subtract encoding and command overhead. Anyone quoting theoretical Gbps numbers as your expected MB/s speed is setting you up for disappointment.
How to Diagnose Your Specific Bottleneck
Work through this checklist in order, since it moves from the most likely cause to the least likely:
- Confirm your M.2 drive is genuinely NVMe, not SATA, using a tool like CrystalDiskInfo or the drive’s model number
- Check your enclosure’s rated USB standard and look up its actual bridge chip in reviews
- Verify the exact port you’re plugging into supports the speed you expect, not just any USB-C port on the machine
- Swap the cable for one you know is rated for 10Gbps or higher
- Run a large sequential file benchmark (CrystalDiskMark or Blackmagic Disk Speed Test) rather than judging based on everyday folder copies
- Feel the enclosure temperature after a long transfer to rule out throttling
If you’ve moved through all six steps and you’re still stuck under 500 MB/s with a confirmed NVMe drive, a 10Gbps or better port, and a rated cable, the enclosure itself is very likely the weak link and worth replacing. Anyone using an external NVMe drive as their primary working volume should also read our piece on whether an external SSD actually makes a laptop faster, since the answer depends heavily on exactly these bottlenecks.
Choosing the Right Enclosure Going Forward
If your current enclosure is the confirmed problem, don’t just grab the cheapest option on the next search page. Prioritize enclosures that explicitly list their bridge chip, support UASP, and use a metal housing. Thunderbolt enclosures cost more but deliver dramatically higher and more consistent sustained speeds, which matters if you’re editing video or working with large datasets directly off the external drive.
For most people doing everyday backups and file transfers, a solid USB 3.2 Gen 2 enclosure hits the sweet spot of price and performance. For creative professionals moving large media files constantly, stepping up to Thunderbolt or USB 3.2 Gen 2×2 is worth the extra cost. Gamers deciding between internal and external NVMe storage might also find our comparison of SATA vs NVMe SSD for gaming useful before committing to an external setup at all.
Frequently Asked Questions
Why does my NVMe enclosure only hit 400 MB/s instead of the advertised speed?
The most common causes are a SATA M.2 drive mistaken for NVMe, a USB port limited to 5Gbps, an uncertified cable, or a weak bridge chip inside the enclosure. Work through each one individually rather than assuming it’s a single obvious cause.
Is 400 MB/s normal for an external NVMe drive?
No. A genuine NVMe drive in a properly matched enclosure over a 10Gbps connection should comfortably exceed 900 MB/s. 400 MB/s is a strong sign you’re bottlenecked by a 5Gbps link somewhere in the chain, whether that’s the port, cable, or enclosure itself.
Does the type of NVMe drive I use inside the enclosure matter?
Yes, but less than you’d think once the enclosure and connection are the limiting factor. A high-end drive like the WD Black SN850X won’t outrun a 5Gbps USB connection any better than a budget drive would, since the bottleneck sits upstream of the drive’s own capabilities.
Can a bad cable really cause that much of a speed drop?
Absolutely. Many USB-C cables are built for charging and only support USB 2.0 data speeds despite fitting the same port. Always use the cable that came with your enclosure or one explicitly rated for at least 10Gbps if you’re chasing NVMe speeds.
This article contains affiliate links. We may earn a small commission at no extra cost to you.

James Kennedy is a writer and product researcher at Drives Hero with a background in IT administration and consulting. He has hands-on experience with storage, networking, and system performance, and regularly improves and optimizes his home networking setup.